Define the prism shape before the dimensions
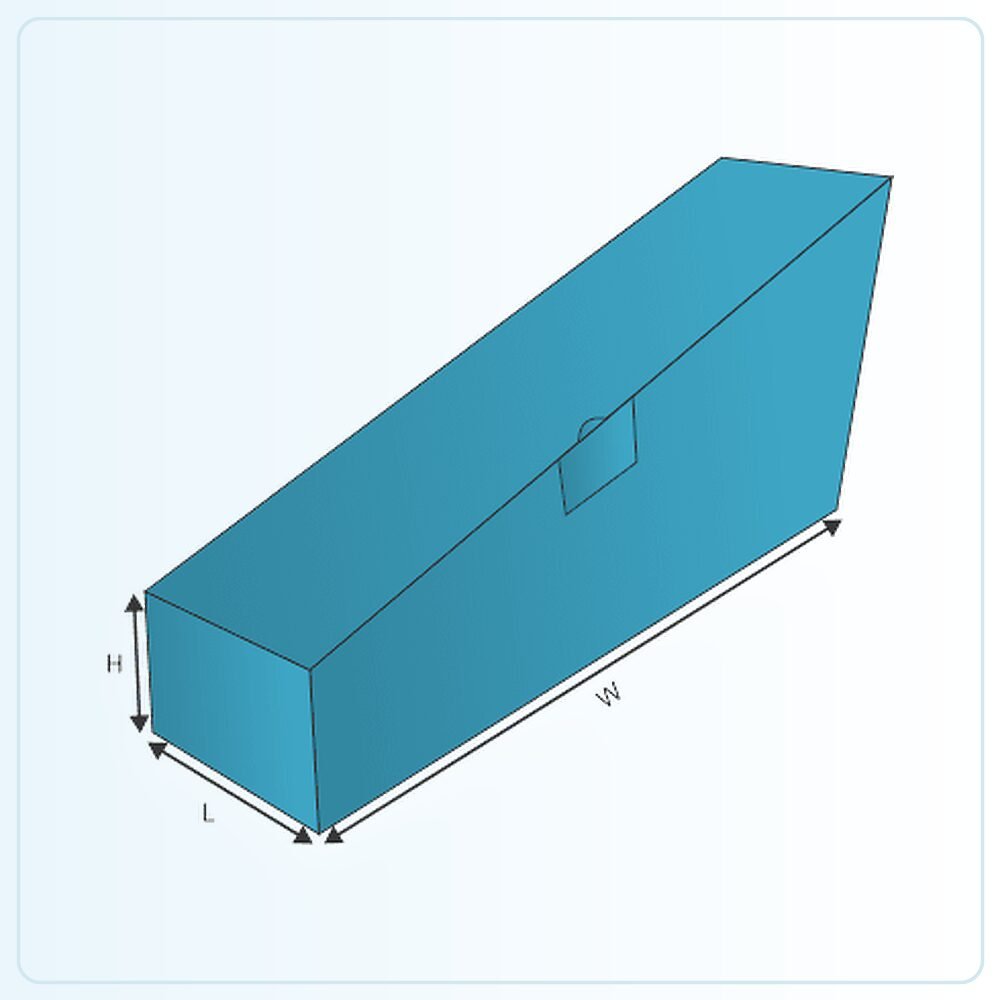
A prism-style carton extends a defined cross-section along its length. A triangular form is one possible reference, but the exact geometry should be confirmed on the drawing rather than inferred from the word prism alone. Show the shape you want and explain which face should sit on the shelf or table.
This format can be considered for gifts, promotional items or products that suit a geometric presentation. The structure should still provide useful product space and a sensible opening. Start with the contents and intended display, then decide whether the prism adds a practical or visual benefit to the pack.
Measure usable space within the angled walls
Sloping sides mean the widest outside measurement does not describe the available space at every point. Provide the product's complete outline and identify any corners or raised features that approach those sides. A rectangular item may fit at the base yet interfere with the narrower area above it.
If the product is long, include its cross-section as well as overall length. A sample or dimensioned sketch helps show where support and clearance are needed. Do not simply adapt a rectangular box measurement and assume the same volume will be usable inside a prism. The relationship between the product and the angled panels needs checking directly.
Choose how the product enters and leaves
Decide whether loading happens through an end or another opening in the structure. The product must pass through that opening comfortably, including any wrapper, support or accessory. A good fit inside the finished cavity does not prove that the loading path is convenient.
Try removal with someone who has not assembled the sample. The opening point should be understandable and the product should be accessible without damaging a delicate edge. If the pack needs an insert to hold the item in position, check that it supports the contents without blocking the intended opening action.
Make the resting position deliberate
The prism needs a clear relationship with its display surface. Decide which face forms the base and how the contents are positioned above it. A geometric shape that looks balanced in a drawing may behave differently when an unevenly weighted product is placed inside.
Test the filled sample in the orientations it will encounter during handover, display and storage. If it forms part of a larger set or sits in an outer carton, check that arrangement too. The unusual profile should not create an avoidable packing or shelving problem after the artwork has already been approved.
Use the long faces for a clear visual sequence
The panels can give the design a strong direction, but each should have a defined role. Put the main brand and product identifier on the face most likely to be seen first. Supporting wording can occupy another panel without making the customer turn the pack repeatedly to understand the contents.
Check text orientation on the assembled shape. A panel that appears upright on the flat drawing may slope away from the viewer or face down in the intended display position. Keep key graphics clear of folds and any joining area, and reserve a practical location for labels or other variable information before the artwork is finalised.
Compare the complete presentation with simpler options
The board, structure and finish should be considered together. A more elaborate shape does not automatically need every available embellishment. A clear printed design may allow the geometry to provide most of the visual interest, while a carefully chosen detail can support the brand where it is useful.
If budget, storage or dispatch is a priority, compare the proposed prism with another shape around the same product. Include the internal support and outer packaging in that comparison. The best option is the one that gives the intended presentation and works through your actual packing routine, rather than the most unusual blank in a template collection.
Keep a labelled assembled sample alongside the flat artwork. It gives your packing team a clear reference for the intended orientation and closing sequence.
Turn the template into your own specification
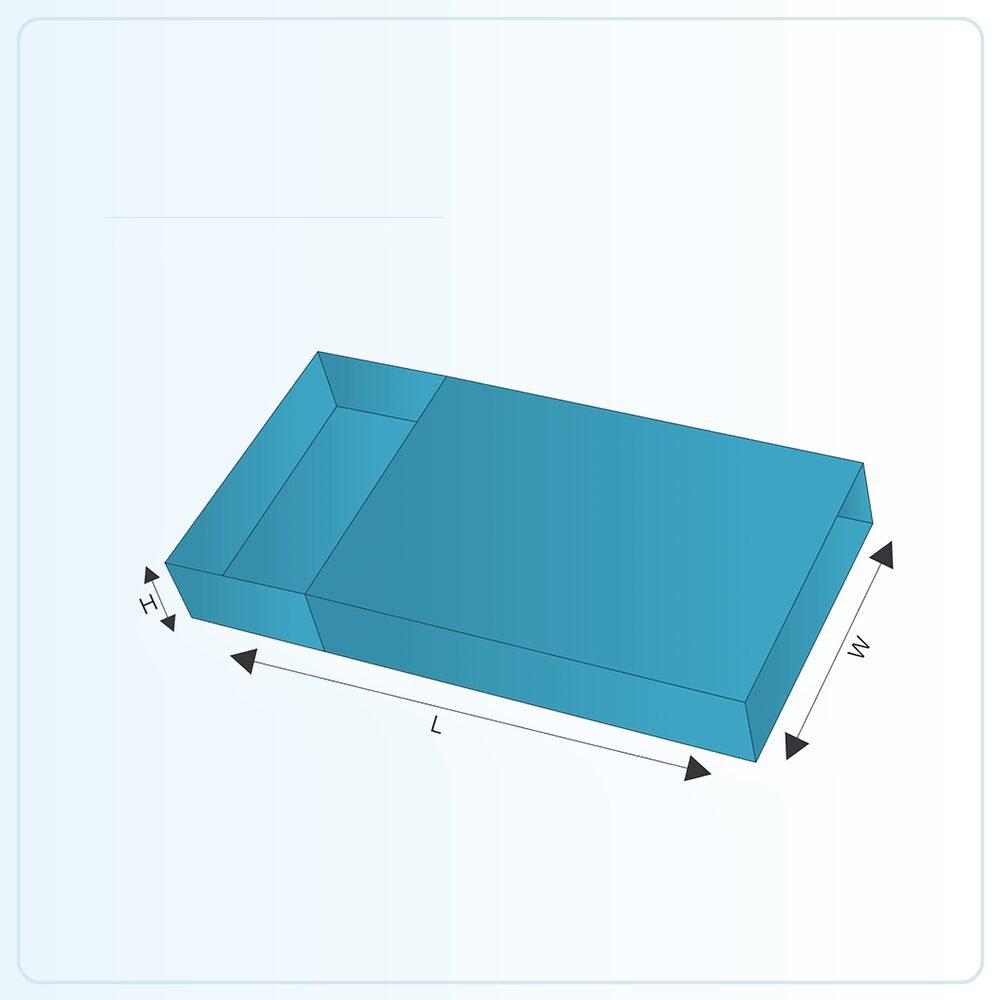
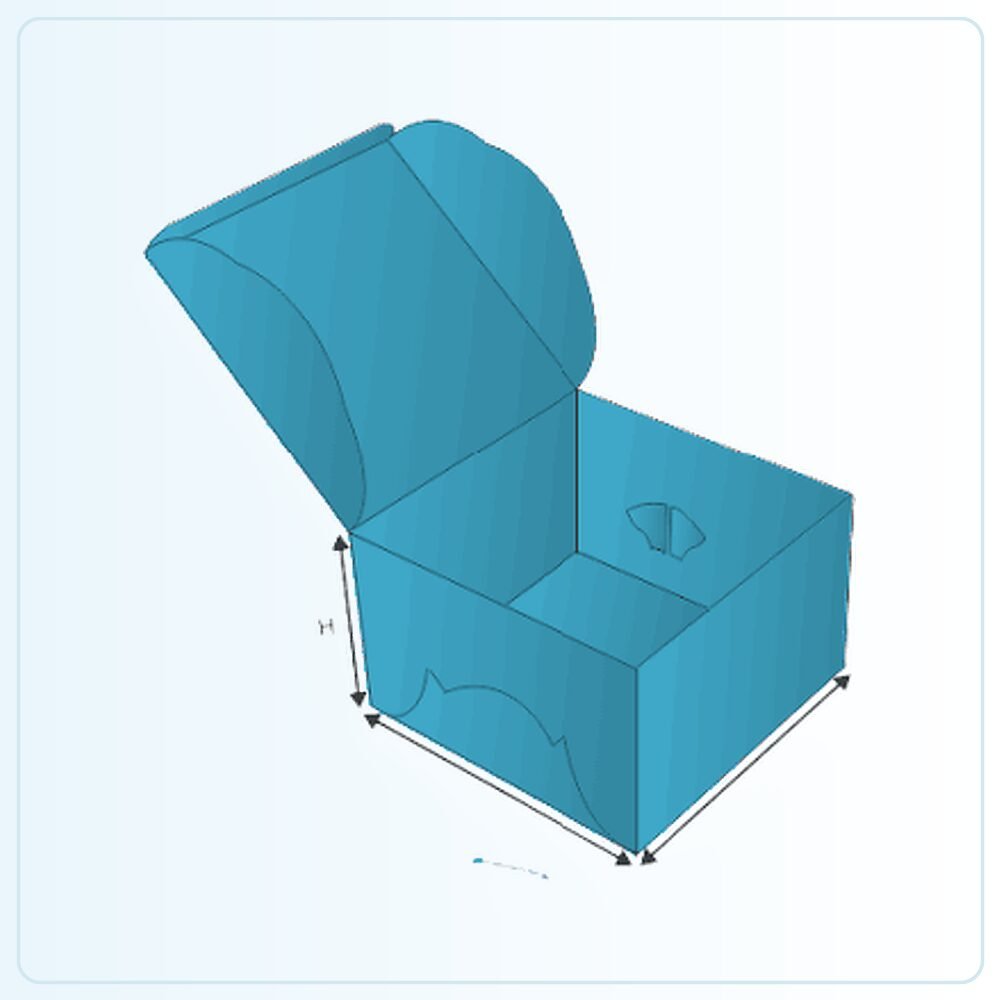
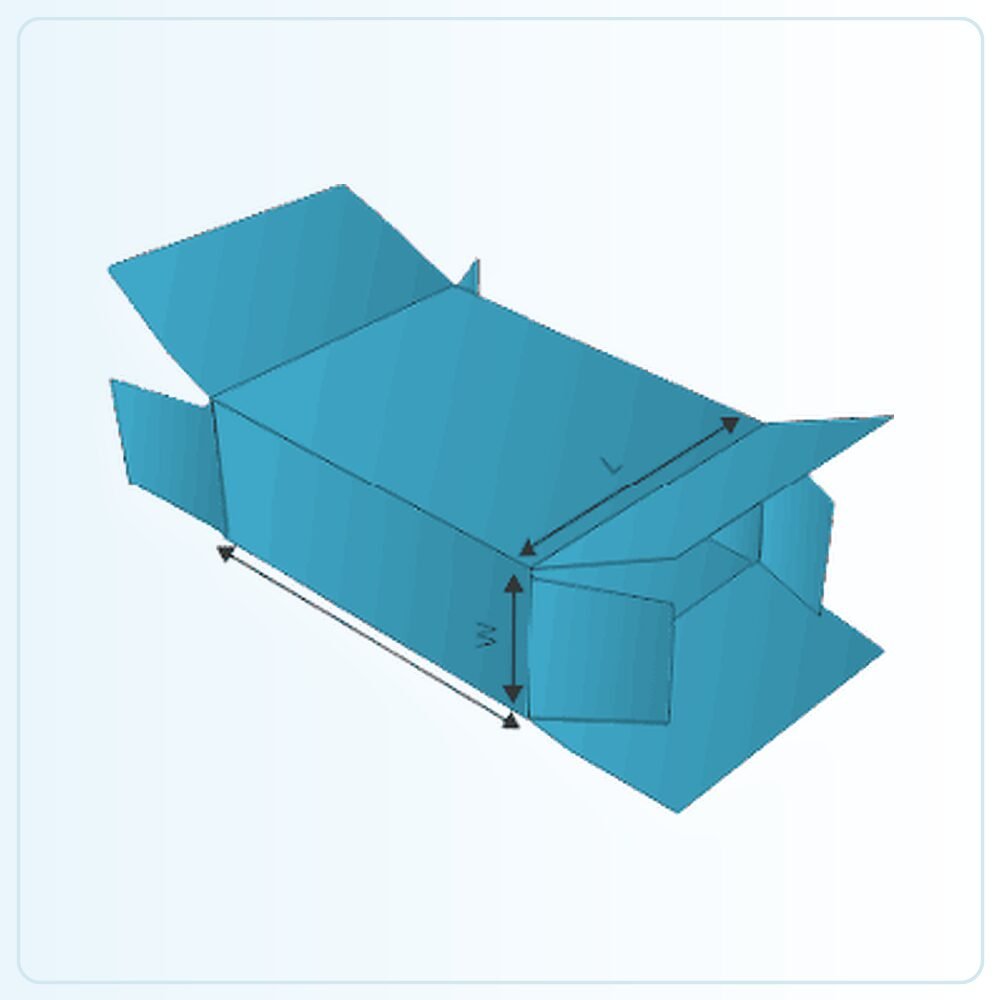
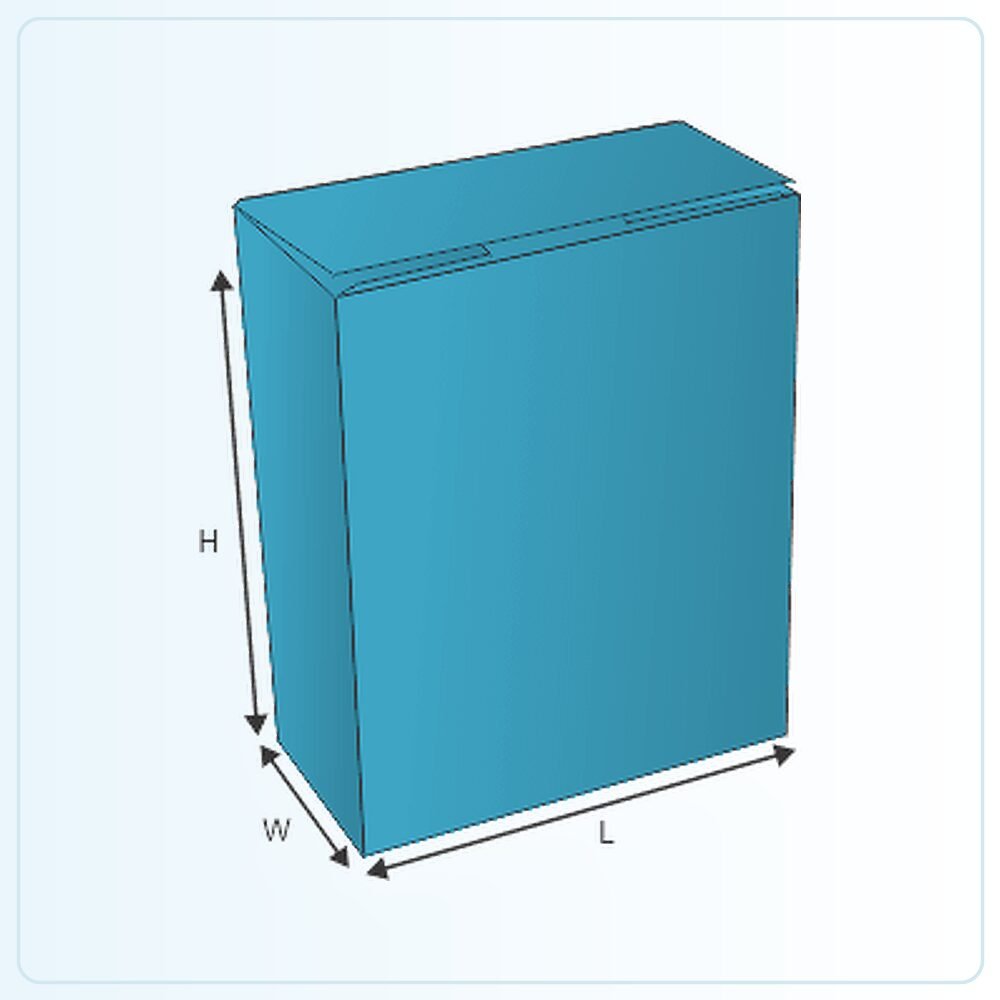
The illustration is a starting point for a made-to-order pack. It is not a production drawing that should simply be enlarged until your product appears to fit. Share the finished product measurements, packed weight and any inner components so the structure can be assessed at the size you actually need. Mark whether your measurements describe the product, the space inside the box or the outside of an existing pack.
Check the sample, not just the screen
A physical sample is available for £25 delivered. Agree what that sample will represent: the construction, material, printed appearance or a particular combination. A plain structural sample answers different questions from a finished printed example. Fill it with the actual product and include every insert, leaflet, wrapper or accessory that belongs in the final pack.
Ask the person who normally packs your orders to try it. Check the sequence of assembly, how comfortably the item goes in and how the customer removes it. Write down the changes you need before approving the next stage. If the pack will travel through a delivery network, assess the complete parcel rather than judging protection from an empty retail carton.
Get a clear price for the complete job
Orders start from 100 units. Our quoted prices include VAT and doorstep delivery. Usual production and delivery is 6–9 days; confirm the actual schedule for your agreed specification and target date. Tell us your delivery postcode, artwork status and any deadline when requesting a quote.
The useful comparison is the same structure, size, board, printing, finish and quantity. Ask for alternatives if you need to work towards a budget, and have any setup or additional components identified in the written quotation. Send your brief and we can help you settle the practical details before committing to the run.
Compare hexagon boxes, long product cartons, or request a packaging quote for this style.