Let the window answer a buying question
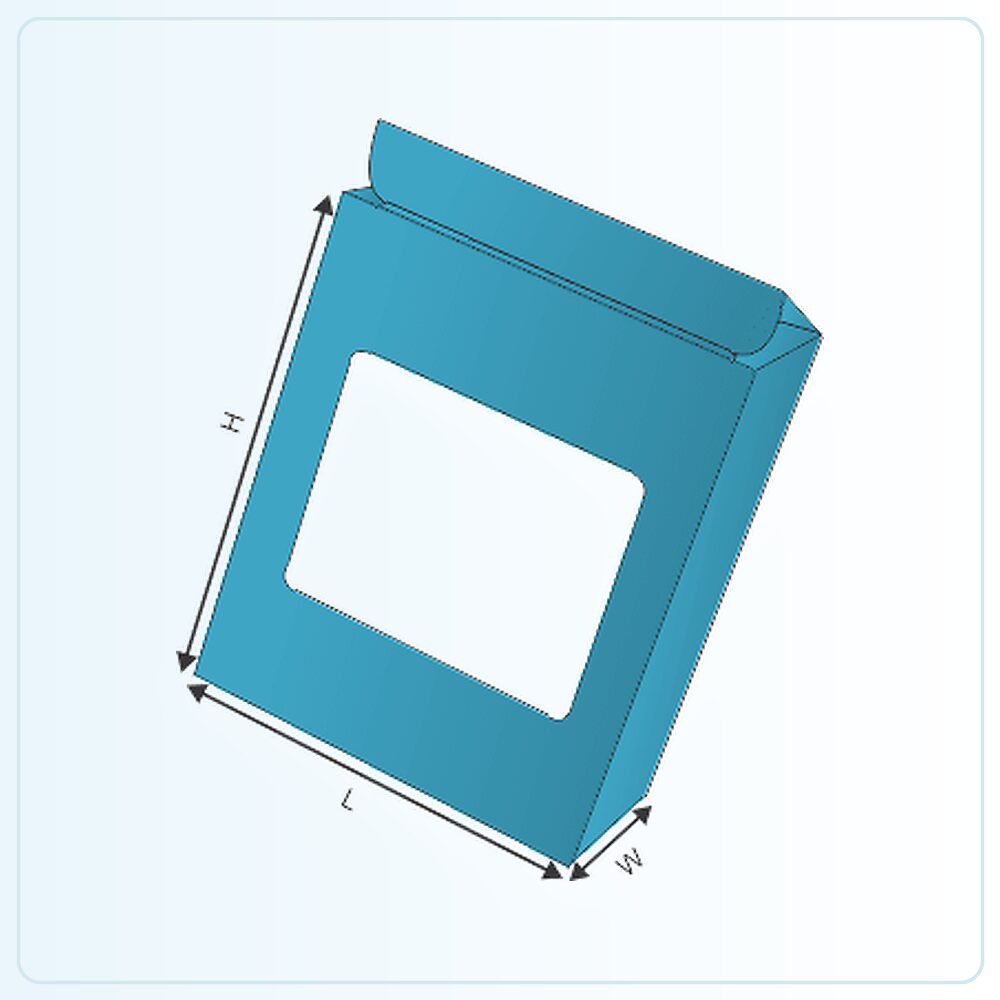
A window is most useful when seeing the product helps someone choose it. That might be a colour, texture, shape or the contents of a small set. Start with that reason, then work out where the opening belongs. A large cut-out is not automatically more effective than a smaller one that frames the right detail.
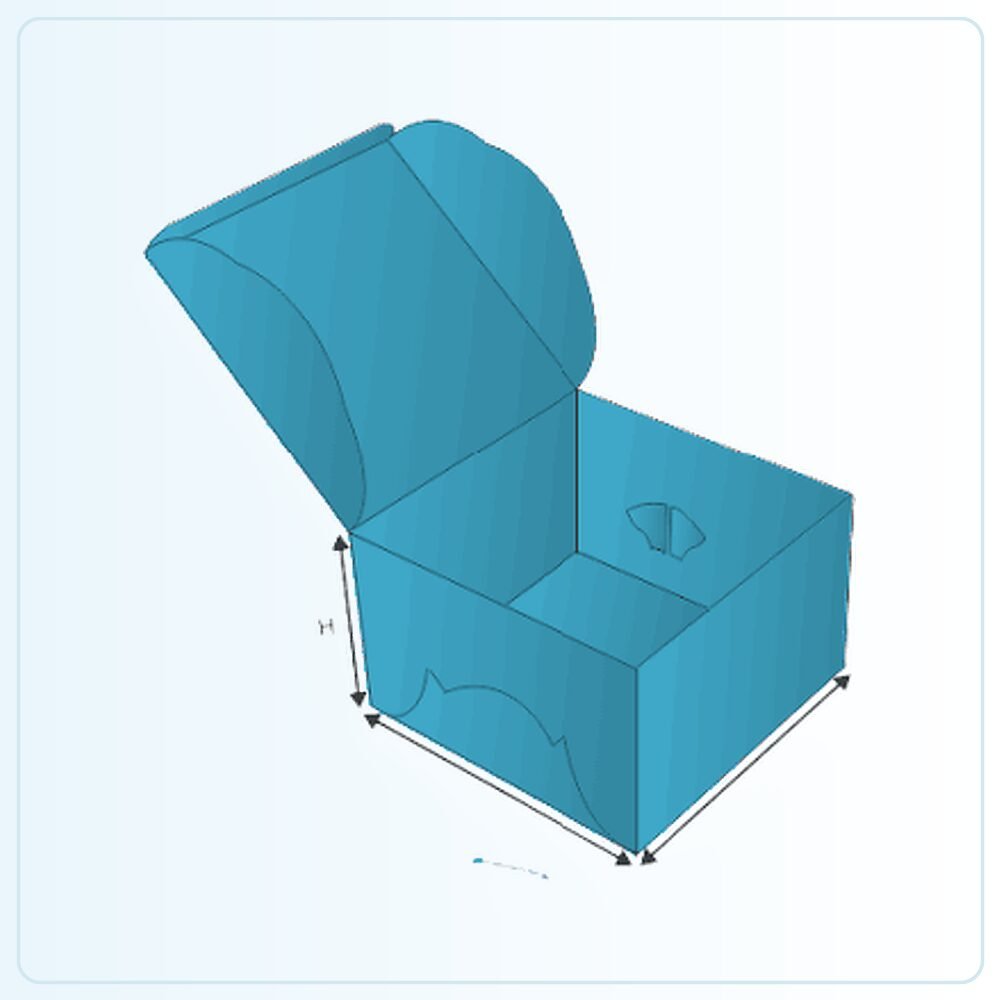
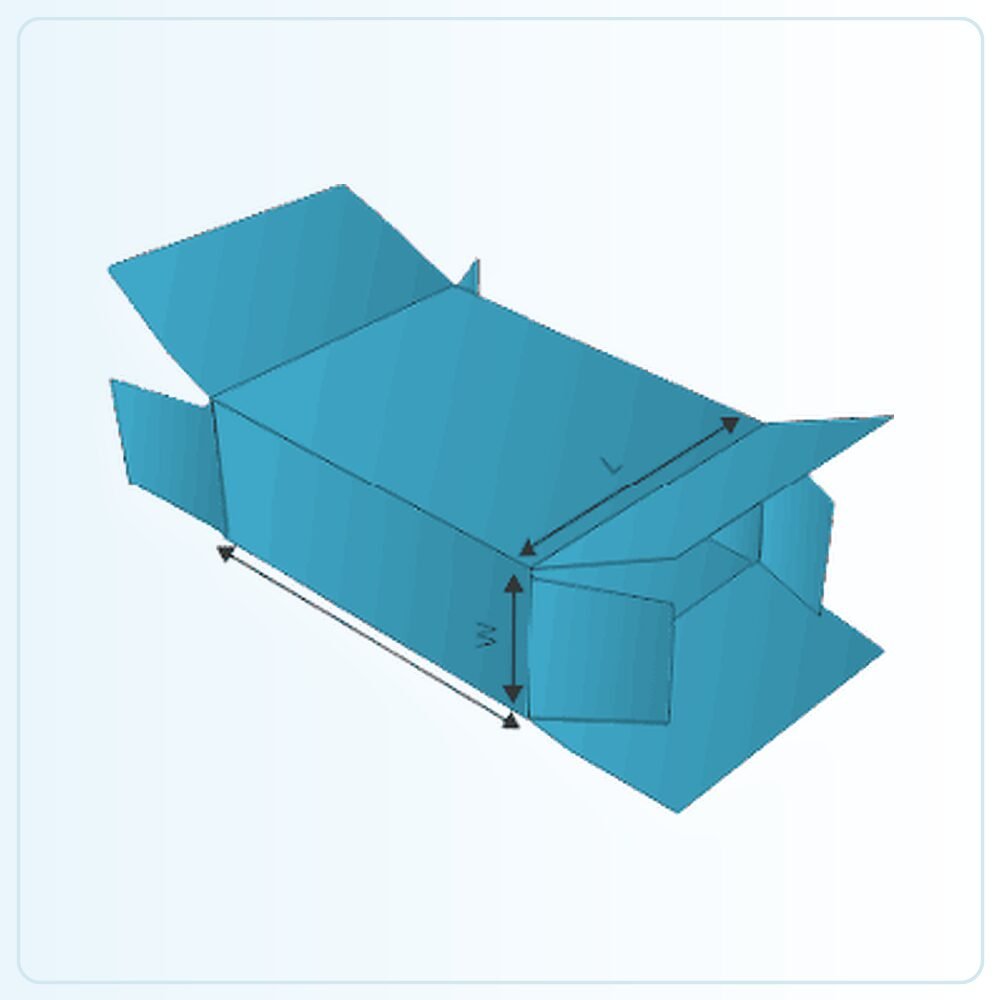
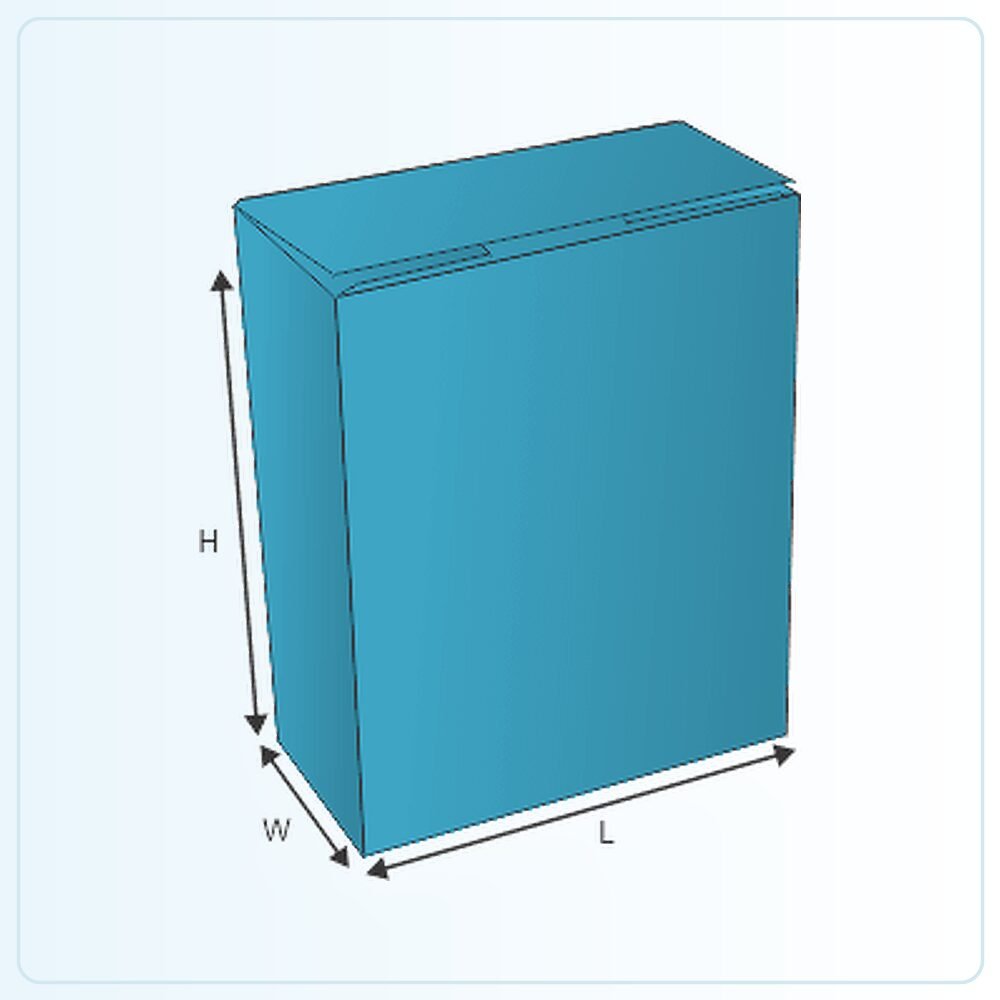
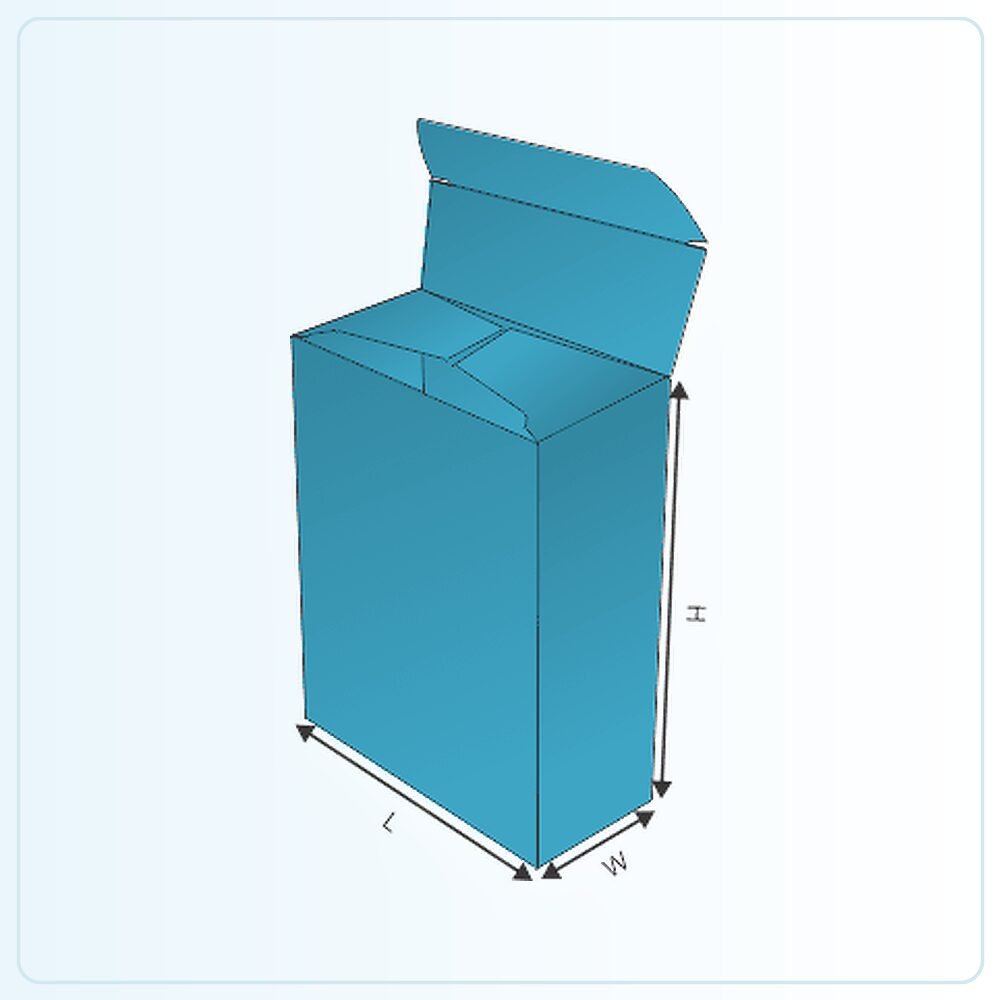
The reverse tuck closure gives the carton a familiar way to open at either end, with the tucks facing opposite directions. The window adds another decision: how much of the product remains covered and how much board is left around the opening. Those choices should be considered together rather than adding a window after the box has been sized.
Decide whether the aperture is open or covered
An open cut-out exposes the area behind it. A covered window places a transparent material across the opening. Explain whether the contents already have a wrapper and how customers will handle the pack. The construction should suit the actual product, not just the appearance of a sample photograph.
A window does not automatically make a package sealed against moisture, dust or leakage. If a protective inner layer is necessary, include it in the brief. Where environmental wording is important, confirm the full material combination before describing the pack as plastic-free or recyclable. The presence or absence of window film makes a meaningful difference to that discussion.
Hold the product where the shopper expects to see it
A carefully positioned opening achieves little if the item drops below it or turns away. Measure the product in the orientation it will have inside the carton. Include anything that changes its position, such as a cap, hanging loop, folded sleeve or inner support.
For a set, decide which items should be visible first. A simple insert may help maintain the layout, but it needs to allow comfortable removal as well as a tidy display. Fill a sample, stand it on a shelf and handle it normally. Check that the visible feature stays aligned when the pack is picked up and put down again.
Balance visibility with a useful paperboard frame
The board surrounding the opening still has a job to do. It carries the artwork and forms part of the carton structure. Discuss the window shape, distance from folds and amount of handling expected, especially when the opening approaches an edge or closure.
Avoid settling the dimensions solely from a digital front view. A folded sample shows how the window relates to the side panels and end flaps. Check for awkward corners, areas that catch the product and sections that feel too flexible for normal use. Any change to the opening should be checked against the artwork before production is approved.
Use print to frame the product, not compete with it
Keep the main product name easy to find beside the visible contents. If the item already has a busy pattern or a strong colour, a quieter printed border may work better than another layer of decoration. The shopper should be able to understand both the product and your brand without studying the pack.
Plan secondary wording on the remaining panels. Reserve space for a barcode or variable label where required, and check that an internal object does not interfere with the intended reading area through the window. For several variants, make the identification clear even when the contents look similar from the outside.
Review the whole pack before choosing the finish
The final appearance depends on the board, printed colours and any transparent layer, as well as the artwork. Ask what a proposed sample can demonstrate. A screen proof cannot show every reflection, material texture or interaction between the product and the window.
If the carton will be dispatched online, plan the outer packaging separately. A retail window that shows the product attractively is not a substitute for cushioning or a suitable delivery container. Tell us how the item travels, how many units share a parcel and which surfaces must remain unmarked, so the display idea can be considered alongside protection.
Turn the template into your own specification
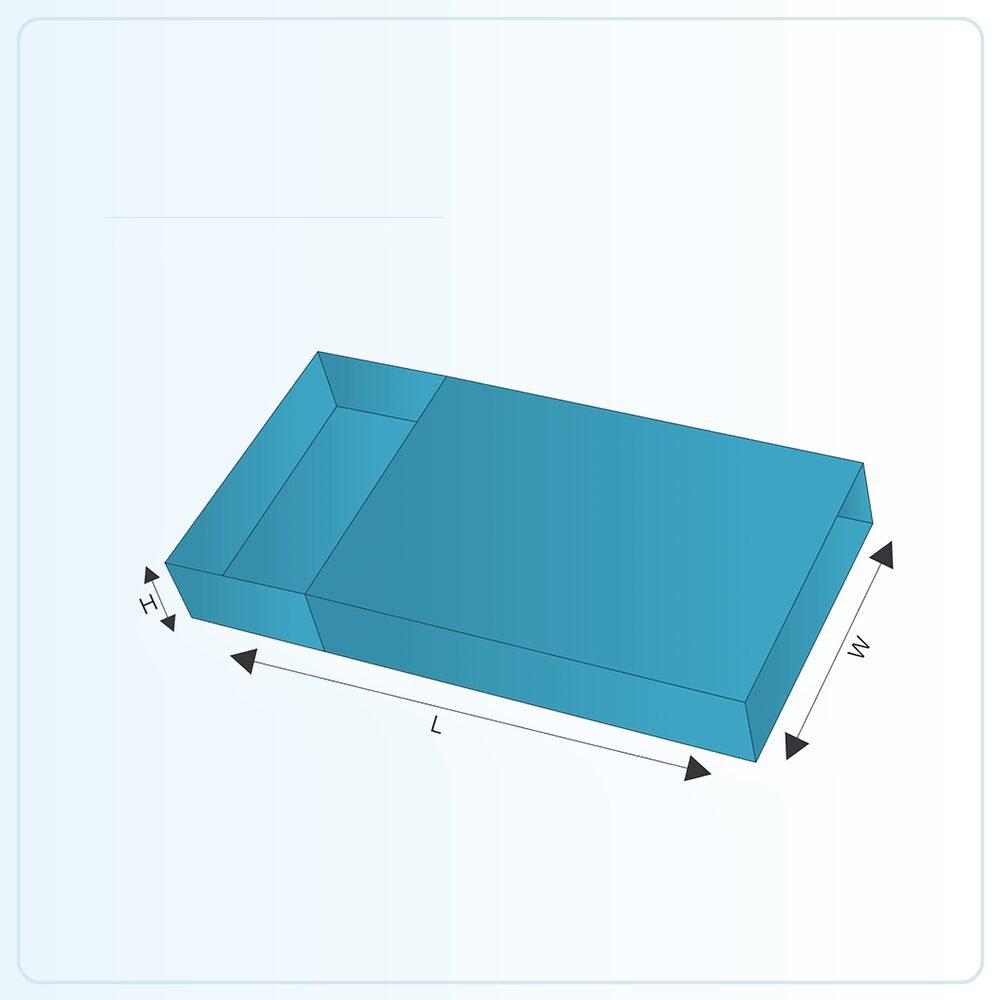
The illustration is a starting point for a made-to-order pack. It is not a production drawing that should simply be enlarged until your product appears to fit. Share the finished product measurements, packed weight and any inner components so the structure can be assessed at the size you actually need. Mark whether your measurements describe the product, the space inside the box or the outside of an existing pack.
Check the sample, not just the screen
A physical sample is available for £25 delivered. Agree what that sample will represent: the construction, material, printed appearance or a particular combination. A plain structural sample answers different questions from a finished printed example. Fill it with the actual product and include every insert, leaflet, wrapper or accessory that belongs in the final pack.
Ask the person who normally packs your orders to try it. Check the sequence of assembly, how comfortably the item goes in and how the customer removes it. Write down the changes you need before approving the next stage. If the pack will travel through a delivery network, assess the complete parcel rather than judging protection from an empty retail carton.
Get a clear price for the complete job
Orders start from 100 units. Our quoted prices include VAT and doorstep delivery. Usual production and delivery is 6–9 days; confirm the actual schedule for your agreed specification and target date. Tell us your delivery postcode, artwork status and any deadline when requesting a quote.
The useful comparison is the same structure, size, board, printing, finish and quantity. Ask for alternatives if you need to work towards a budget, and have any setup or additional components identified in the written quotation. Send your brief and we can help you settle the practical details before committing to the run.
Compare closed reverse tuck cartons, partitioned packaging, or request a packaging quote for this style.