Start with the front-opening experience
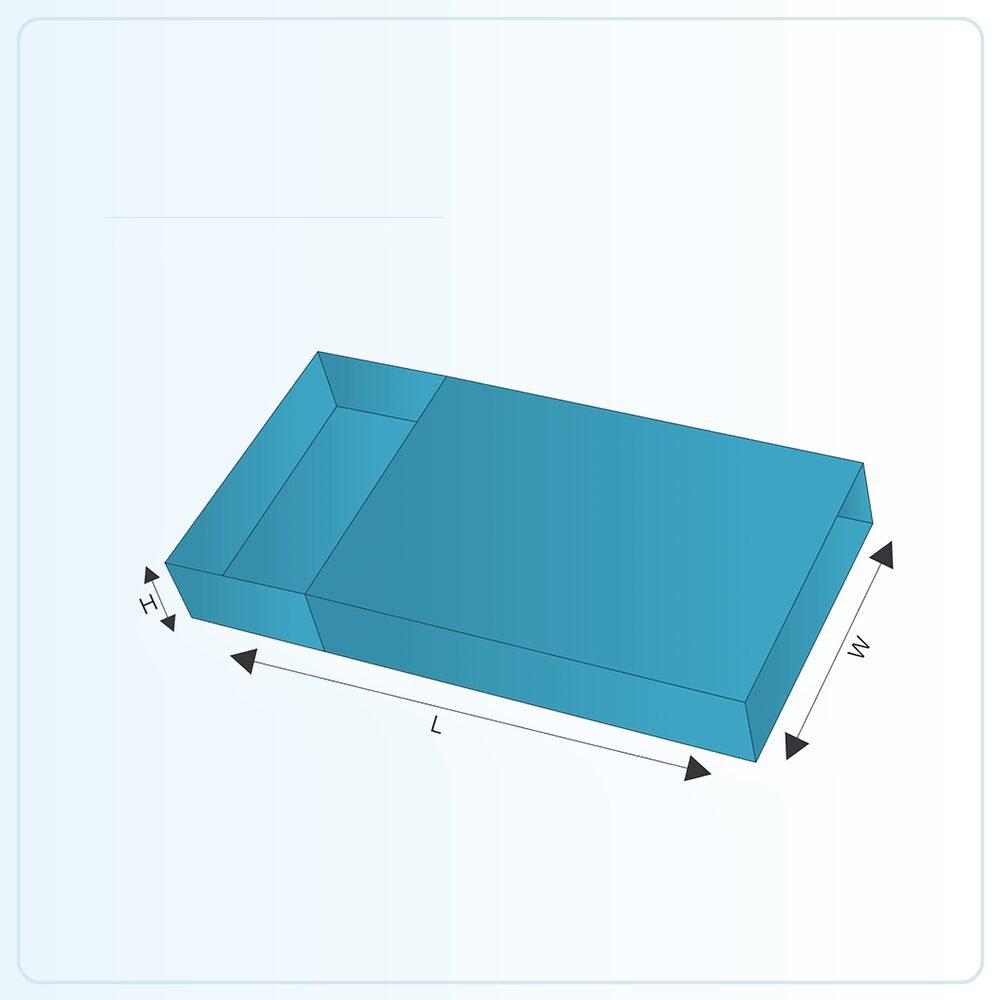
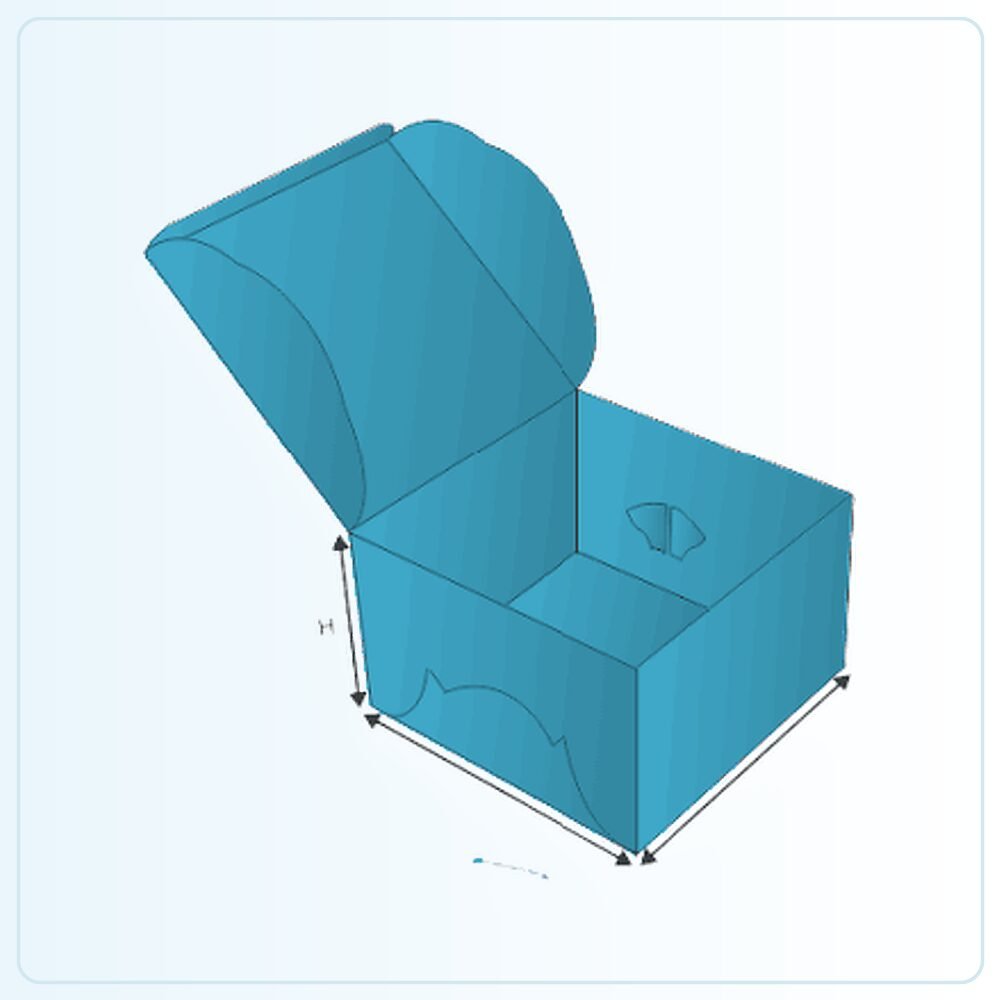
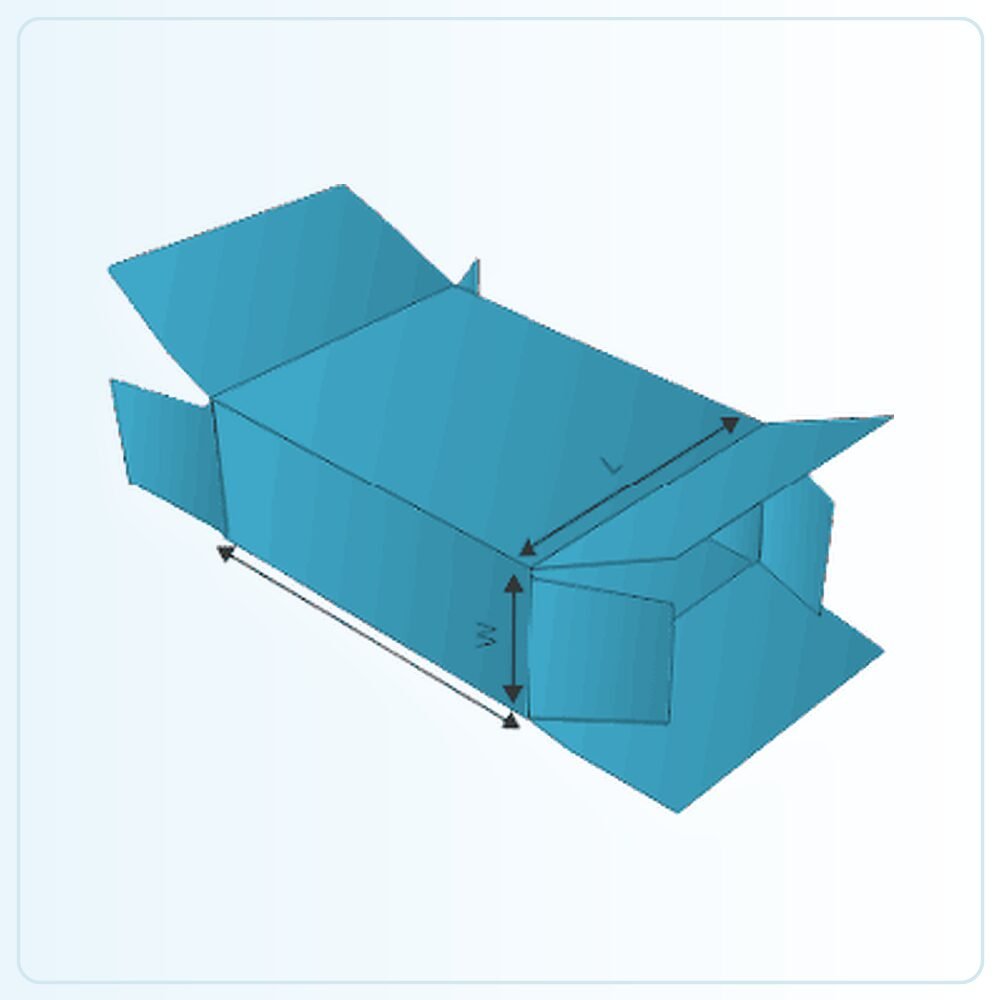
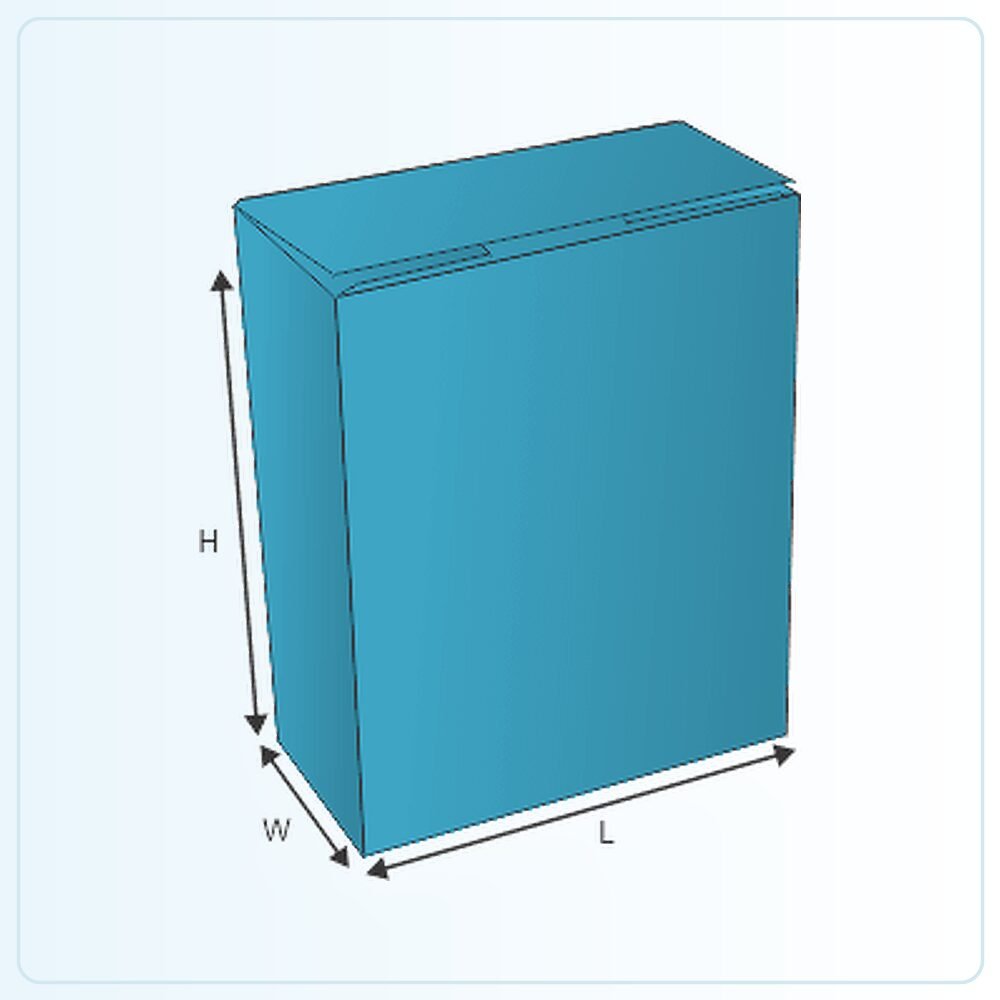
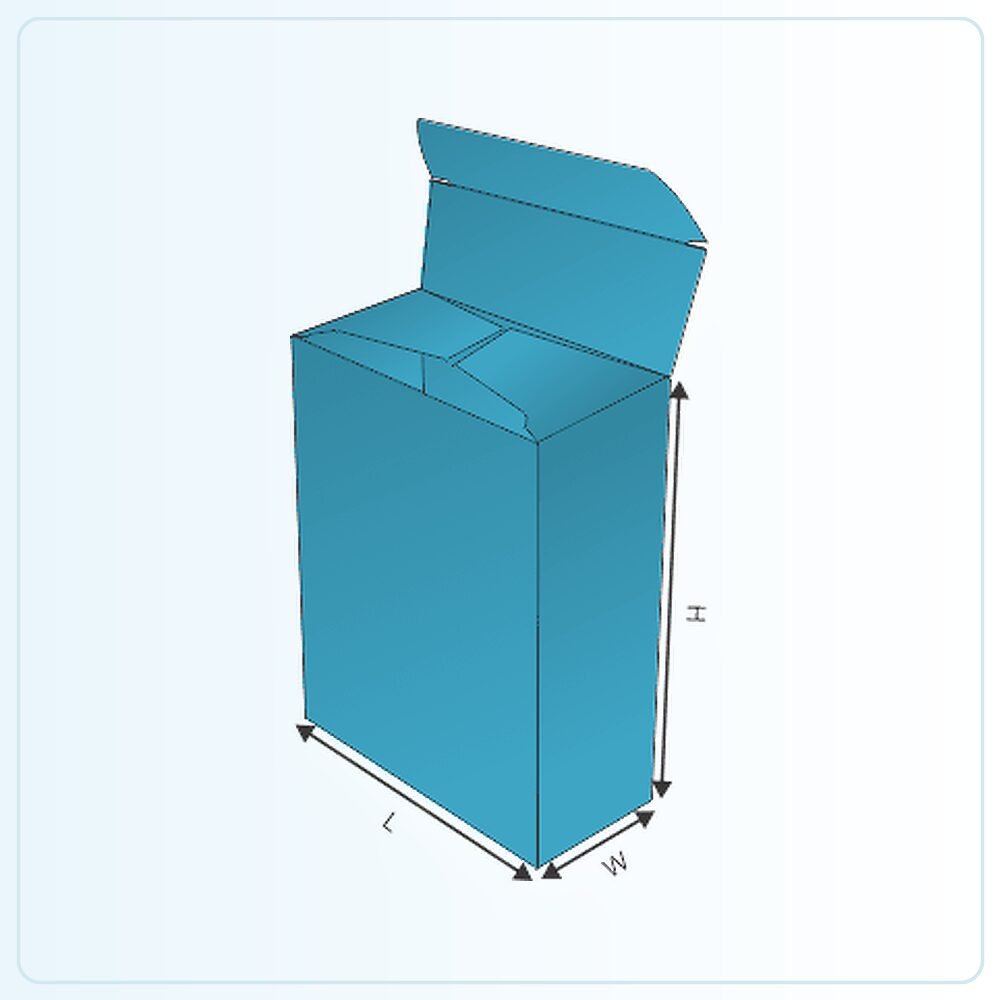
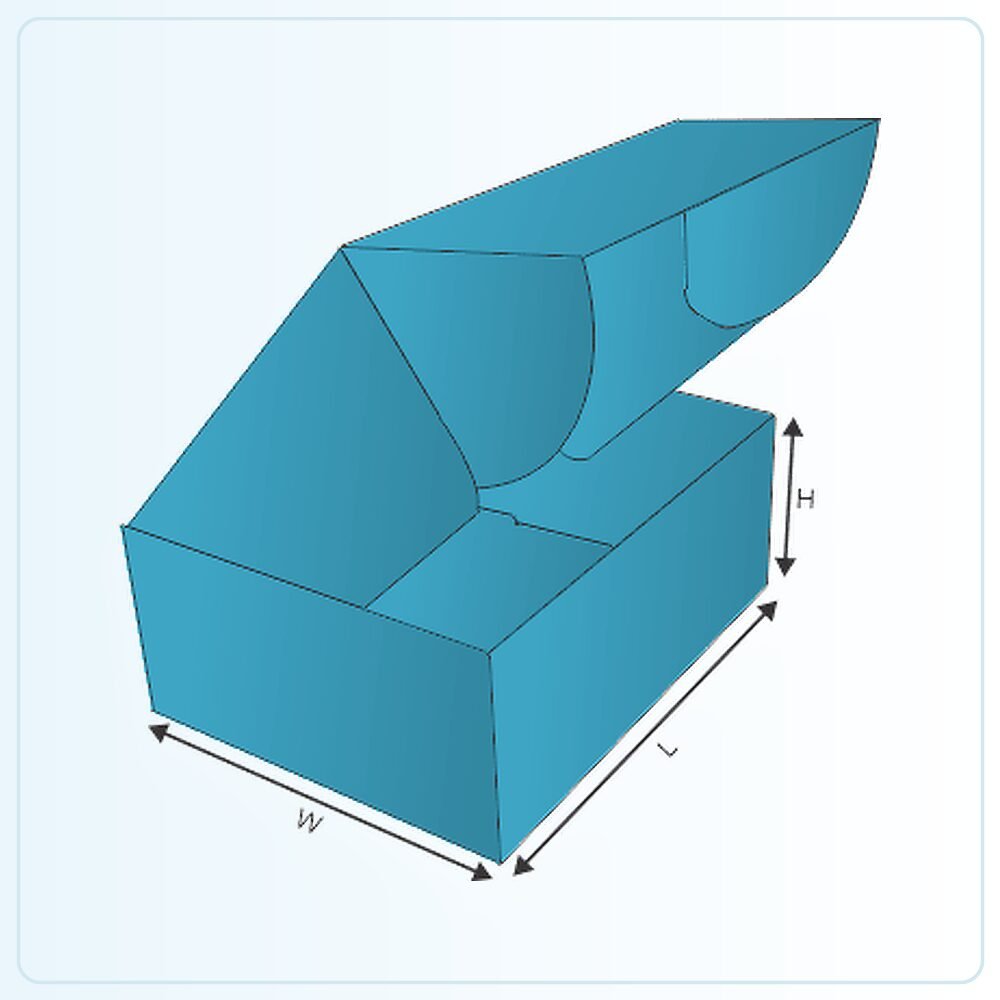
The tuck front detail creates an identifiable place to open the pack, while the folded wall arrangement shapes the body around the contents. The exact lid, side and locking features belong to the approved drawing. Use the style as a starting point, then explain how the product should be presented when the front is released.
This can be a useful format to consider for retail sets, accessories and products where opening from above makes the contents easy to see. The structure still needs assessing for the size, weight and handling. A substantial-looking rim is not a substitute for checking the complete filled pack.
Preserve room for the front closure
The tuck needs a clear path into its receiving area. A product, insert or leaflet placed too close to the front may obstruct closing or be caught when the customer opens the box. Include all those components in the sample trial rather than checking the product alone.
Look at what happens when the lid is lowered. It should not press down on a delicate feature or force the contents into another position. If the box is difficult to close, identify the interference instead of repeatedly pushing harder. The solution may involve the internal layout, the usable height or the closure detail rather than a general increase in box size.
Allow for the folded wall thickness
Double-wall construction changes the relationship between the product space and the external footprint. State whether your measurements describe the inside of the pack or the outside of an existing box. If an insert is required, provide its intended role and dimensions before the final internal space is agreed.
For a group of products, check the arrangement at the corners and along the folded edges. A broad rectangular footprint may look generous while leaving an awkward tight point beside a particular component. A physical layout with the actual contents helps reveal those issues before they become artwork or production problems.
Make the first view useful to the customer
Decide which item or message should appear as the lid opens. Keep any insert arrangement purposeful: it should locate the product and allow comfortable removal. A very close fit can look precise but become frustrating if the customer has nowhere to grip the item.
Consider how the box will be held during opening. If it is usually placed flat on a table, the contents may behave differently than when opened in the hands. Test the likely use rather than only photographing a carefully arranged sample. For a mixed set, check that smaller accessories remain in place when the main item is removed.
Give the lid, front and interior different jobs
The closed lid can carry the principal brand presentation, while the front edge helps identify the opening. The inside may provide a welcome message, instructions or simply a clean background for the product. Decide where print genuinely helps before applying the same visual treatment to every surface.
Review the design in three states: flat artwork, closed box and open box. A logo that looks central on a panel drawing may feel misplaced once the folds and overlaps are visible. Keep essential wording away from the working tuck area, and confirm any finishing detail around the front edge against the agreed construction.
Confirm the material and delivery arrangement
The words double wall can refer to folded sections in the structure; they do not automatically identify double-wall corrugated board. Ask for the chosen material to be stated separately. Product weight, panel size, print appearance and handling all contribute to the material discussion.
If the box will be dispatched, agree whether it serves as the outer parcel or sits inside another container. A tuck front closure is not automatically sufficient security for every delivery route. Discuss any seal, cushioning or outer protection with the full product in mind, then test the sample using the same arrangement you intend to use for customer orders.
Turn the template into your own specification
The illustration is a starting point for a made-to-order pack. It is not a production drawing that should simply be enlarged until your product appears to fit. Share the finished product measurements, packed weight and any inner components so the structure can be assessed at the size you actually need. Mark whether your measurements describe the product, the space inside the box or the outside of an existing pack.
Check the sample, not just the screen
A physical sample is available for £25 delivered. Agree what that sample will represent: the construction, material, printed appearance or a particular combination. A plain structural sample answers different questions from a finished printed example. Fill it with the actual product and include every insert, leaflet, wrapper or accessory that belongs in the final pack.
Ask the person who normally packs your orders to try it. Check the sequence of assembly, how comfortably the item goes in and how the customer removes it. Write down the changes you need before approving the next stage. If the pack will travel through a delivery network, assess the complete parcel rather than judging protection from an empty retail carton.
Get a clear price for the complete job
Orders start from 100 units. Our quoted prices include VAT and doorstep delivery. Usual production and delivery is 6–9 days; confirm the actual schedule for your agreed specification and target date. Tell us your delivery postcode, artwork status and any deadline when requesting a quote.
The useful comparison is the same structure, size, board, printing, finish and quantity. Ask for alternatives if you need to work towards a budget, and have any setup or additional components identified in the written quotation. Send your brief and we can help you settle the practical details before committing to the run.
Compare mailer box structures, double wall tray and lid packs, or request a packaging quote for this style.