Two components that need to work together
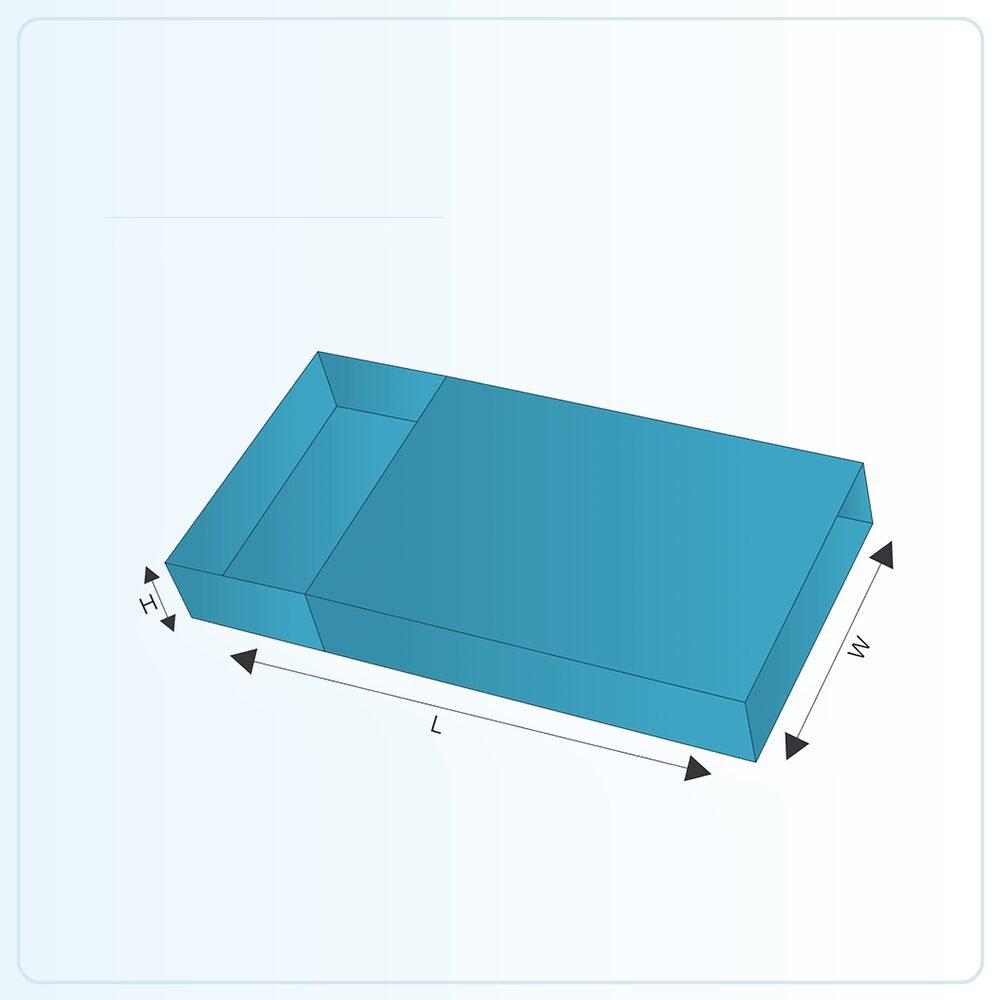
Tray and sleeve packaging combines a product-holding tray with an outer band or sleeve that slides over it. The fit between them is central to the experience. A sleeve that grips too tightly can make opening difficult, while one that is too loose may move during handling. The correct relationship should be established through the agreed construction and sample.
This format can be considered for accessories, gift sets and retail products where a gradual reveal suits the presentation. The style does not automatically imply a rigid drawer box or a particular board thickness. Confirm the material and assembly for each component so the quotation describes the pack you actually have in mind.
Start inside the tray
Arrange the full contents before choosing the outer dimensions. Include wrappers, inserts, cards and small accessories, then decide how the customer will lift each item out. A fitted layout should not leave the main product difficult to grip or require the smaller pieces to be tipped onto a table.
Consider whether the tray is opened fully or only partly withdrawn during use. If the product is visible early in the sliding action, its orientation matters. If a long item spans most of the tray, check how it can be removed without scraping against the sleeve or a folded rim. These are useful sample questions rather than details to leave until the artwork is finished.
Test the slide with the pack filled
The tray can behave differently when loaded. Contents pressing against a side wall, an insert adding thickness or a wrapper caught at an edge may change the sliding fit. Trial the complete product arrangement, including any finishing on the tray or sleeve that is intended for the production version.
Check the opening from both ends if the sleeve is open in both directions. Decide whether the user needs guidance about which way to push or pull. If a stop, ribbon or other opening aid is required, discuss it as a specific component rather than assuming it is included in the basic style.
Make the open ends part of the design
A sleeve does not necessarily cover every end of the tray. Look at the finished pack from the sides as well as the main branded face. Exposed tray edges, product movement and the visible internal colour all contribute to the presentation. Confirm whether the contents need separate coverage or a retaining feature.
The sliding fit is not automatically a security seal. If the tray must stay in place while carried in a bag or sent through a delivery network, agree how that will be achieved. An extra seal or outer pack should be assessed with the filled sample so the opening remains sensible for the customer.
Give the sleeve a clear branding role
The outer sleeve can carry the main product identity while the tray provides a quieter background for the reveal. Decide whether the design reads horizontally or vertically and where the opening direction is most obvious. A simple graphic cue may be more useful than an elaborate design that leaves the user unsure how to begin.
Review any graphic that continues across a fold or appears to line up with the tray. The parts move relative to one another, so alignment should be judged in the intended closed position. Keep variable information, such as variant labels, on a surface that remains practical to identify during stock handling and packing.
Compare finish and quantity against the whole job
There are two components to manufacture, store and pair. If several products share the same tray but use different sleeves, identify the quantities and versions separately in the brief. Do not assume an order minimum can be split between artwork variants without confirming the arrangement.
Ask which material and finish choices suit the sliding action and the product. A decorative coating can affect the feel of the surfaces, so the finished specification should be checked rather than relying only on a plain mock-up. For dispatch, include outer protection where required and assess the complete parcel rather than treating the presentation sleeve as a shipping container.
Turn the template into your own specification
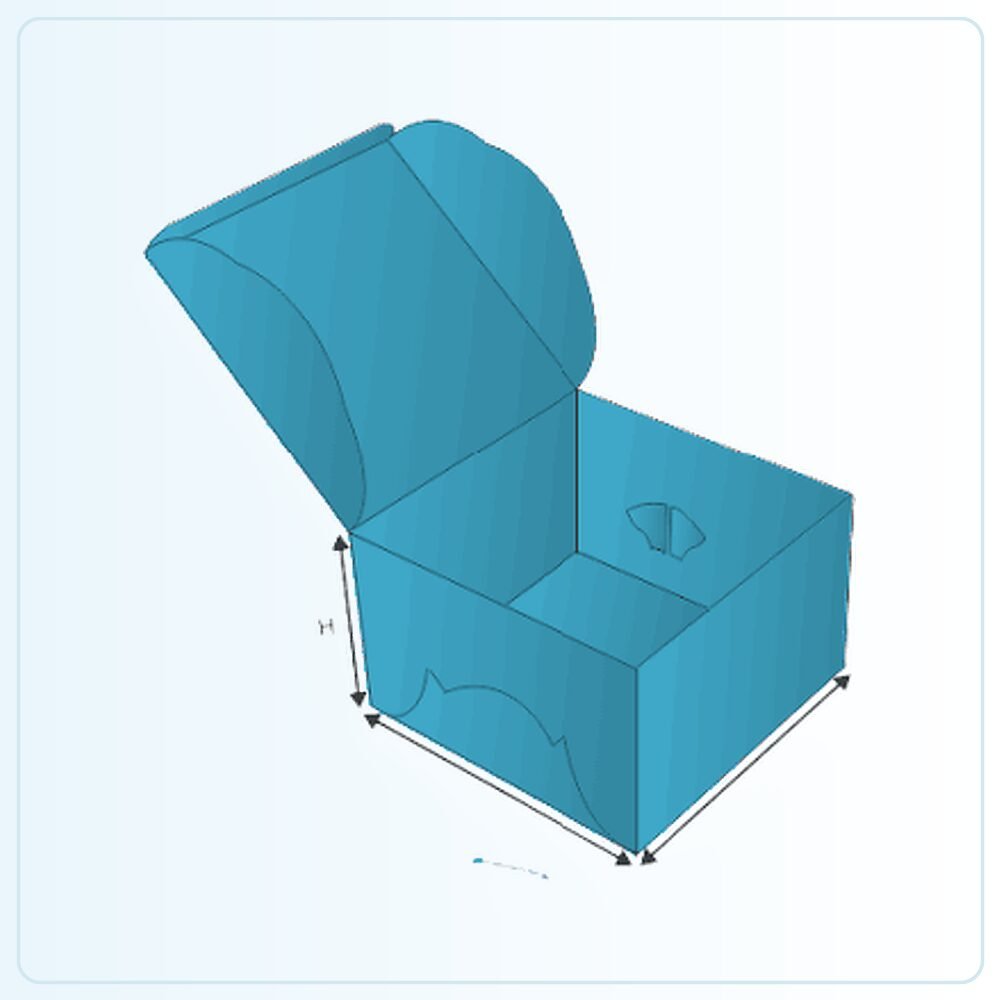
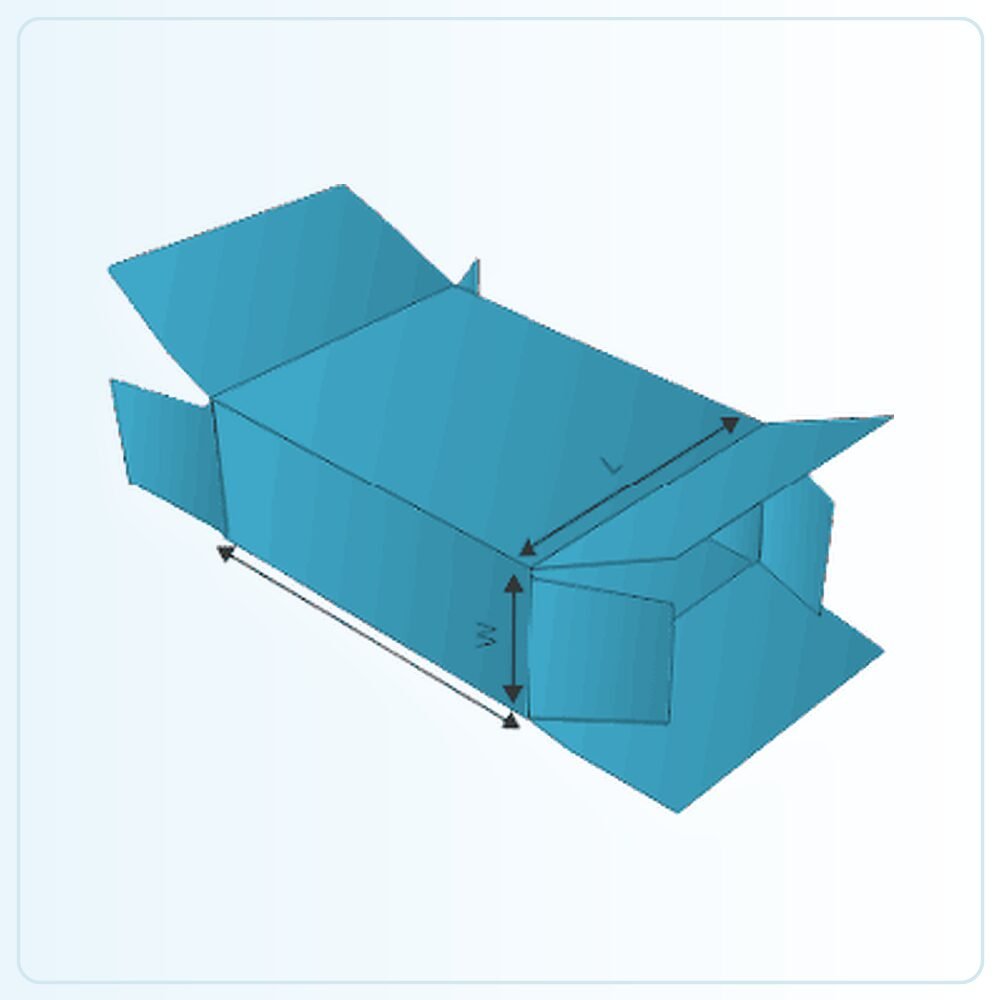
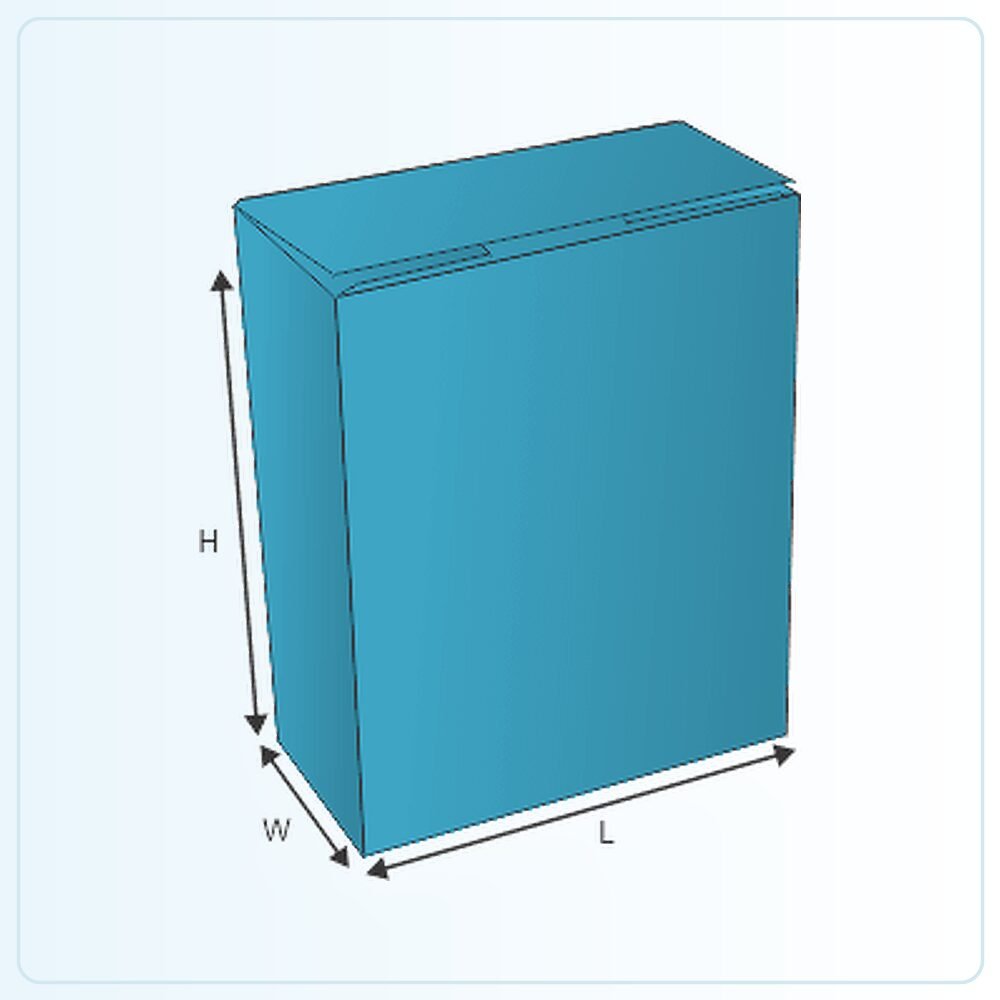
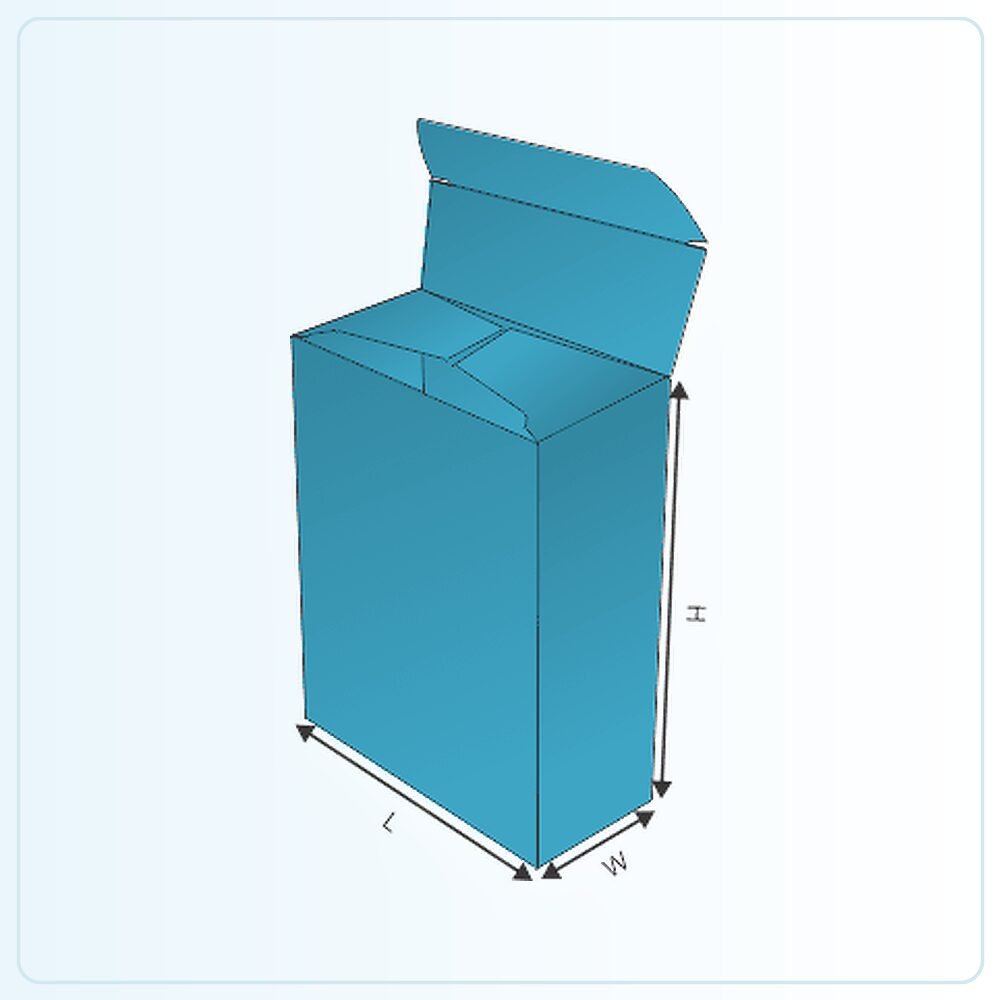
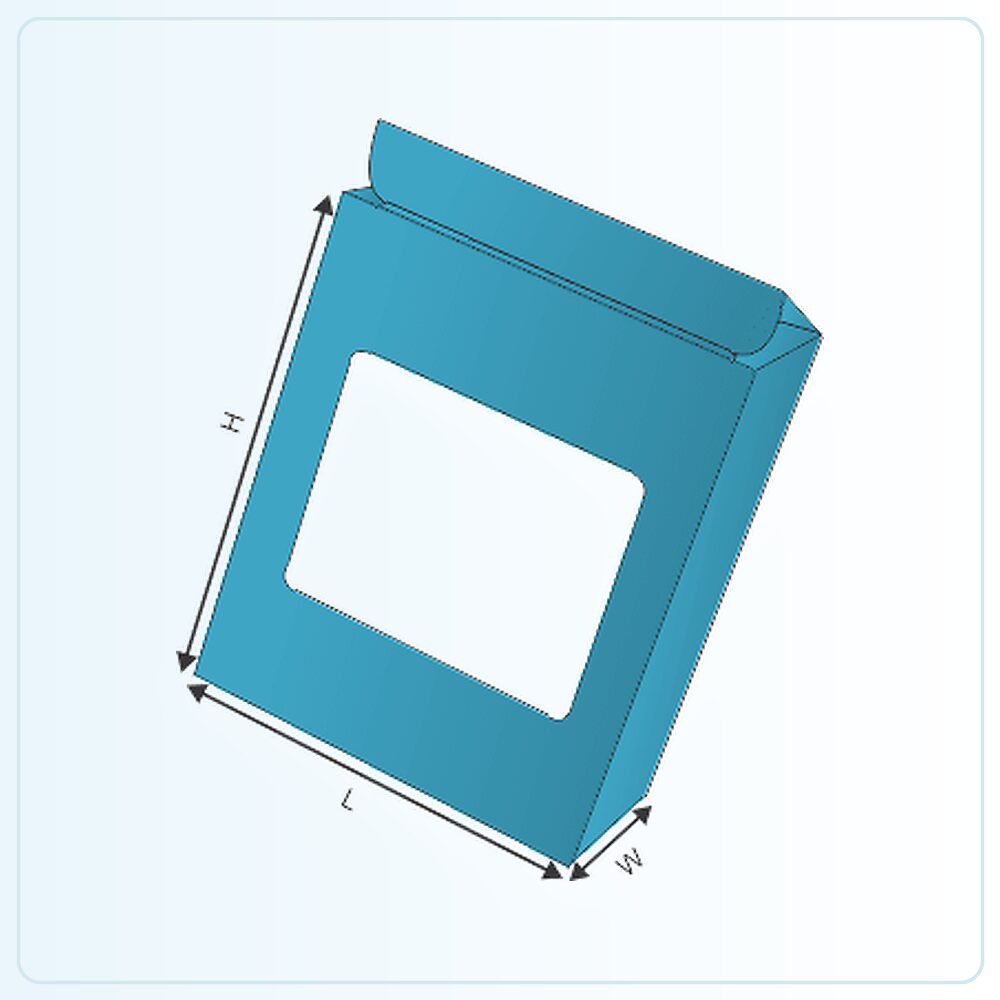
The illustration is a starting point for a made-to-order pack. It is not a production drawing that should simply be enlarged until your product appears to fit. Share the finished product measurements, packed weight and any inner components so the structure can be assessed at the size you actually need. Mark whether your measurements describe the product, the space inside the box or the outside of an existing pack.
Check the sample, not just the screen
A physical sample is available for £25 delivered. Agree what that sample will represent: the construction, material, printed appearance or a particular combination. A plain structural sample answers different questions from a finished printed example. Fill it with the actual product and include every insert, leaflet, wrapper or accessory that belongs in the final pack.
Ask the person who normally packs your orders to try it. Check the sequence of assembly, how comfortably the item goes in and how the customer removes it. Write down the changes you need before approving the next stage. If the pack will travel through a delivery network, assess the complete parcel rather than judging protection from an empty retail carton.
Get a clear price for the complete job
Orders start from 100 units. Our quoted prices include VAT and doorstep delivery. Usual production and delivery is 6–9 days; confirm the actual schedule for your agreed specification and target date. Tell us your delivery postcode, artwork status and any deadline when requesting a quote.
The useful comparison is the same structure, size, board, printing, finish and quantity. Ask for alternatives if you need to work towards a budget, and have any setup or additional components identified in the written quotation. Send your brief and we can help you settle the practical details before committing to the run.
Compare double wall trays, lift-off lid and base boxes, or request a packaging quote for this style.