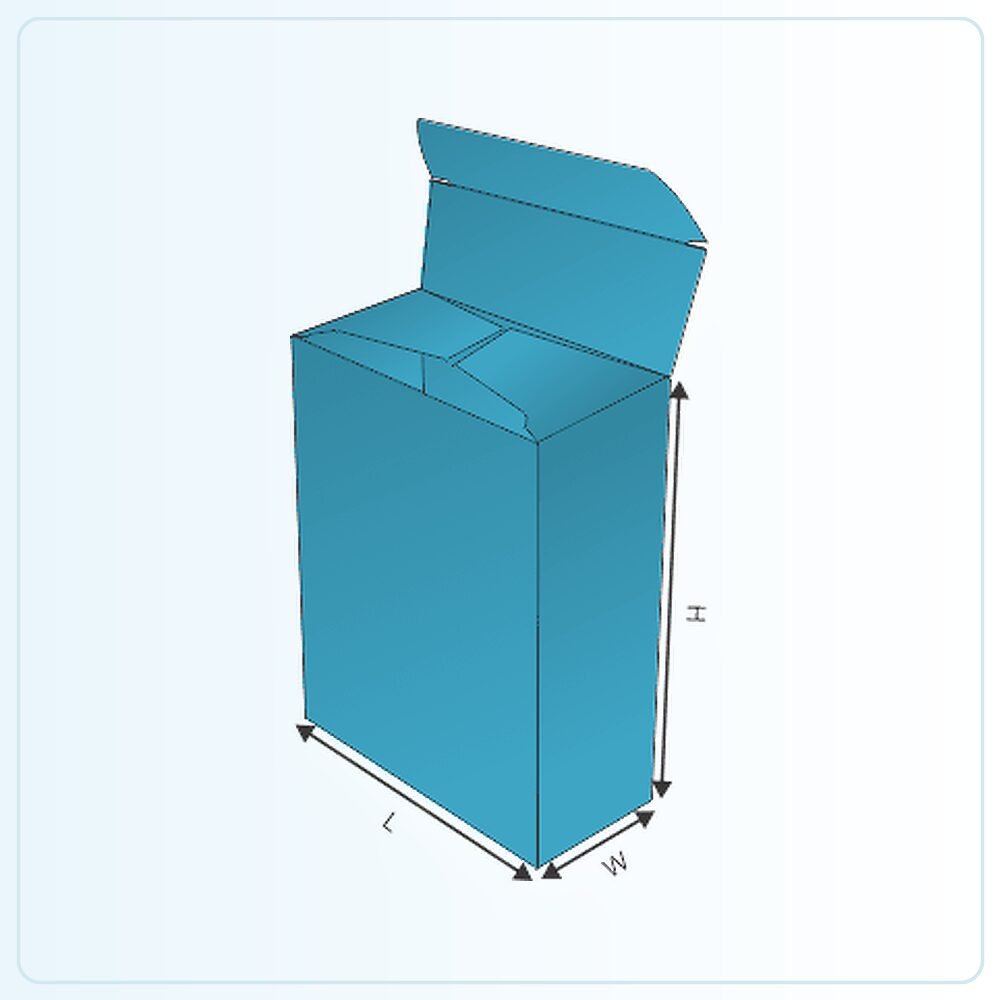
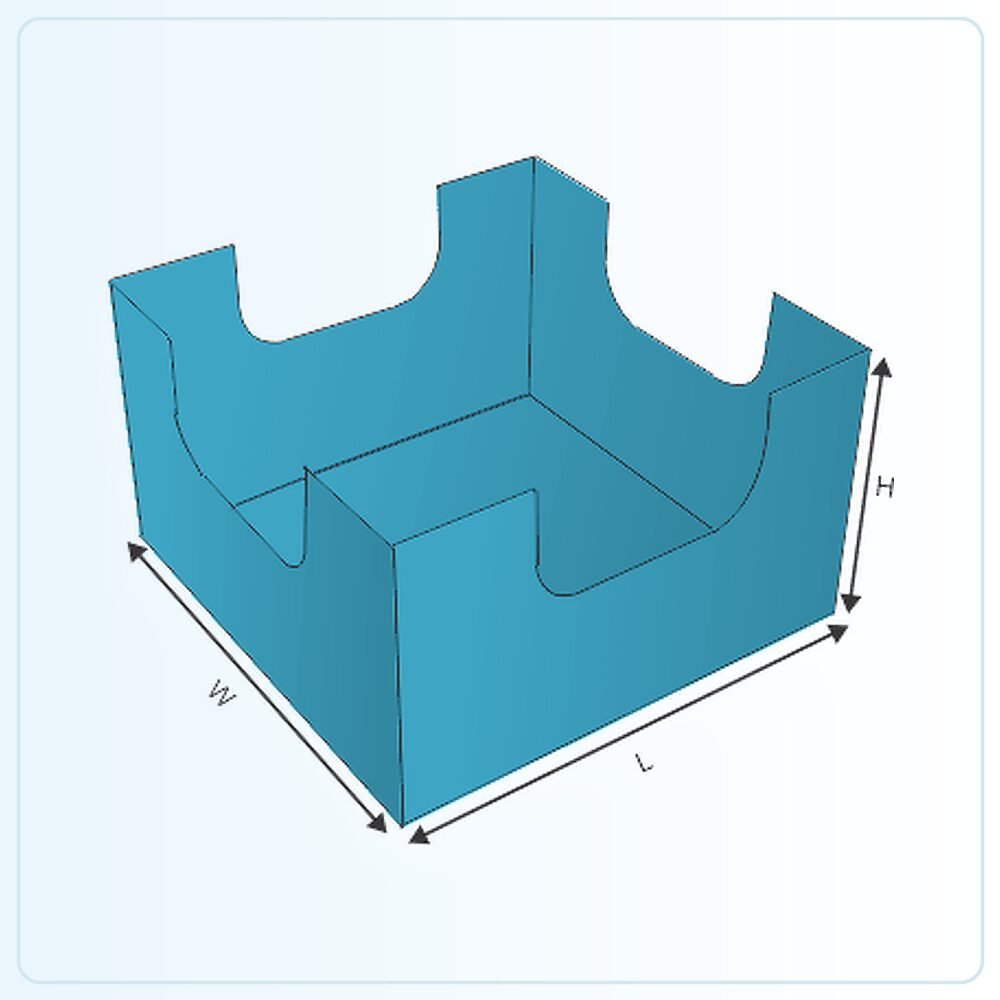
Double walls describe the construction, not every material
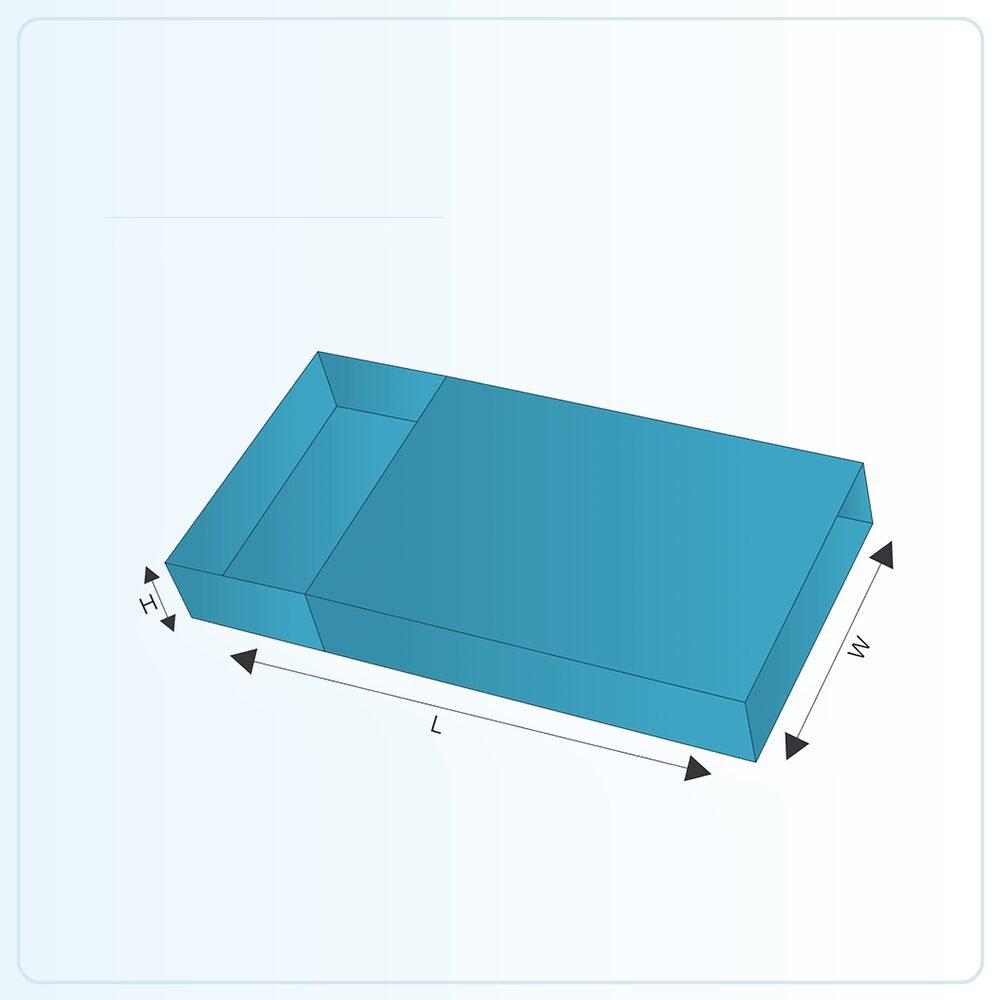
In this tray style, the wall arrangement folds to create doubled sections around the open body. That is a structural feature and should not be confused automatically with double-wall corrugated board, which describes a different material construction. Confirm both the tray drawing and the board specification when comparing options.
The folded walls can give the tray a more substantial rim and influence how it feels when handled. They also occupy space. Start with the product and the usable internal area rather than choosing an outside footprint and expecting the contents to fit once the walls are formed.
Allow for the space taken by the folded rim
Measure the full product arrangement, including any wrapper or insert, and explain where access is needed. If the tray holds several items, consider the gaps between them as well as the total footprint. A neat internal layout should leave a practical way to lift each piece out without pressing against the rim.
When replacing an existing tray, tell us whether your measurements are internal or external. Include a photograph of a corner and the wall profile if possible. Two trays with similar outside sizes can provide different usable space because of their folded construction. A sample is the most direct way to check the intended fit.
Choose wall height around the purpose of the tray
A deeper tray may cover more of the contents and offer a different handling feel, while a shallow tray leaves more of the product visible. Decide whether the main purpose is retail presentation, grouping items or supporting a pack inside another component. Each purpose can lead to a different balance of depth and access.
Look at the tray from the customer's normal angle. If a small product disappears below the rim, a deeper wall may be solving the wrong problem. If tall items lean when a neighbouring unit is removed, consider internal support rather than relying only on wall height. Test both the full and partly empty arrangement for displays.
Assess the base and rim together under load
The doubled wall detail does not establish a universal carrying capacity. Give us the filled weight and describe where it rests on the base. A broad object, several narrow containers and a mixed set with a heavy item at one end create different demands on the structure.
Fill the sample and handle it in the intended way. Notice whether the base flexes, whether the walls remain seated and whether an internal component changes position. If the tray will be lifted repeatedly, test that routine rather than only placing it on a shelf. Keep any proposed pad, divider or outer support in the final specification.
Plan print across the visible folded surfaces
The rim may expose surfaces that are not obvious from a flat drawing. Identify the inner and outer faces and check where a border or pattern changes direction. A folded mock-up is useful for judging whether the finished edges look intentional and whether important information remains visible after filling.
Think about how the tray is replenished or selected from stock. A clear identifier on an outward-facing wall can help staff recognise the contents, especially where several sizes or variants share a similar appearance. If you want a more restrained presentation, focus on a small number of useful printed surfaces instead of filling every available area.
Match any cover or outer packaging to the erected tray
A sleeve or lid must fit the tray after its walls are formed, including the accumulated board thickness and corner details. Do not size the cover from the product alone. Check the opening action with a filled sample so the cover does not grip too tightly or slide off during normal handling.
For food-related use, confirm the contact and storage conditions for the chosen material. For dispatch, assess coverage and transit protection separately from the tray's presentation. The open tray can organise the contents while a properly specified outer component addresses the journey. Describing both uses from the start makes the quote and sample much more informative.
Turn the template into your own specification
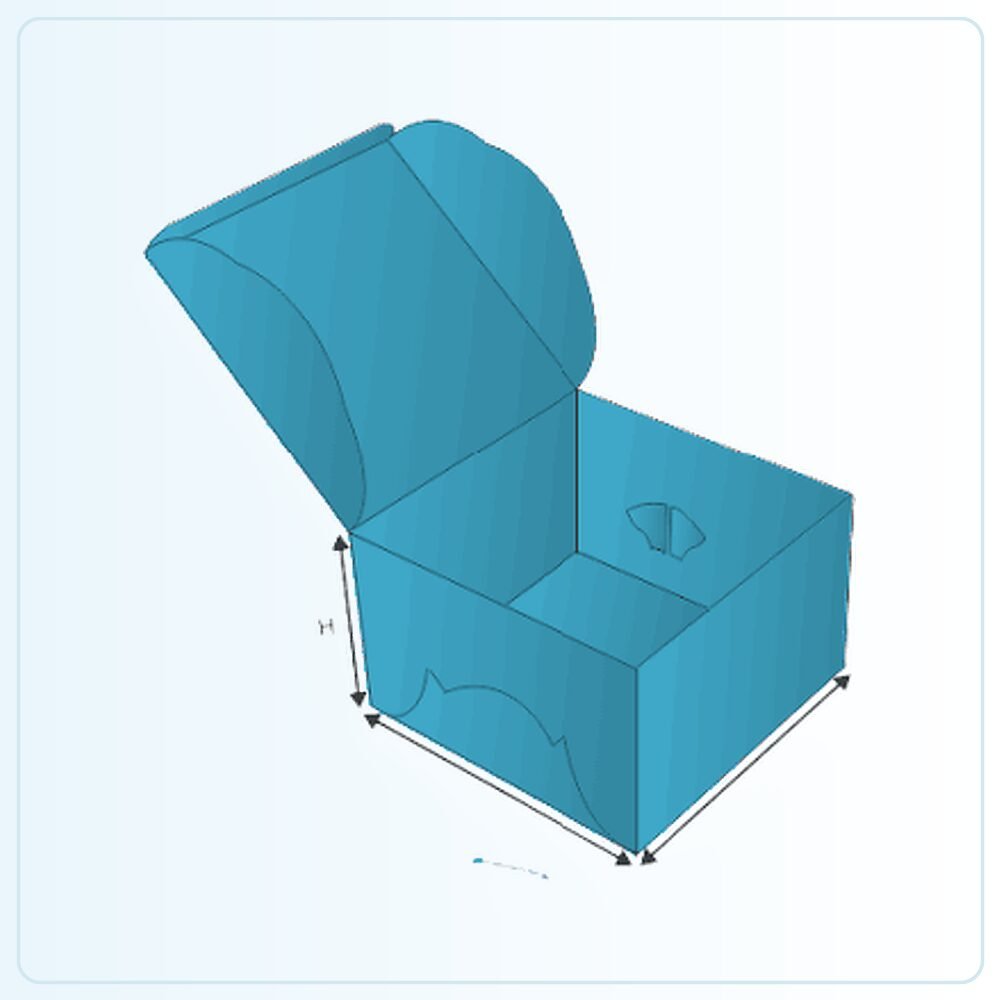
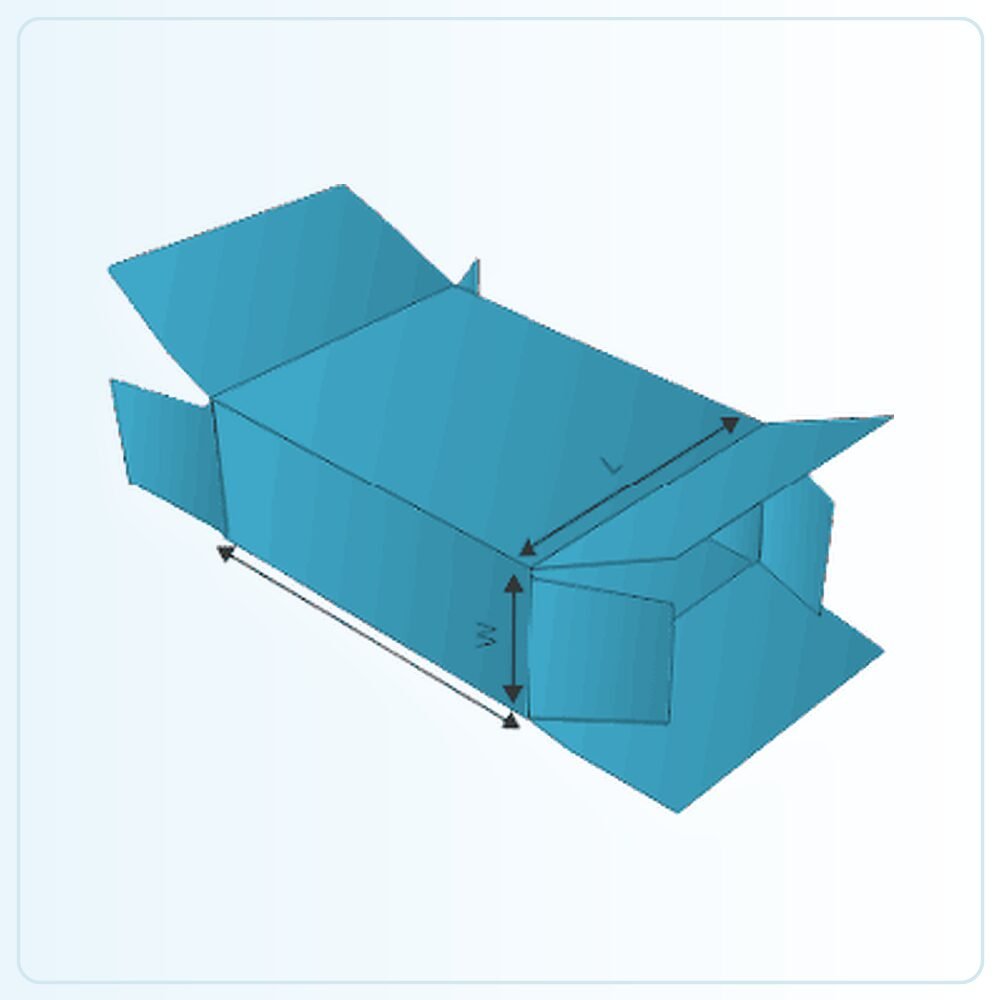
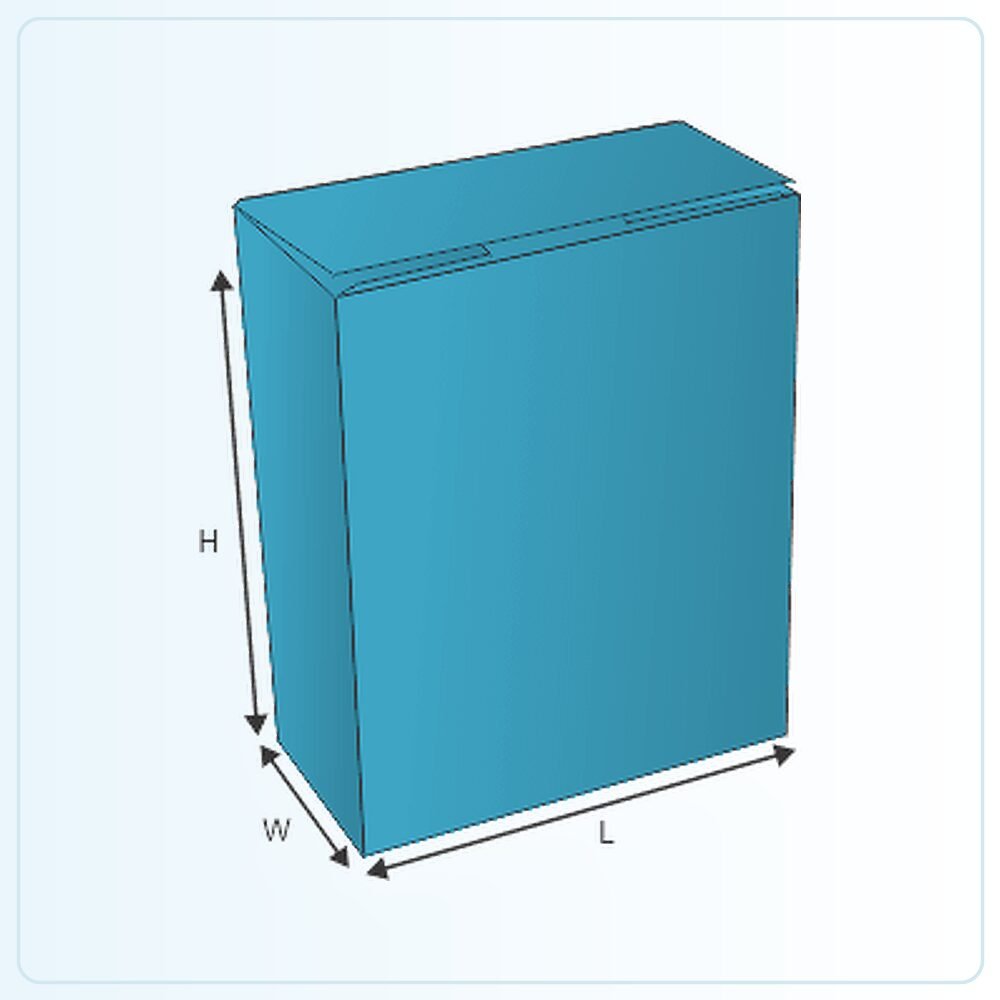
The illustration is a starting point for a made-to-order pack. It is not a production drawing that should simply be enlarged until your product appears to fit. Share the finished product measurements, packed weight and any inner components so the structure can be assessed at the size you actually need. Mark whether your measurements describe the product, the space inside the box or the outside of an existing pack.
Check the sample, not just the screen
A physical sample is available for £25 delivered. Agree what that sample will represent: the construction, material, printed appearance or a particular combination. A plain structural sample answers different questions from a finished printed example. Fill it with the actual product and include every insert, leaflet, wrapper or accessory that belongs in the final pack.
Ask the person who normally packs your orders to try it. Check the sequence of assembly, how comfortably the item goes in and how the customer removes it. Write down the changes you need before approving the next stage. If the pack will travel through a delivery network, assess the complete parcel rather than judging protection from an empty retail carton.
Get a clear price for the complete job
Orders start from 100 units. Our quoted prices include VAT and doorstep delivery. Usual production and delivery is 6–9 days; confirm the actual schedule for your agreed specification and target date. Tell us your delivery postcode, artwork status and any deadline when requesting a quote.
The useful comparison is the same structure, size, board, printing, finish and quantity. Ask for alternatives if you need to work towards a budget, and have any setup or additional components identified in the written quotation. Send your brief and we can help you settle the practical details before committing to the run.
Compare double wall tray and lid boxes, four corner trays, or request a packaging quote for this style.