Decide how the sleeve travels around the bowl
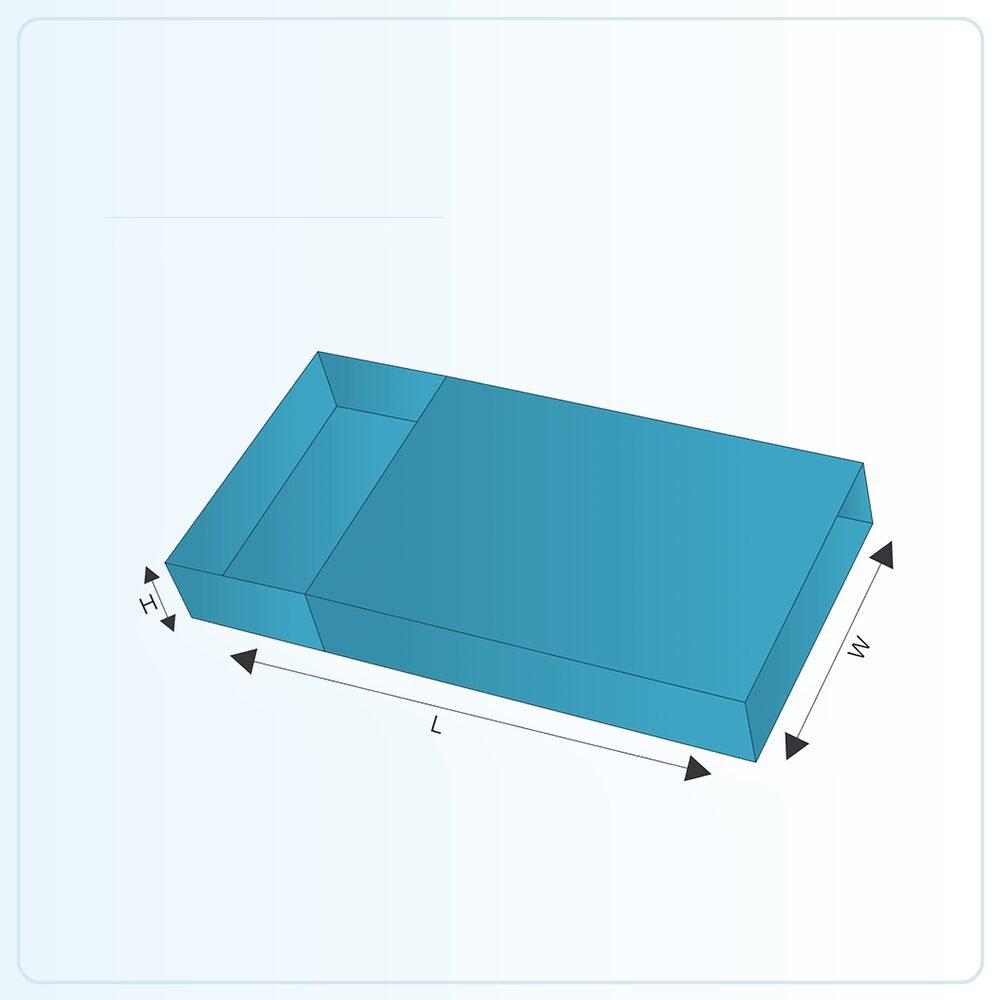
Bowl sleeves can follow different arrangements, so start with a drawing or reference showing the coverage you want. A band around the body and a sleeve passing across other parts of the container are not identical specifications. Confirm the open areas, join and fitting direction before settling the artwork size.
The sleeve is one part of the complete pack. The bowl and lid remain responsible for their own containment requirements, while the sleeve can carry branding and product information. Explain the full arrangement so the printed component is designed around the container you actually use rather than a generic bowl outline.
Measure the taper as well as the widest point
Many bowls and tubs change width between the rim and the base. A single circumference or diameter may not describe the sleeve position accurately. Provide measurements at the relevant points and identify where the sleeve should sit. Include the lid, rim and any ribs or projecting features that affect the fitting path.
Use the container in its finished filled condition when checking the sample. The sleeve must pass into position and then stay where intended without crushing the bowl or sitting loosely. If you buy containers from more than one source, compare them before assuming the same sleeve will fit all versions bearing a similar nominal capacity.
Check fitting at the packing stage
Decide whether the sleeve is fitted before filling, after the lid is applied or at another stage of your process. That sequence can change the available access and the surfaces the sleeve touches. Trial it with the staff and workspace normally used for packing rather than judging only a carefully assembled sample.
Check how the join or locking detail behaves as the sleeve is positioned. If it catches on the rim or needs excessive force, review the dimensions and construction. A sleeve that is difficult to fit can slow the operation and may damage the container or printed surface before the customer receives the pack.
Preserve access to the lid and product information
The sleeve should not make the intended opening confusing. Confirm how the customer removes or moves it, and whether it interferes with the lid's grip point. If the sleeve is intended to remain on the bowl during use, check that it stays in place without obstructing the normal access.
Think about information already printed or labelled on the container. The sleeve may cover it, so decide where the customer will find the required details on the complete pack. Review the product naming, variant identification and any label area together rather than assuming the original bowl information remains visible after the branded sleeve is fitted.
Specify the conditions the sleeve will encounter
Explain whether the pack is handled warm, chilled or in a moist environment, and whether the sleeve has any direct food contact. Material suitability needs confirmation for the intended use. A paper sleeve should not automatically be described as insulation, a moisture barrier or a leakproof component.
If customers are expected to reheat the contents or place the pack in an appliance, the complete packaging instructions need appropriate confirmation. Do not infer that a printed sleeve can remain fitted during heating simply because the bowl itself has a particular use. The container and sleeve may have different material requirements.
Make the curved print area easy to read
Place the main product name on the area most likely to face the customer and account for the way the sleeve wraps around the container. A design that looks centred on a flat strip can read differently when viewed on a tapered bowl. Review the assembled sample from the shelf or counter angle.
Keep important text clear of the join and any working folds. Reserve space for variable information or a barcode where required, with the final position checked against the container shape. For several recipes or product variants, maintain a consistent brand layout while making the wording easy to distinguish during packing and selection.
Turn the template into your own specification
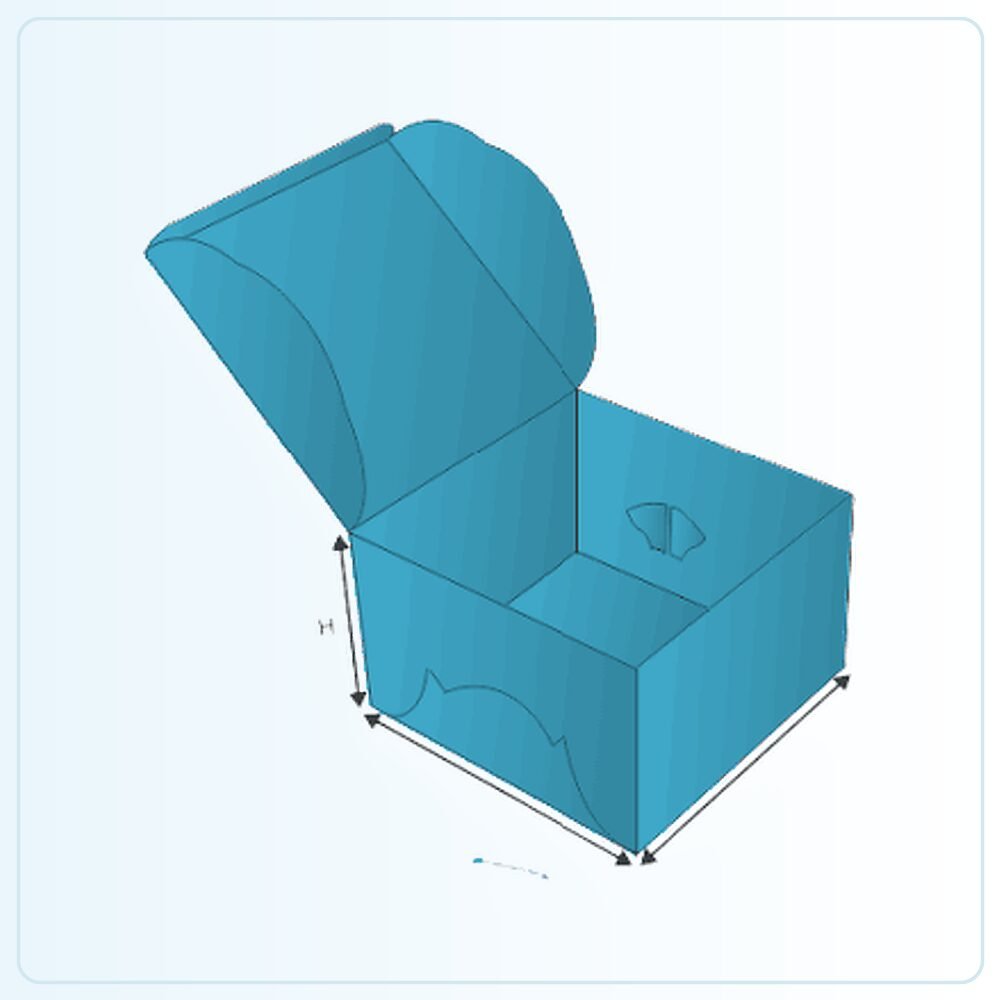
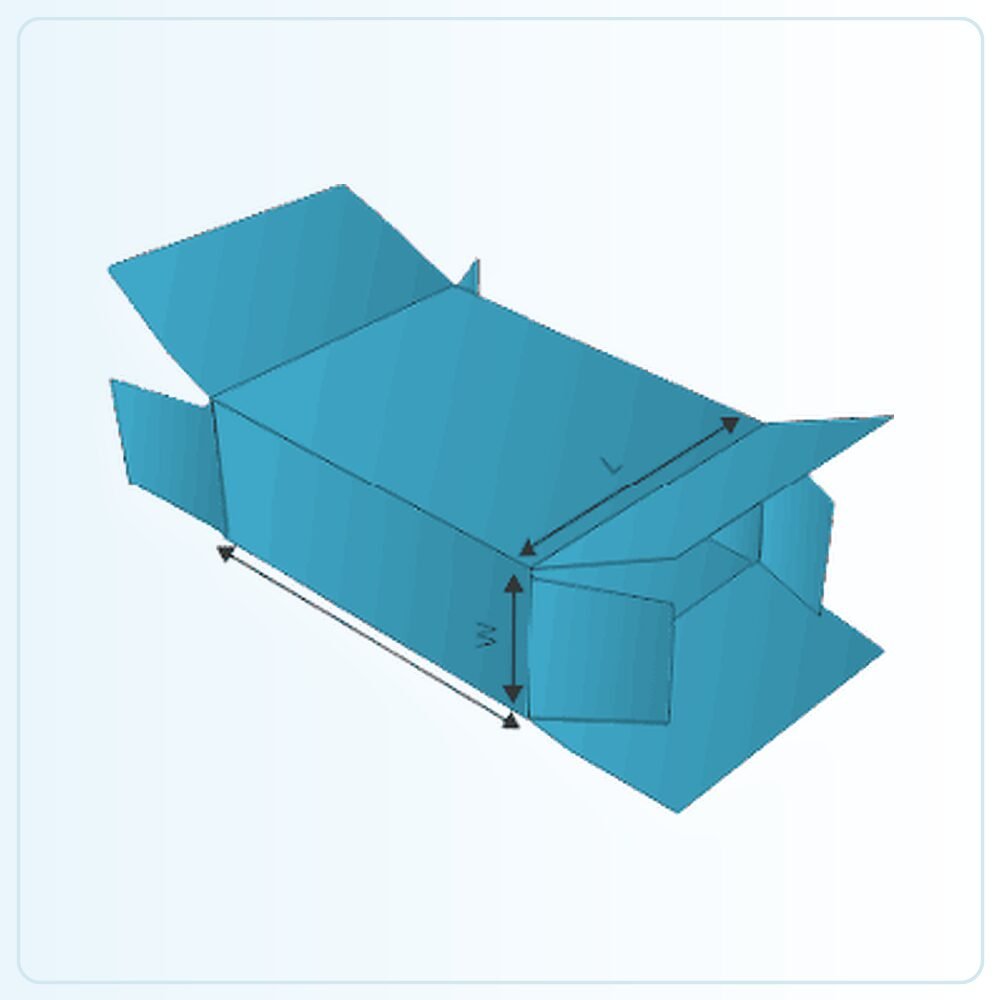
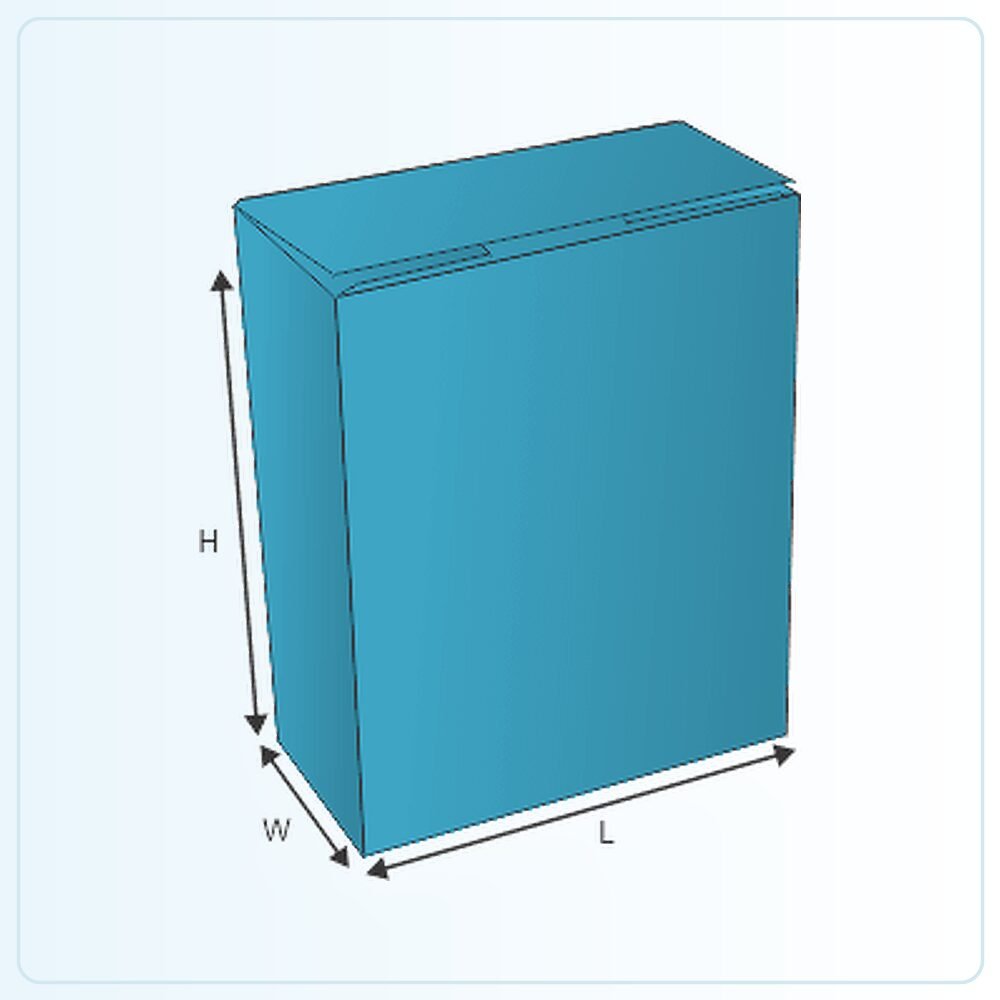
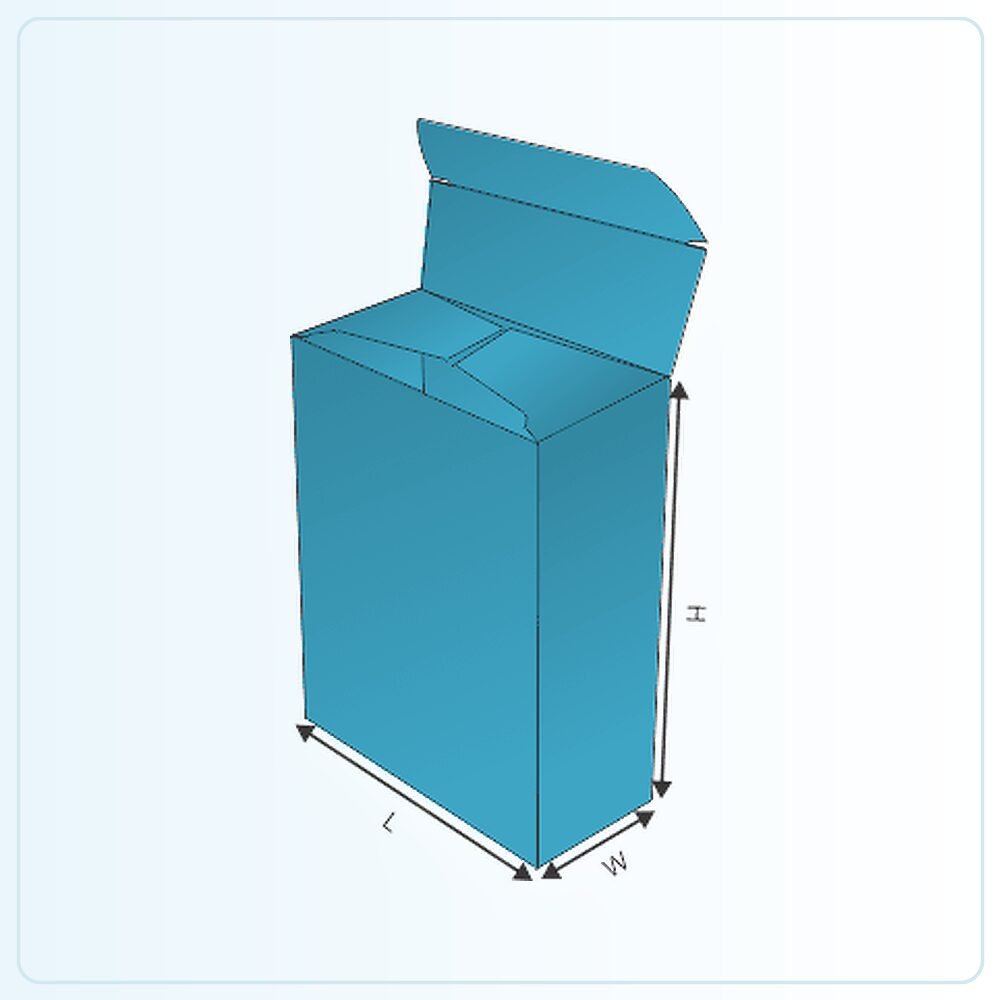
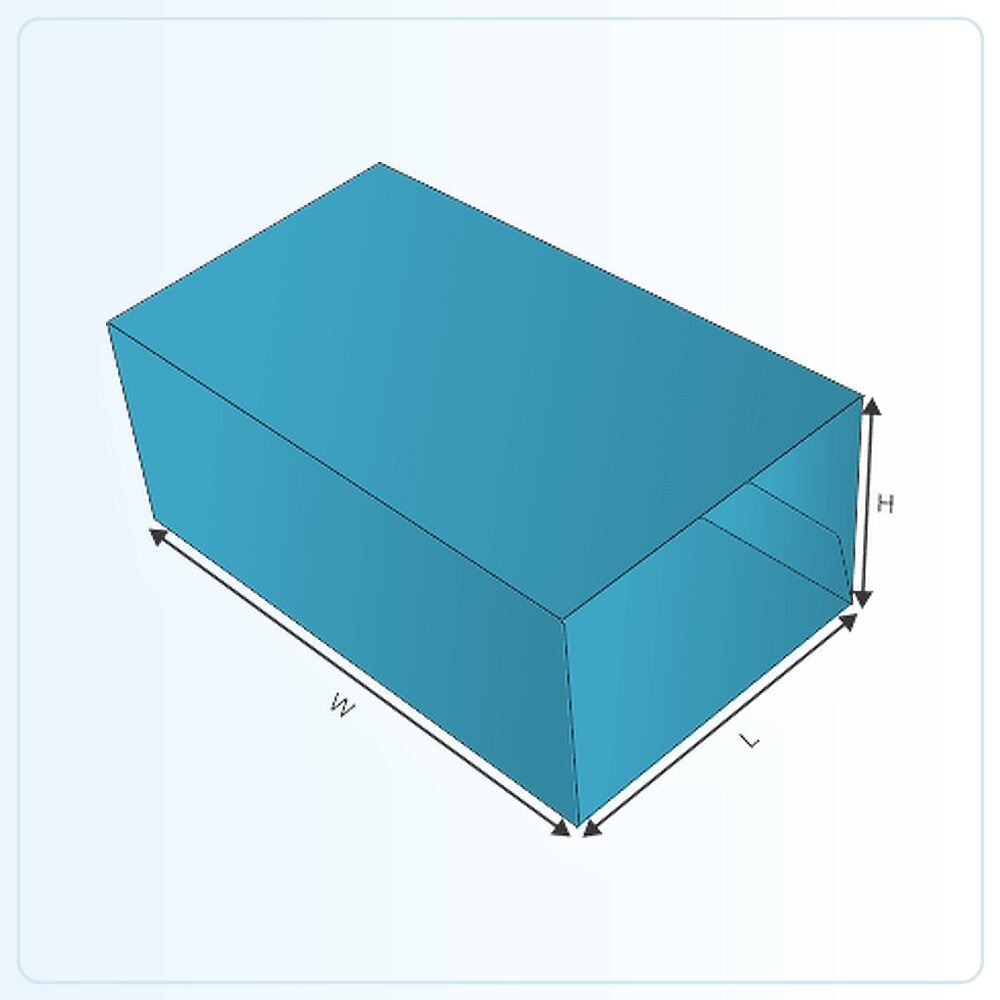
The illustration is a starting point for a made-to-order pack. It is not a production drawing that should simply be enlarged until your product appears to fit. Share the finished product measurements, packed weight and any inner components so the structure can be assessed at the size you actually need. Mark whether your measurements describe the product, the space inside the box or the outside of an existing pack.
Check the sample, not just the screen
A physical sample is available for £25 delivered. Agree what that sample will represent: the construction, material, printed appearance or a particular combination. A plain structural sample answers different questions from a finished printed example. Fill it with the actual product and include every insert, leaflet, wrapper or accessory that belongs in the final pack.
Ask the person who normally packs your orders to try it. Check the sequence of assembly, how comfortably the item goes in and how the customer removes it. Write down the changes you need before approving the next stage. If the pack will travel through a delivery network, assess the complete parcel rather than judging protection from an empty retail carton.
Get a clear price for the complete job
Orders start from 100 units. Our quoted prices include VAT and doorstep delivery. Usual production and delivery is 6–9 days; confirm the actual schedule for your agreed specification and target date. Tell us your delivery postcode, artwork status and any deadline when requesting a quote.
The useful comparison is the same structure, size, board, printing, finish and quantity. Ask for alternatives if you need to work towards a budget, and have any setup or additional components identified in the written quotation. Send your brief and we can help you settle the practical details before committing to the run.
Compare handled food carry boxes, tray and sleeve packs, or request a packaging quote for this style.