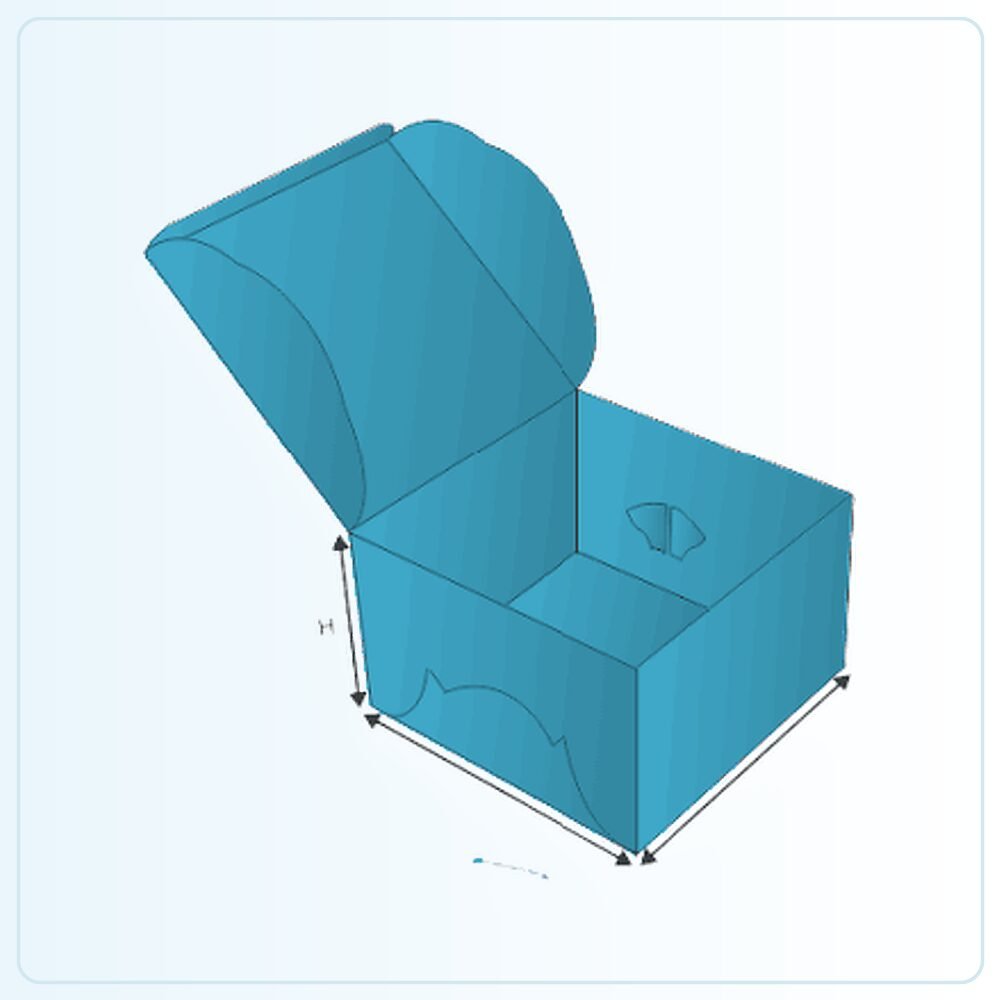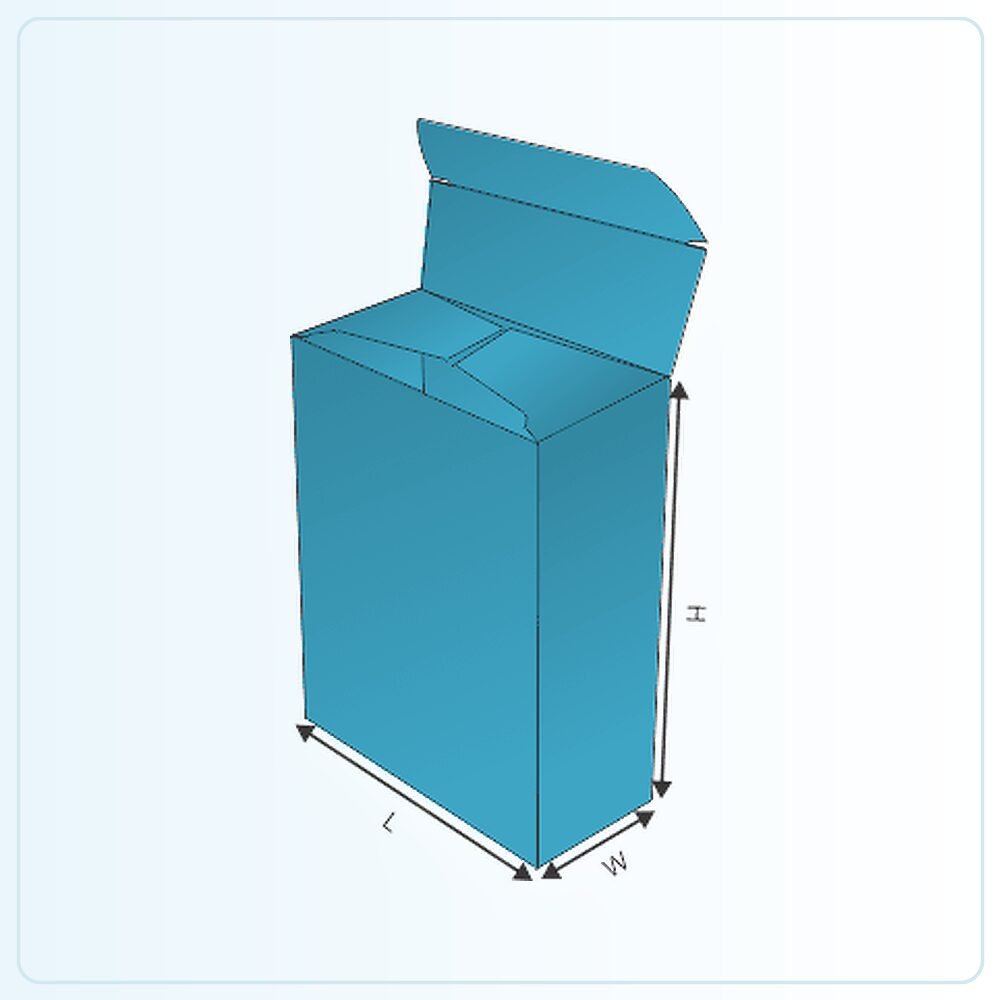
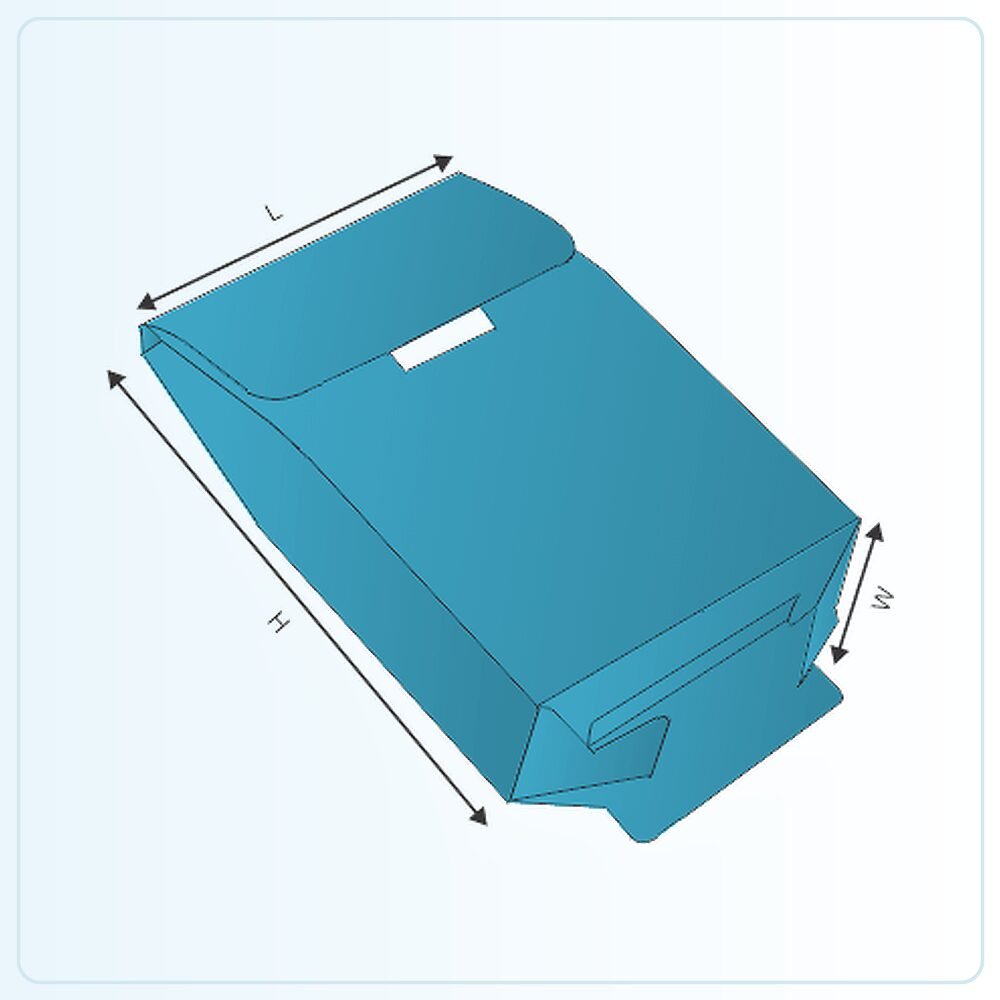
A gable shape with a separately assembled base
The gable form creates the recognisable upper profile, while the 1-2-3 bottom is formed by assembling the base flaps in sequence. The handle and top-closing details should be confirmed on the approved drawing. This is a folding packaging style, so the word bag should not lead you to assume the same behaviour as a flexible carrier bag.
It can be considered for take-home products, gift selections and grouped retail items. Start with the intended contents and how they will be carried. A convenient handle is useful only when the base, body and product arrangement also suit the filled load, so give those parts of the brief equal attention.
Measure the usable space below the gable
The peak and handle area are not the same as unobstructed product space. Identify the height available beneath the sloping top and include any item that projects above the main group. A tall bottle or decorative feature may approach the closure even when the overall outer height appears generous.
For a mixed set, arrange the products in the way they should be packed. Include wrapping, dividers and any gaps needed for access. Tell us which items must remain upright and whether one part of the set is much heavier than the others. This helps establish the footprint and internal support before the external proportions are fixed.
Make the base sequence easy to repeat
Follow the intended order of the 1-2-3 flaps and inspect the formed bottom before adding the product. A partly engaged base can look acceptable from inside while still needing attention underneath. The sample should make the folding method clear enough for the people who will actually pack the order.
Trial several assemblies at your normal bench. Notice whether the carton stays square while the base is formed and whether the product can be inserted without disturbing it. If setup time is a major concern, compare a gable auto-bottom version with the same contents rather than choosing solely from the appearance of the finished pack.
Check handle comfort with the real load
The handle needs enough practical clearance for a hand, but its dimensions also relate to the top construction and board. Describe the filled weight and expected carrying distance or handling. There is no useful universal capacity attached to the gable shape alone.
Lift the completed sample and check how it hangs. An uneven product arrangement may make the pack tilt or press contents against one side. If the handle pulls the top into an awkward position, review the construction and layout together. The correct sample trial includes the intended closure, inner supports and all the products, not just an empty carton held for a photograph.
Use the front panel and peak thoughtfully
The broad body is usually the clearest space for the main brand and product information. The upper panels can support the design, but folds and the handle opening may interrupt a continuous graphic. Review the assembled pack to see what remains readable from the normal carrying and display positions.
For seasonal or event versions, keep the fixed brand elements separate from wording that changes. Clear artwork references help prevent an old message being repeated on a new batch. If the pack contains several variants of the same product, identify the contents in a way that remains useful while the cartons are stacked or stored before handover.
Match the complete pack to its destination
For food-related gifts or takeaways, explain whether the contents are wrapped and any grease, moisture or temperature exposure. The material and inner arrangement need confirming for those conditions. A carry handle does not establish food-contact suitability or prevent a liquid container leaking inside the pack.
If the gable pack is sent by carrier, consider its projecting top and handle within the outer packaging. The format may be intended primarily for handover and carrying, so assess transit separately. Discuss coverage, restraint and cushioning where needed, then include the agreed arrangement in the sample and quotation.
Turn the template into your own specification
The illustration is a starting point for a made-to-order pack. It is not a production drawing that should simply be enlarged until your product appears to fit. Share the finished product measurements, packed weight and any inner components so the structure can be assessed at the size you actually need. Mark whether your measurements describe the product, the space inside the box or the outside of an existing pack.
Check the sample, not just the screen
A physical sample is available for £25 delivered. Agree what that sample will represent: the construction, material, printed appearance or a particular combination. A plain structural sample answers different questions from a finished printed example. Fill it with the actual product and include every insert, leaflet, wrapper or accessory that belongs in the final pack.
Ask the person who normally packs your orders to try it. Check the sequence of assembly, how comfortably the item goes in and how the customer removes it. Write down the changes you need before approving the next stage. If the pack will travel through a delivery network, assess the complete parcel rather than judging protection from an empty retail carton.
Get a clear price for the complete job
Orders start from 100 units. Our quoted prices include VAT and doorstep delivery. Usual production and delivery is 6–9 days; confirm the actual schedule for your agreed specification and target date. Tell us your delivery postcode, artwork status and any deadline when requesting a quote.
The useful comparison is the same structure, size, board, printing, finish and quantity. Ask for alternatives if you need to work towards a budget, and have any setup or additional components identified in the written quotation. Send your brief and we can help you settle the practical details before committing to the run.
Compare auto bottom gable bags, tuck end gable bags, or request a packaging quote for this style.