Start with the arrangement inside the tray
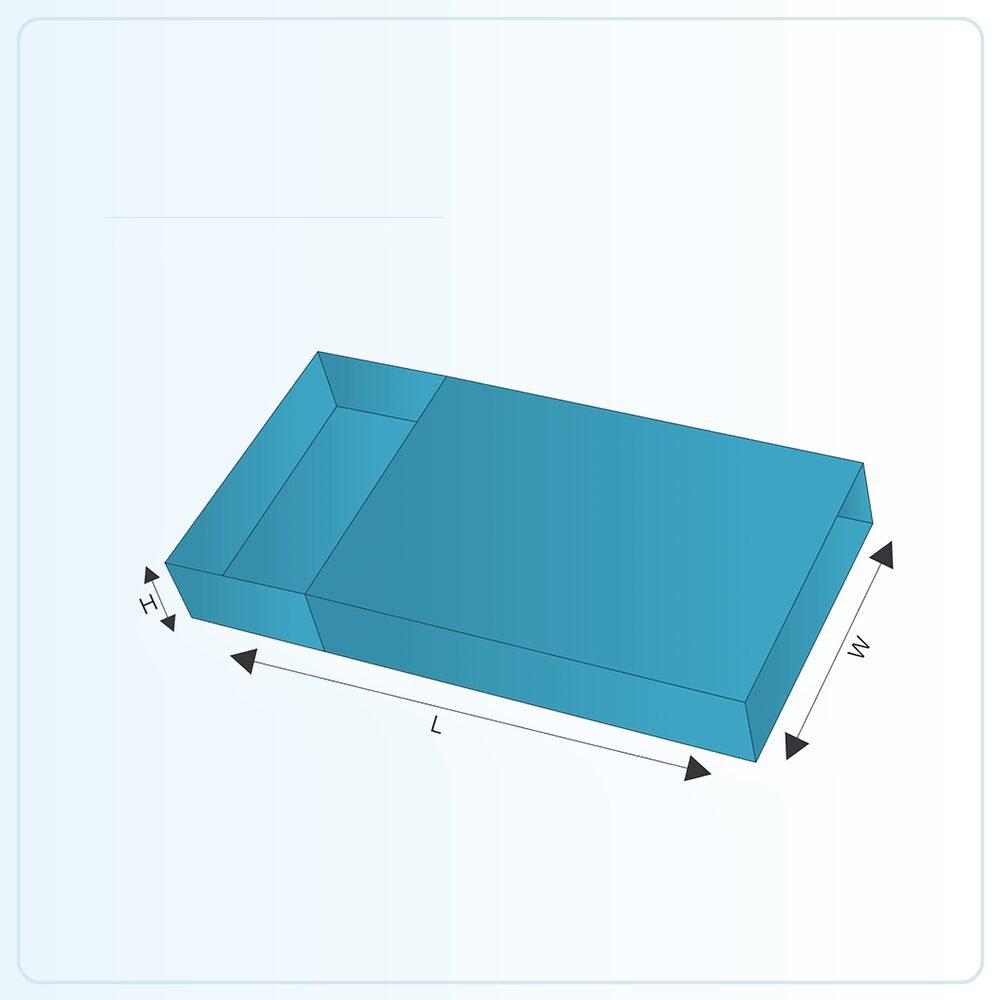
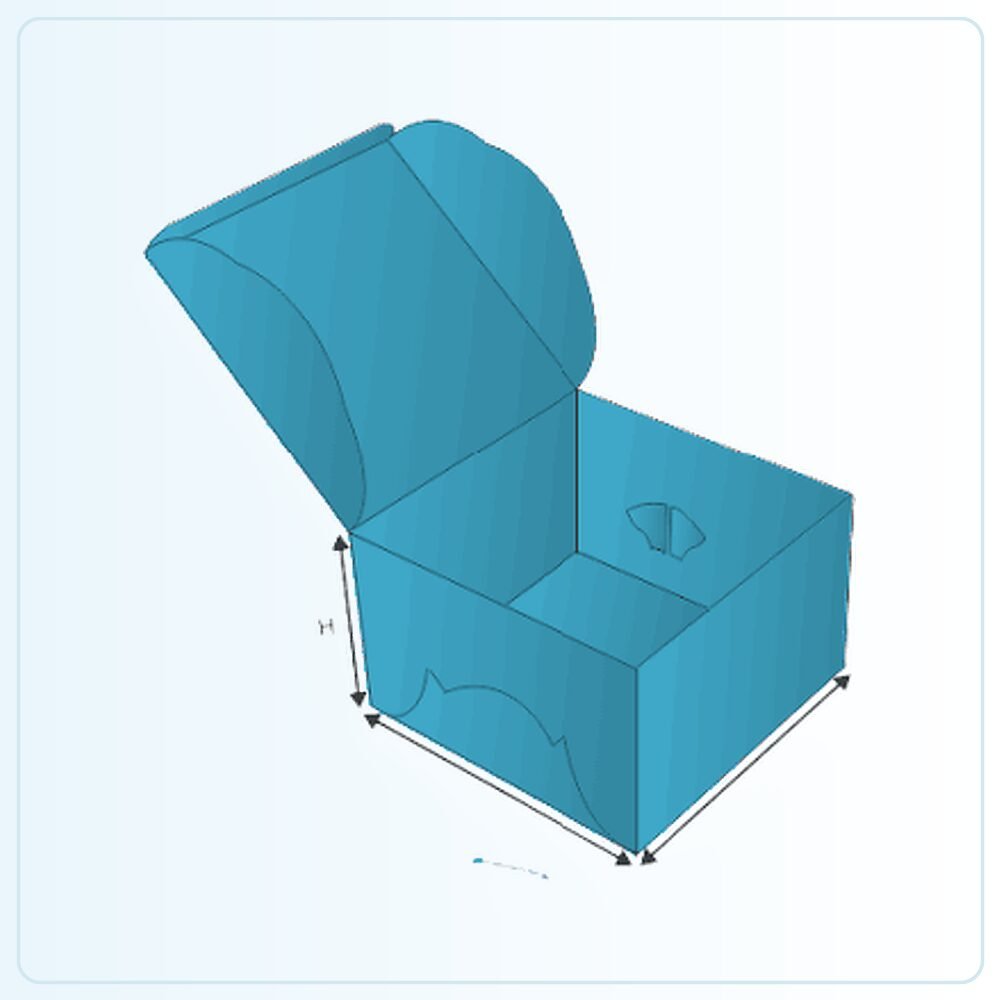
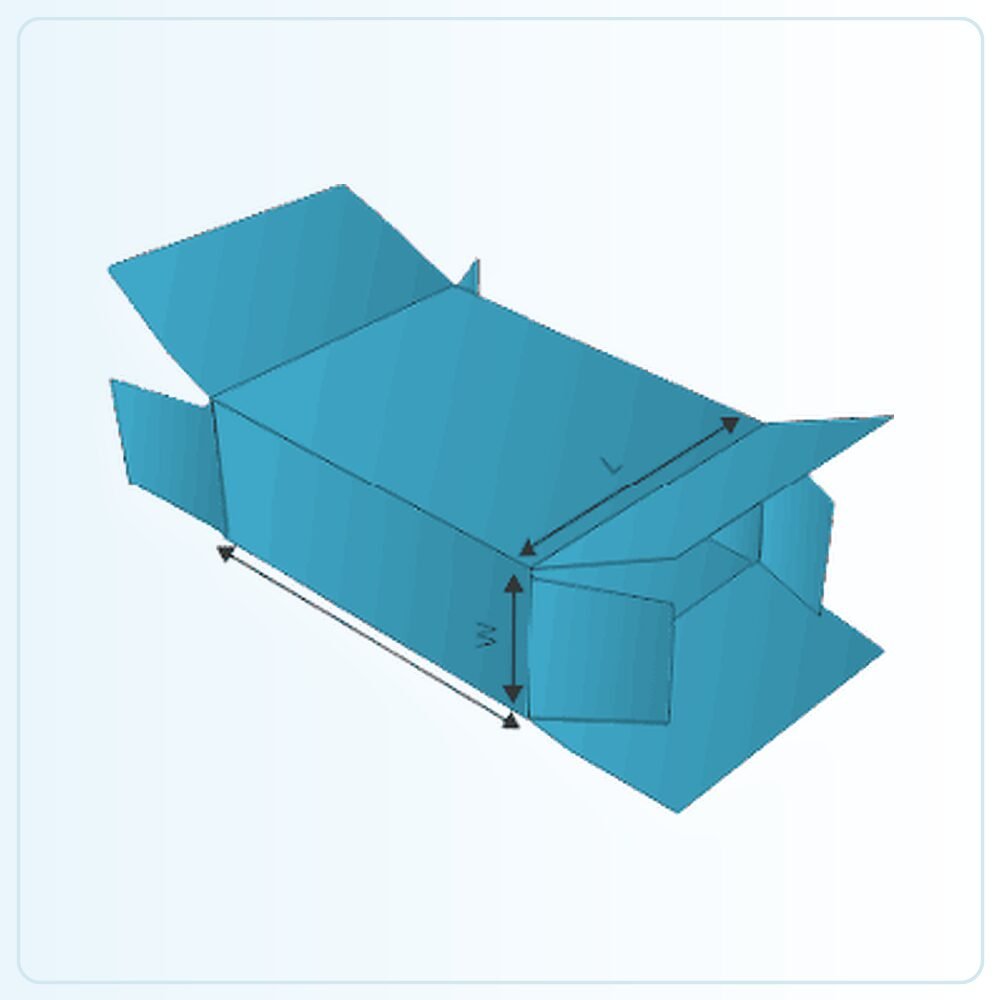
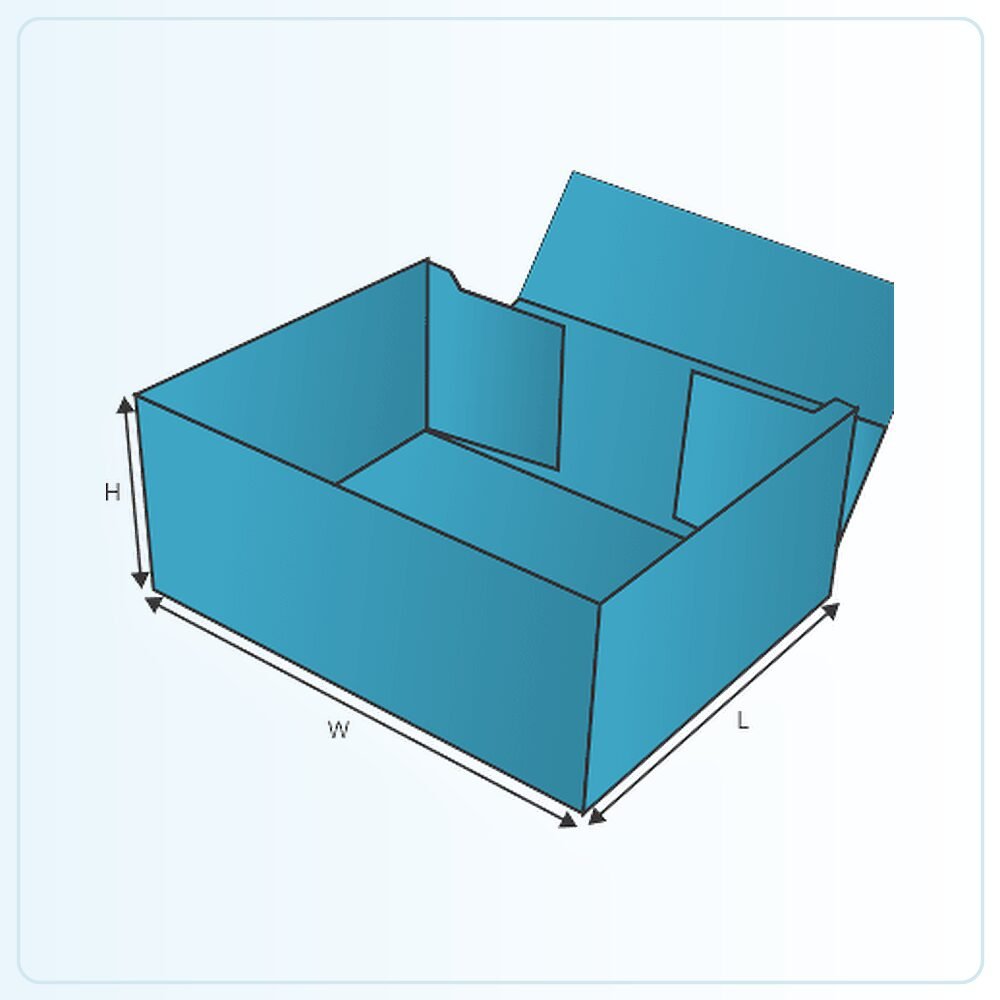
Four corner tray boxes form an open tray with corners that hold the surrounding walls in position. The approved construction establishes how those corners are formed and secured. When requesting a quote, use the style as a starting point and describe what the tray needs to do rather than assuming the name specifies every folding detail.
Arrange your products as they should appear in the finished pack. Include wrapped edges, labels and any spaces needed for removal. This is particularly useful for mixed sets, where a neat row of nominal dimensions may not reflect the way the actual items sit together. A photograph of that arrangement can explain the brief more clearly than a list of sizes alone.
Choose the depth for the viewing position
The tray wall can support the presentation while also hiding part of it. Decide how much of the product should remain visible and where the shopper will be looking from. A counter viewed from above has different priorities from a shelf viewed straight on.
Check the lowest item in a mixed range, not just the tallest. A uniform wall height may leave a smaller product almost hidden. If access is awkward, discuss the arrangement or structure before making the artwork more elaborate. The customer should be able to understand what is in the tray and remove an item without disturbing everything around it.
Review the corners during assembly and handling
Follow the agreed folding sequence and inspect each corner after the tray is formed. A corner that has not seated properly may make the tray look skewed or change how it fits into a sleeve or outer container. The completed sample should sit as intended on the packing surface before it is loaded.
Then trial it with the full contents. Lift and set down the pack in the way your team or customer will use it. Observe the corners, side walls and base together. If a component is added to help the tray hold its shape, include it in the written specification so the tested arrangement is reproduced in the production order.
Give loose items a deliberate layout
An open tray does not automatically stop individual products moving towards one another. If separate positions matter, consider a divider, locating insert or a different internal arrangement. The support needs to be matched to the items, including any fragile surfaces or labels that should remain unmarked.
For retail displays, test the tray as stock is removed. The remaining products should still be accessible and presentable. For gift sets, check the appearance at first opening and how the recipient can lift each piece out. Those are different tasks, and the best internal layout is the one designed for the task your tray will actually perform.
Keep the printed rim useful after filling
The visible walls are valuable branding space, but some areas may be covered by the products or another part of the pack. Decide which face carries the main identification and check it with the tray filled. A large logo on the base contributes little to a display if the contents hide it throughout use.
If the tray supports several variants, consider a consistent brand layout with clear wording for the contents. This can help staff replenish the correct items and help customers distinguish similar sets. Review patterns across corners on a folded mock-up, especially where a border or line needs to meet cleanly after assembly.
Confirm the complete use conditions
A tray for wrapped gifts, bakery products or workshop parts may share a basic shape but need different materials and supporting components. Describe direct contact, moisture, grease, storage and handling where relevant. Do not assume that a single board specification is suitable for every open-tray application.
If the tray will leave your premises by carrier, explain the outer packaging and whether it is dispatched full. An open presentation format may need coverage and additional protection before shipping. Plan those components together so the final pack fits neatly and the product arrangement remains useful beyond the initial display photograph.
Turn the template into your own specification
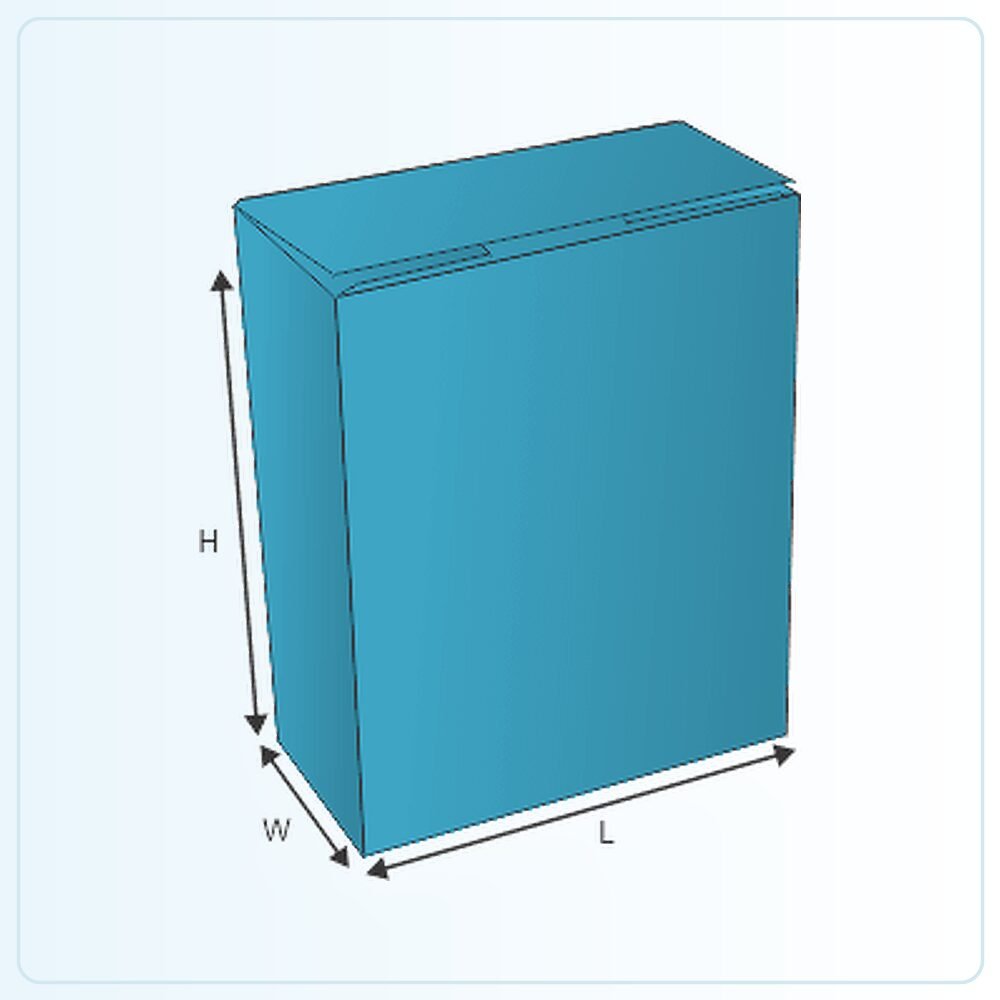
The illustration is a starting point for a made-to-order pack. It is not a production drawing that should simply be enlarged until your product appears to fit. Share the finished product measurements, packed weight and any inner components so the structure can be assessed at the size you actually need. Mark whether your measurements describe the product, the space inside the box or the outside of an existing pack.
Check the sample, not just the screen
A physical sample is available for £25 delivered. Agree what that sample will represent: the construction, material, printed appearance or a particular combination. A plain structural sample answers different questions from a finished printed example. Fill it with the actual product and include every insert, leaflet, wrapper or accessory that belongs in the final pack.
Ask the person who normally packs your orders to try it. Check the sequence of assembly, how comfortably the item goes in and how the customer removes it. Write down the changes you need before approving the next stage. If the pack will travel through a delivery network, assess the complete parcel rather than judging protection from an empty retail carton.
Get a clear price for the complete job
Orders start from 100 units. Our quoted prices include VAT and doorstep delivery. Usual production and delivery is 6–9 days; confirm the actual schedule for your agreed specification and target date. Tell us your delivery postcode, artwork status and any deadline when requesting a quote.
The useful comparison is the same structure, size, board, printing, finish and quantity. Ask for alternatives if you need to work towards a budget, and have any setup or additional components identified in the written quotation. Send your brief and we can help you settle the practical details before committing to the run.
Compare four corner box constructions, double wall trays, or request a packaging quote for this style.