Open presentation with a prepared base
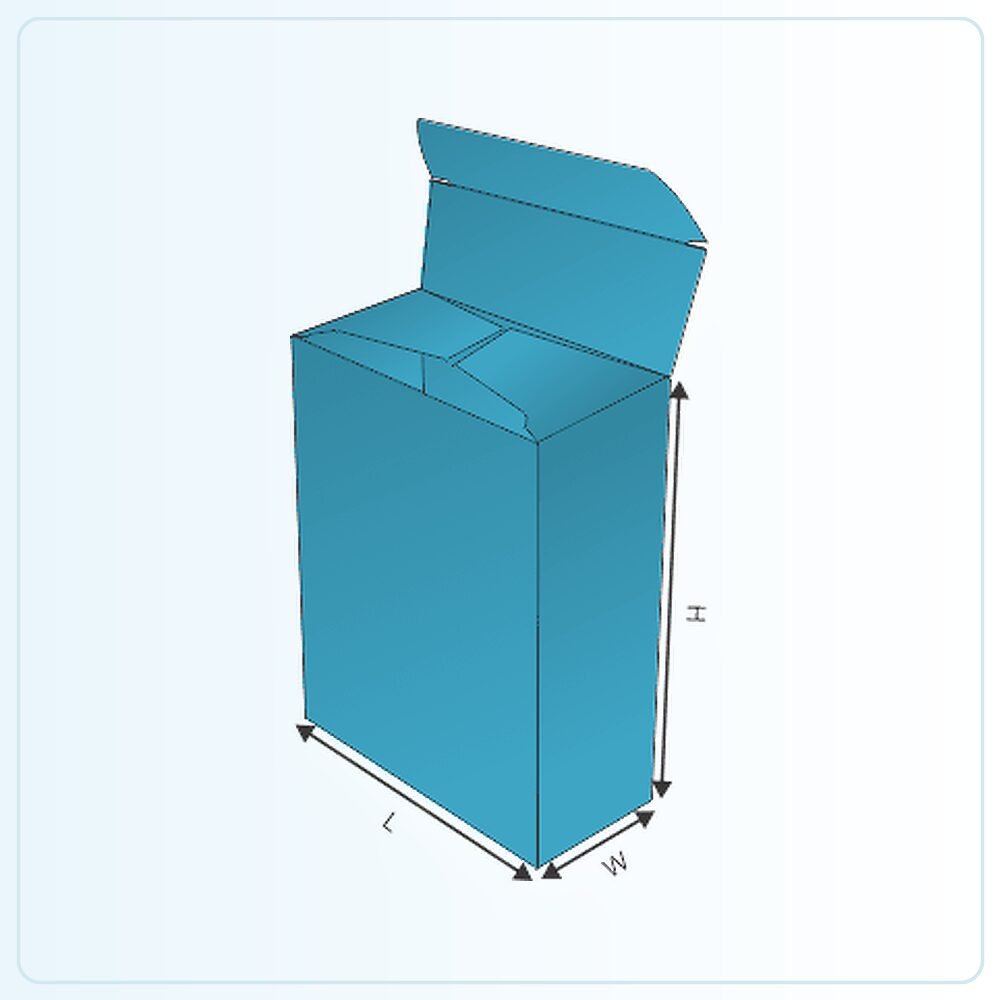
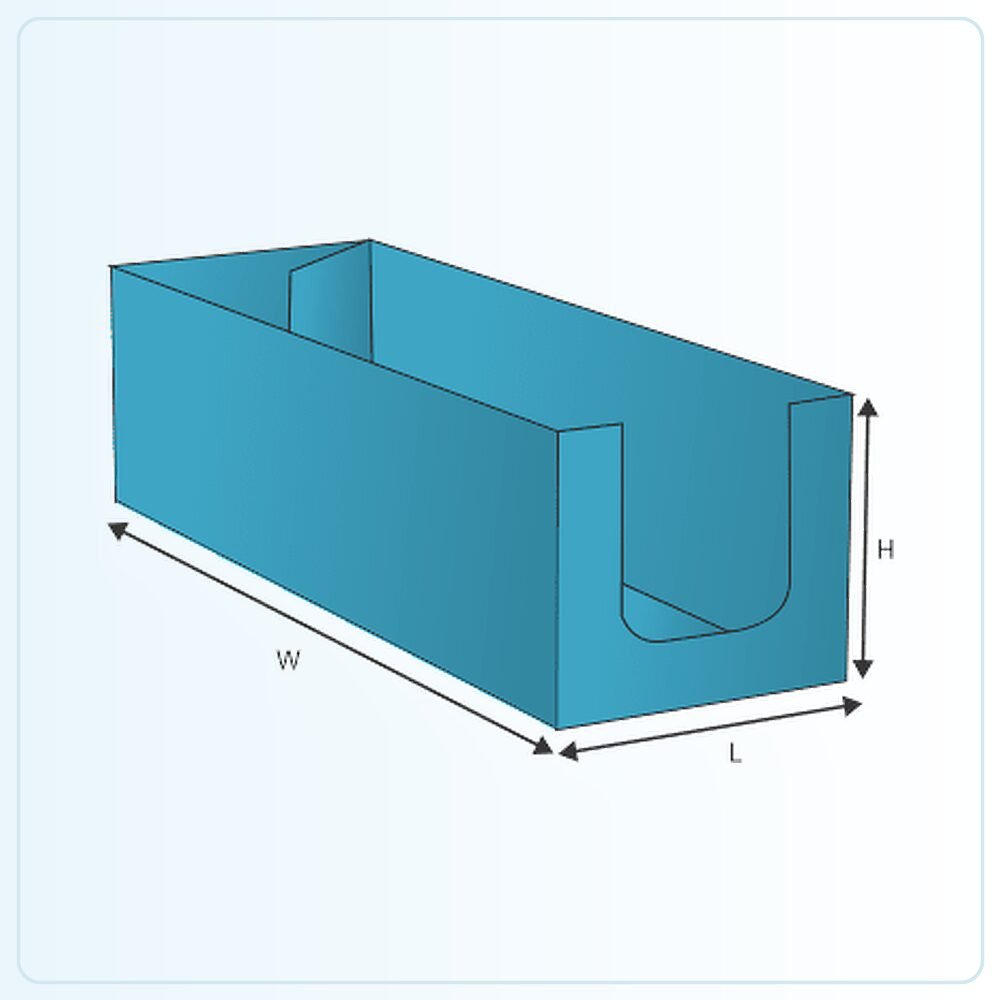
An auto bottom tray combines an open upper area with a base prepared to form as the body is opened out. It gives you a starting point for a tray that can be filled without closing a lid over the contents. The main decisions are the usable footprint, wall height and support needed beneath the product.
Before choosing the size, decide what the tray is doing. A counter display, a grouped retail pack and a tray handled during order preparation do not necessarily need the same proportions. Explain whether it mainly sits in one place or is repeatedly lifted and moved. That distinction helps make the specification useful rather than simply attractive.
Choose wall height for access and retention
A taller wall can hold more of the product within the tray, but it also covers more of what a customer can see. A shallow front may make items easier to reach, while the side and rear arrangement may need to do more of the locating work. Review the tray from the customer's normal viewing position.
Measure the products as a group, including any gaps or internal dividers. Do not size the tray by multiplying a nominal product width if wrappers, caps or irregular shapes change how the items sit together. A quick arrangement on the packing bench can reveal the footprint you actually need and whether a different row layout would work better.
Keep the load stable as stock is removed
A full tray is only one state of a retail display. Check what happens when a customer takes the first item, then when only a few remain. Tall or narrow units may lean into the empty space unless the layout provides suitable support. A divider or locating feature can be discussed if the products need to stay in defined positions.
Avoid treating a partition as automatic transit protection. A tray that presents items neatly may still need cushioning or an outer container for delivery. Tell us whether the tray is filled before dispatch or stocked at the destination. The answer affects which handling stages the complete pack needs to withstand.
Review base formation at the packing bench
Open the sample, square the body and inspect the bottom before loading it. The auto bottom should be fully formed in the intended way. Ask the people who will fill the trays to try the operation, especially if they currently work with a different style or assemble several tray sizes during the same shift.
Test with the full intended contents rather than a convenient lightweight substitute. The way the weight rests on the base matters as well as the total. Several small feet, a narrow bottle base or a heavy object at one side can create a different result from a broad evenly spread load. Include any pad or insert in the specification used for the trial.
Use the visible rim and walls for clear branding
An open tray gives you a different print layout from a closed carton. Some internal surfaces may be visible before the tray is filled and become covered afterwards. Decide which surfaces the shopper will see when the display is full, partly empty and viewed from the side.
Put useful identification on a panel that remains visible during normal use. For stockroom handling, a clear product or range identifier may be more useful than decorative printing on the hidden base. If the tray holds several variants, consider how staff will replenish it accurately. Printing should help the display stay organised as well as help it look good on day one.
Specify the environment, not just the shape
For food-related uses, explain whether the contents are wrapped and whether the tray has direct contact with the product. Any grease, moisture or temperature requirement needs separate discussion; an open paperboard tray is not automatically suitable for every food application.
For general retail goods, describe the expected handling, storage and outer packaging. If you want a lid or sleeve, confirm the complete assembly rather than assuming another piece will fit over the finished tray. The best specification is clear about what the open tray contributes and what protection or presentation is provided by the other parts of the pack.
Turn the template into your own specification
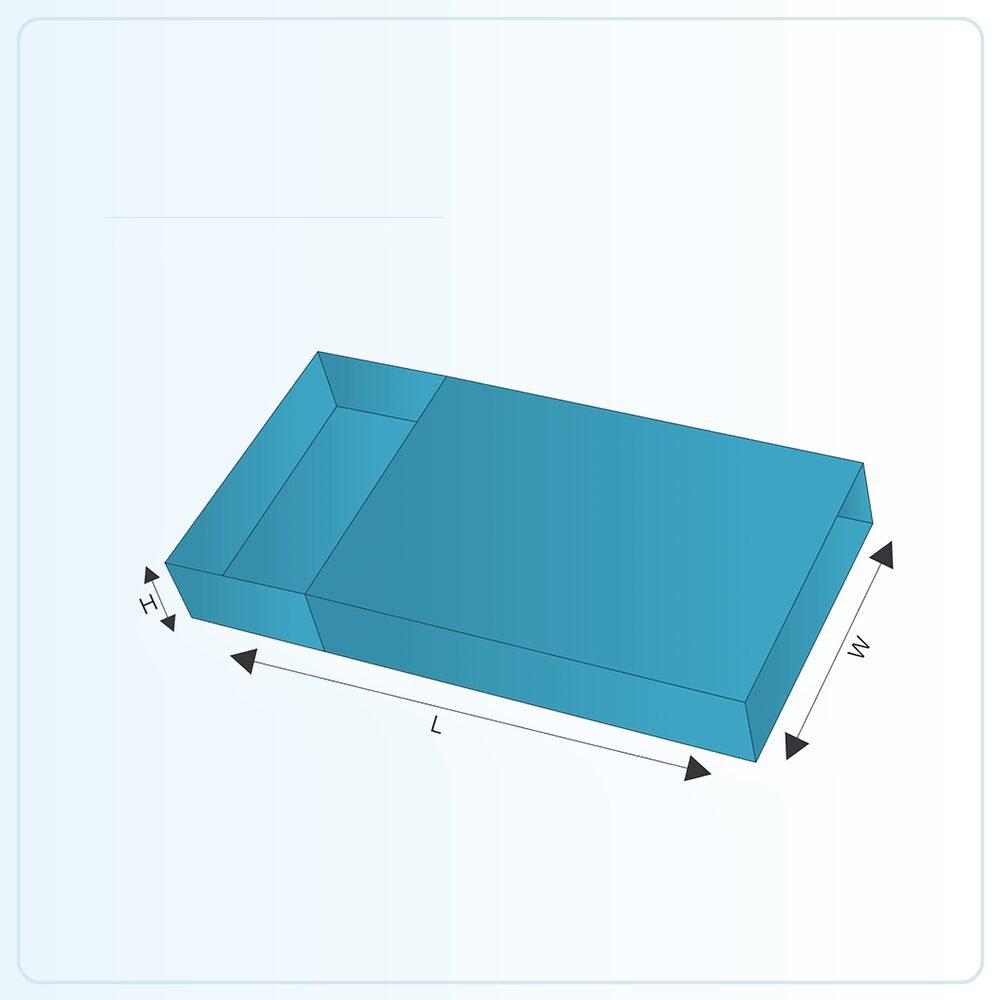
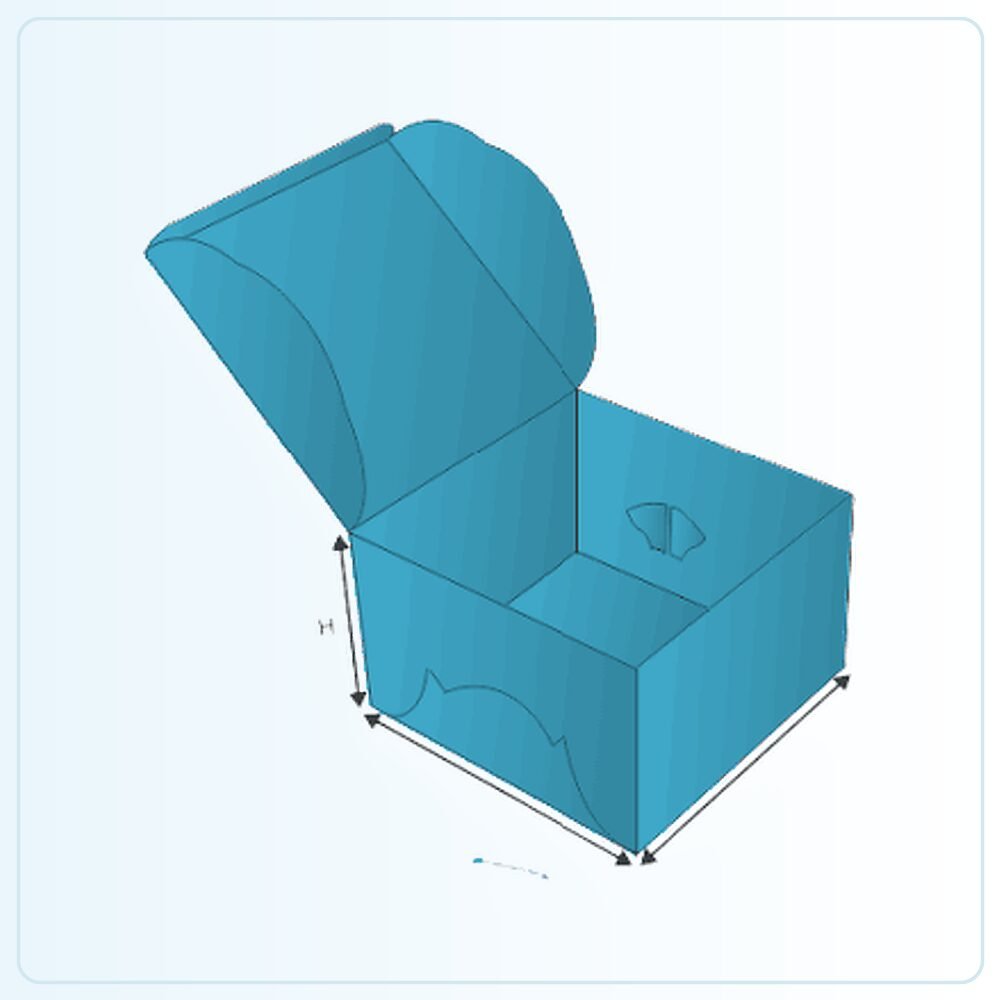
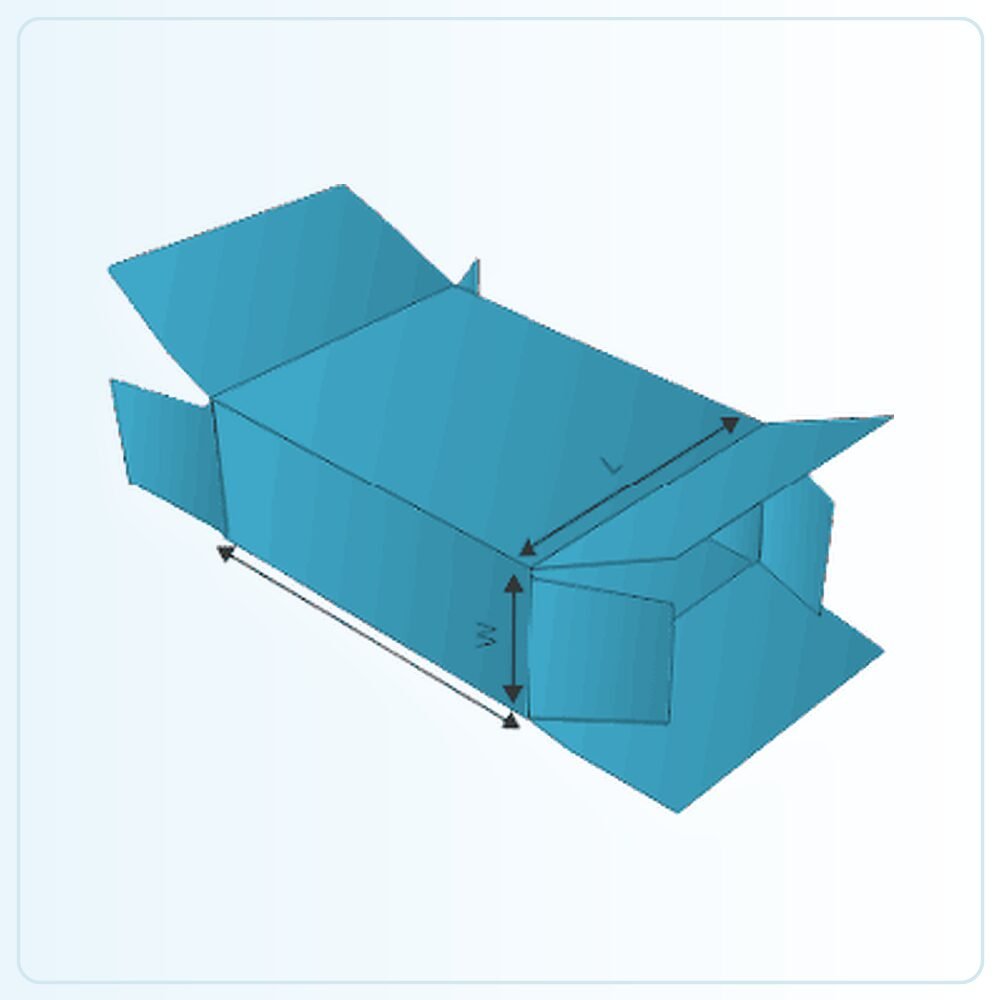
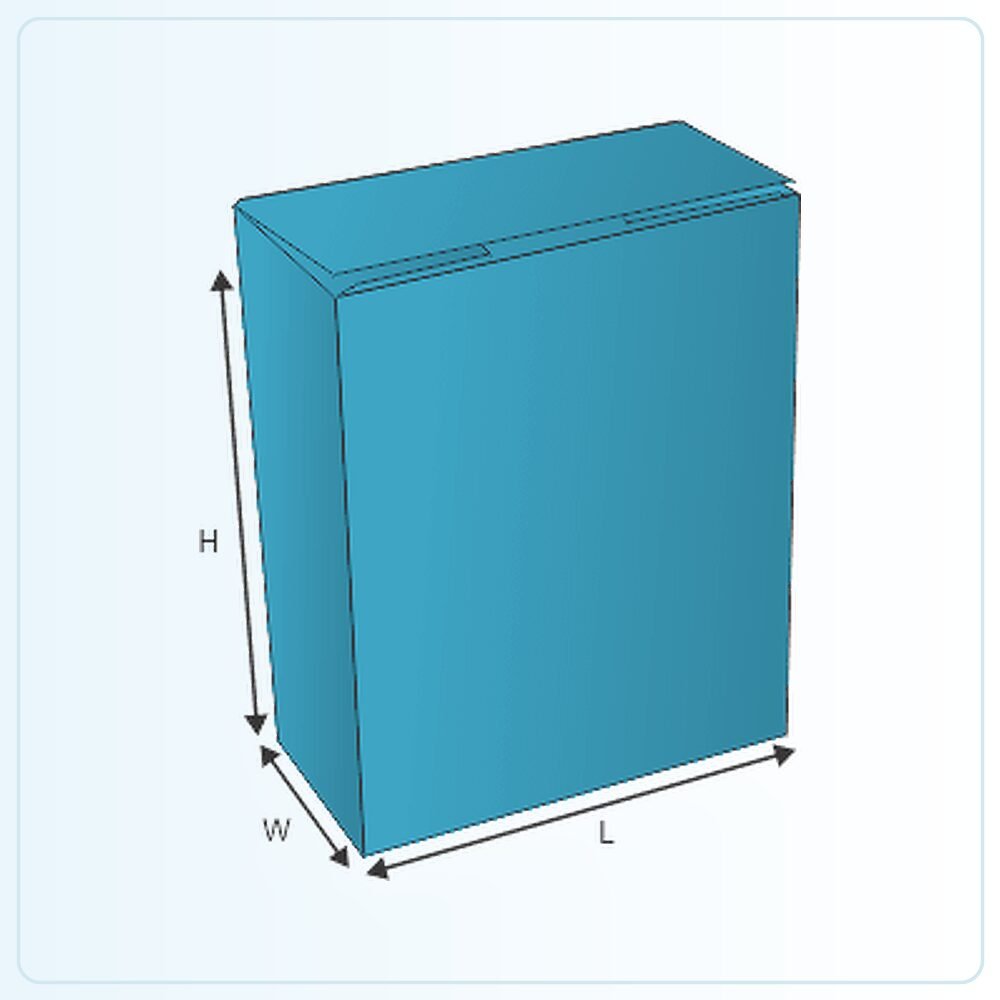
The illustration is a starting point for a made-to-order pack. It is not a production drawing that should simply be enlarged until your product appears to fit. Share the finished product measurements, packed weight and any inner components so the structure can be assessed at the size you actually need. Mark whether your measurements describe the product, the space inside the box or the outside of an existing pack.
Check the sample, not just the screen
A physical sample is available for £25 delivered. Agree what that sample will represent: the construction, material, printed appearance or a particular combination. A plain structural sample answers different questions from a finished printed example. Fill it with the actual product and include every insert, leaflet, wrapper or accessory that belongs in the final pack.
Ask the person who normally packs your orders to try it. Check the sequence of assembly, how comfortably the item goes in and how the customer removes it. Write down the changes you need before approving the next stage. If the pack will travel through a delivery network, assess the complete parcel rather than judging protection from an empty retail carton.
Get a clear price for the complete job
Orders start from 100 units. Our quoted prices include VAT and doorstep delivery. Usual production and delivery is 6–9 days; confirm the actual schedule for your agreed specification and target date. Tell us your delivery postcode, artwork status and any deadline when requesting a quote.
The useful comparison is the same structure, size, board, printing, finish and quantity. Ask for alternatives if you need to work towards a budget, and have any setup or additional components identified in the written quotation. Send your brief and we can help you settle the practical details before committing to the run.
Compare foot lock trays, auto bottom boxes with display lids, or request a packaging quote for this style.