Choose the shape for the product and presentation
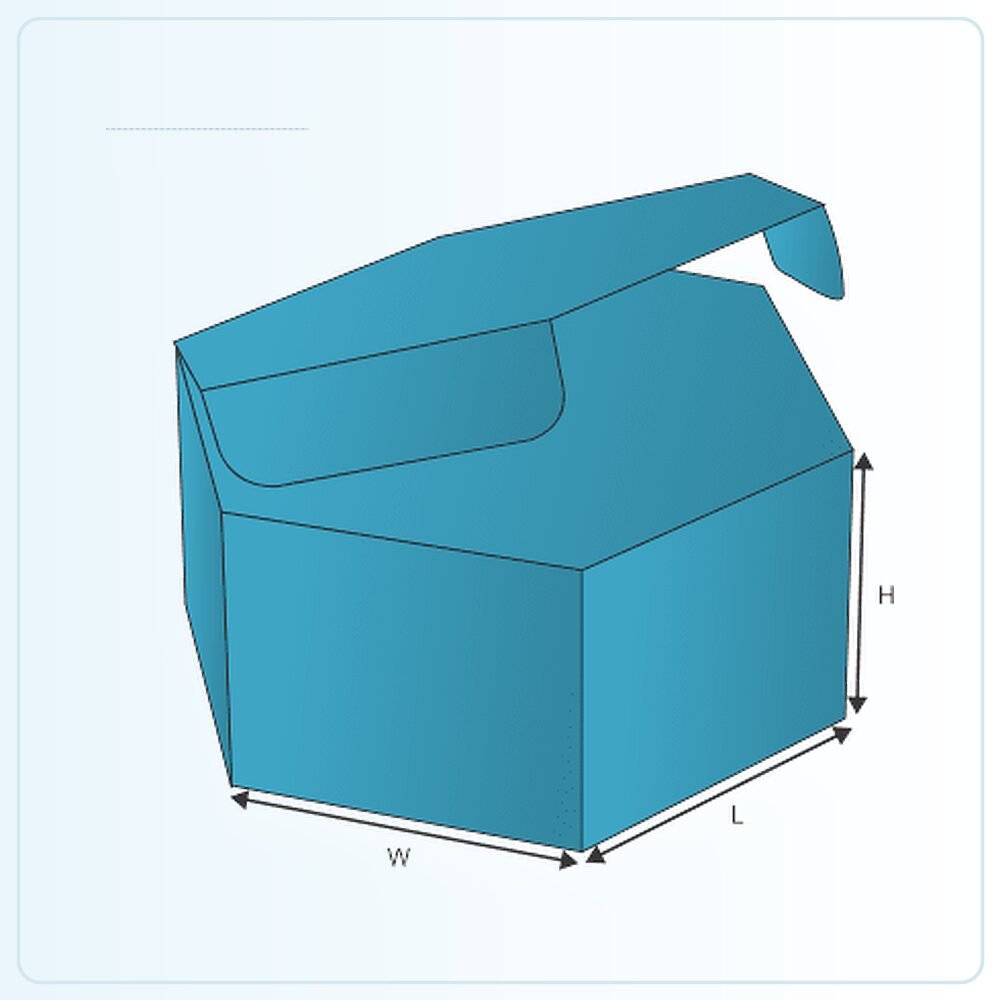
A hexagonal box can suit a round item, a coordinated gift selection or another product that benefits from the six-sided form. The useful starting point is how the contents occupy that space. A distinctive outer shape is worthwhile when the product fits, the opening is comfortable and the pack sits sensibly in its intended display.
Describe whether the box stands upright, lies flat or forms part of a larger set. The base, closure and visible panels should support that orientation. The title identifies the general geometry, not a single universal lid or bottom design, so confirm the exact construction on the approved drawing before finalising artwork.
Be clear about the width you are measuring
The distance across opposite flat sides differs from the distance across opposite corners. State which one your measurement represents and include the required internal height. If you are working from the product rather than an existing box, send its dimensions and a sketch of the desired position inside.
For a rectangular item, consider the unused areas towards the corners. An insert may help locate it, but the extra component should be justified by the presentation and support needed. Compare a rectangular alternative if efficient use of space is your main priority. The shape should earn its place in the brief rather than create a difficult fit for its own sake.
Plan the opening around the actual contents
Decide which end or panel the customer uses and how the product is removed. A fitted item needs a comfortable grip point, while a collection may need a clear order of removal. Include any liner, leaflet or accessory that affects the opening area.
Test the sample in the intended orientation. A product may sit neatly while the box is flat yet move when the pack is stood upright or carried. If an insert is needed to maintain position, develop it with the box. Avoid approving a shape first and leaving product retention to an improvised solution after the printed cartons arrive.
Give six panels a sensible information hierarchy
Choose the main viewing face and make the brand and product name easy to find there. Use the remaining panels for supporting information, but do not assume every side needs equal amounts of text. The customer should not have to rotate the pack repeatedly to understand what is being sold.
Check any continuous artwork at the folds. A pattern that wraps attractively around the body can still place a key word or logo across an awkward corner. Review the folded mock-up at actual size and identify space for any barcode or variable label before the decorative layout occupies all the available panels.
Consider the shelf and the stockroom together
A six-sided pack occupies space differently from a rectangular carton. Check how several units sit together on the shelf and how the retailer will replenish them. If the front orientation matters, make it obvious enough that staff can present the range consistently without studying the design.
Think about outer cartons and storage before choosing a large quantity. A memorable shape can be commercially useful, but the complete packing and distribution arrangement still needs to be practical. If the box sits within another component, provide its constraints early so the design is not approved at a size that complicates the next stage.
Match the material and finish to the structural idea
The board should suit the dimensions, product weight and expected handling. The six-sided outline does not establish a particular strength or material grade. Ask for the proposed specification to be identified in the quote and use the sample to assess the folded appearance and closing action.
Start with a clear print design, then decide whether a finishing detail adds something useful. A restrained logo treatment may be enough when the shape already provides visual interest. For dispatch, assess the complete filled parcel and any outer protection rather than assuming an unusual retail carton can travel unsupported through every delivery route.
Turn the template into your own specification
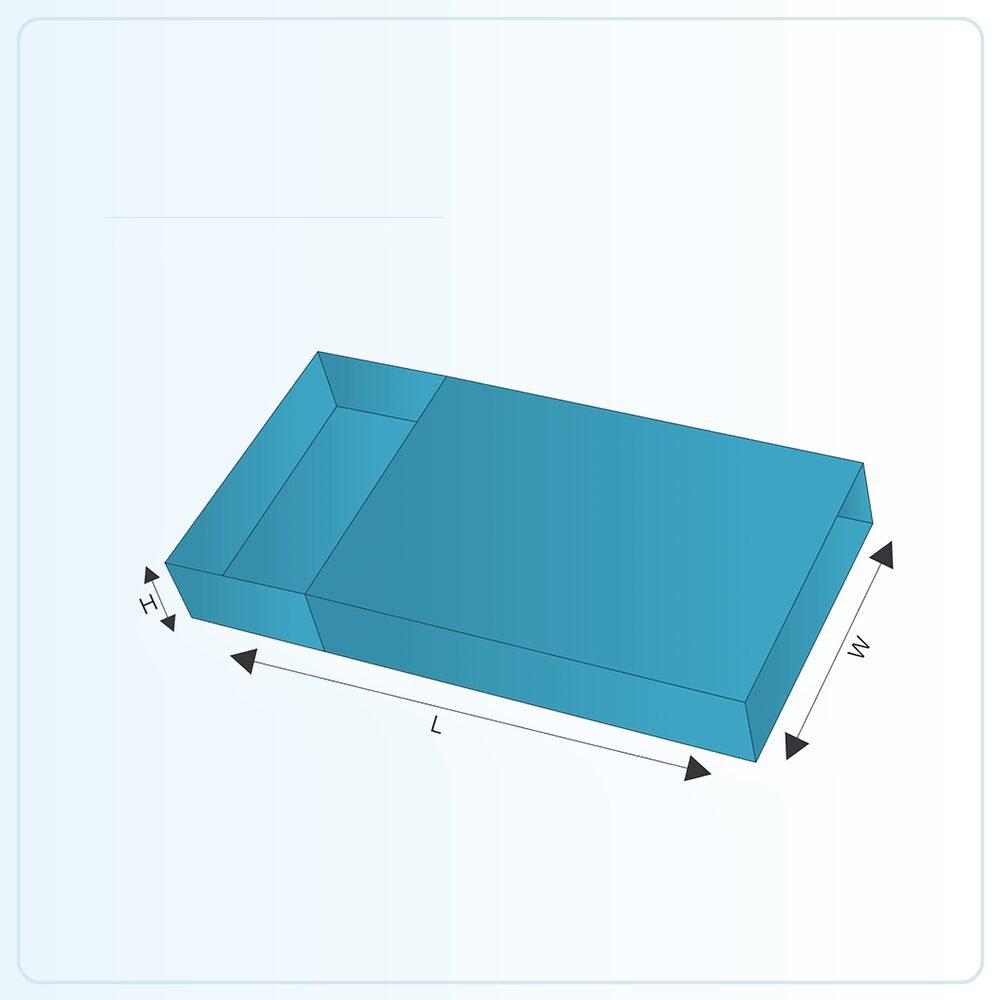
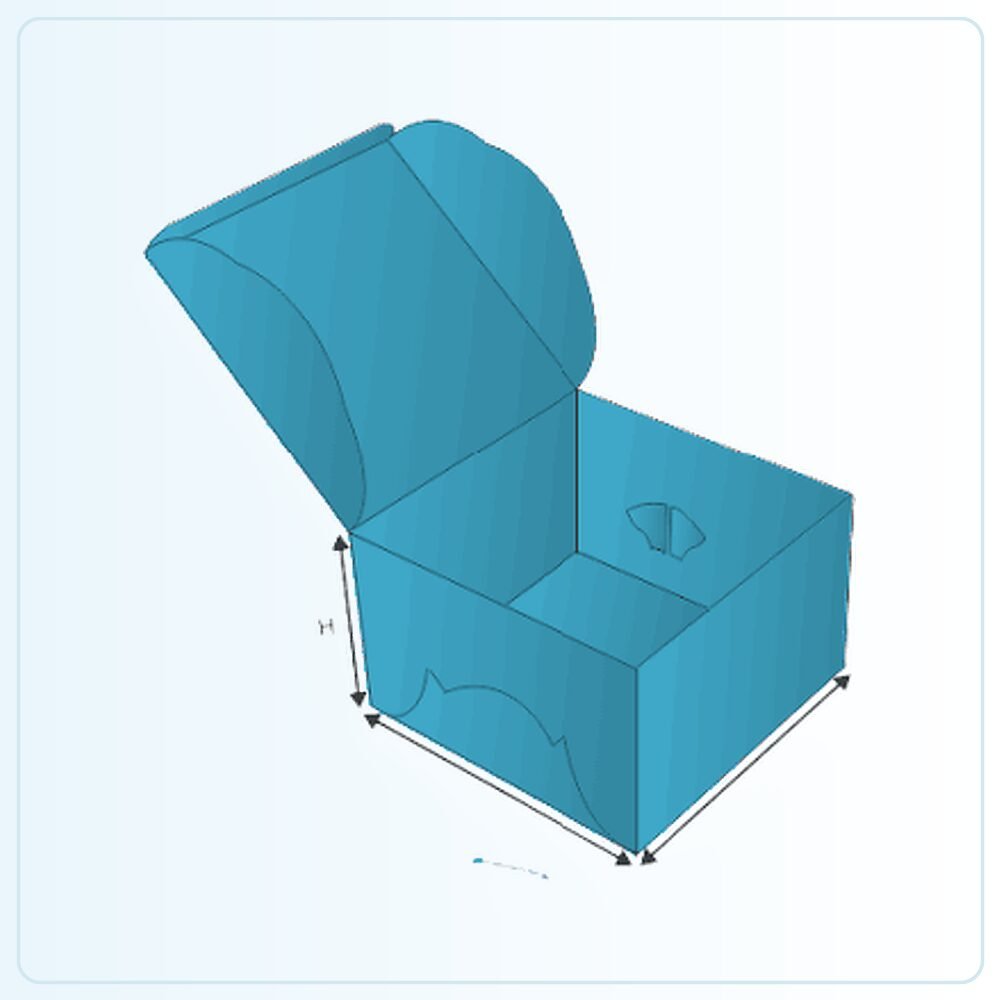
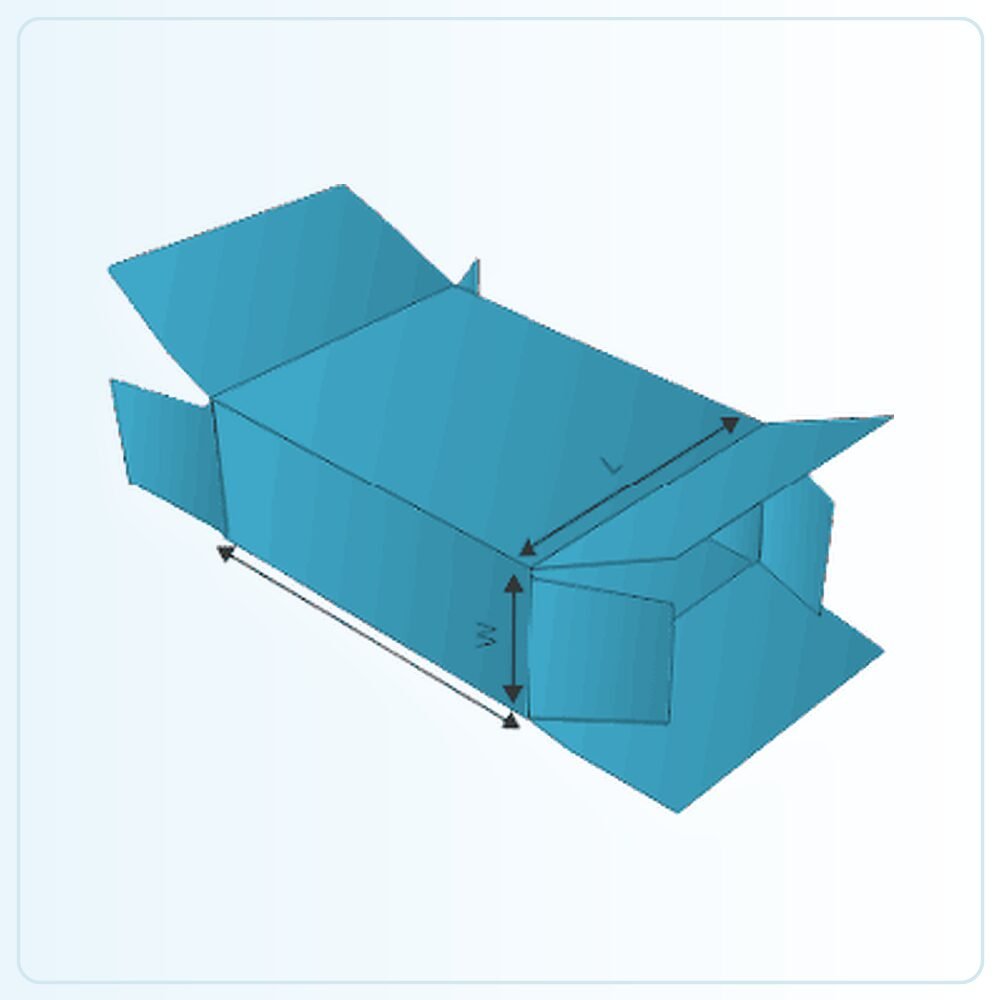
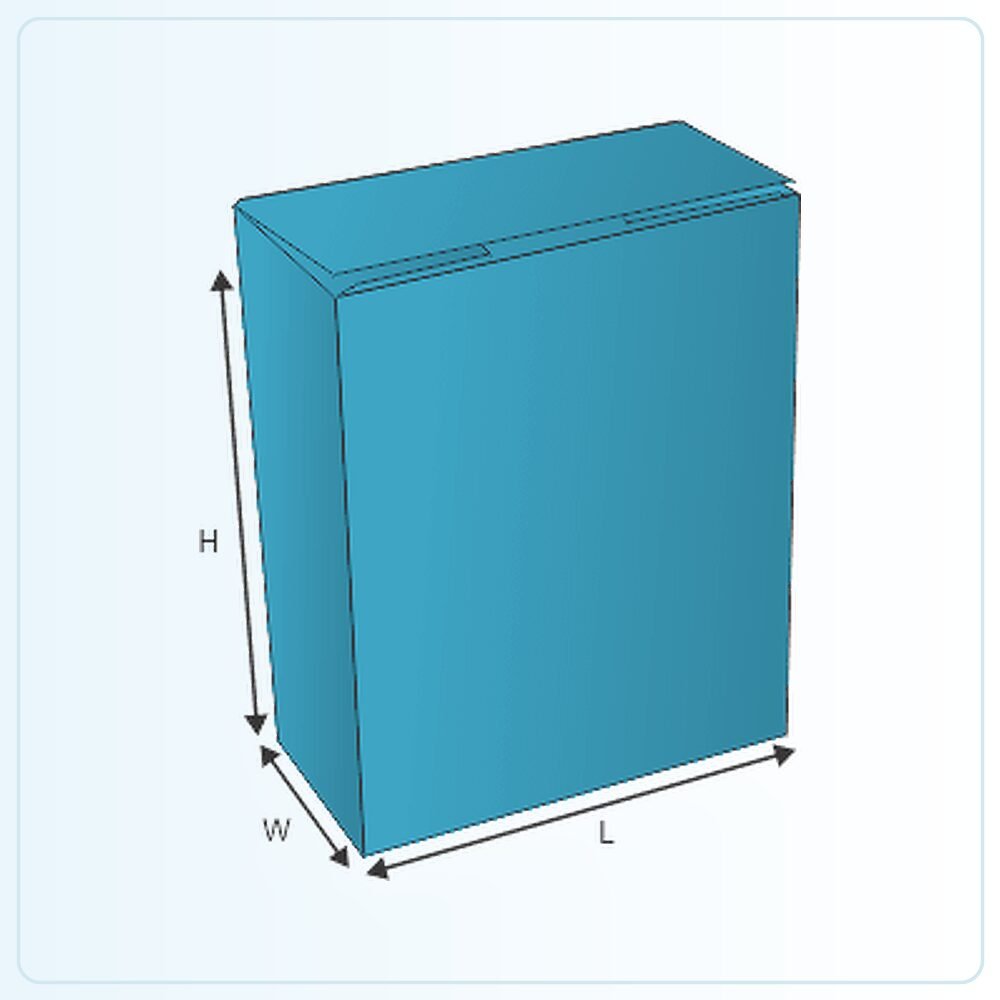
The illustration is a starting point for a made-to-order pack. It is not a production drawing that should simply be enlarged until your product appears to fit. Share the finished product measurements, packed weight and any inner components so the structure can be assessed at the size you actually need. Mark whether your measurements describe the product, the space inside the box or the outside of an existing pack.
Check the sample, not just the screen
A physical sample is available for £25 delivered. Agree what that sample will represent: the construction, material, printed appearance or a particular combination. A plain structural sample answers different questions from a finished printed example. Fill it with the actual product and include every insert, leaflet, wrapper or accessory that belongs in the final pack.
Ask the person who normally packs your orders to try it. Check the sequence of assembly, how comfortably the item goes in and how the customer removes it. Write down the changes you need before approving the next stage. If the pack will travel through a delivery network, assess the complete parcel rather than judging protection from an empty retail carton.
Get a clear price for the complete job
Orders start from 100 units. Our quoted prices include VAT and doorstep delivery. Usual production and delivery is 6–9 days; confirm the actual schedule for your agreed specification and target date. Tell us your delivery postcode, artwork status and any deadline when requesting a quote.
The useful comparison is the same structure, size, board, printing, finish and quantity. Ask for alternatives if you need to work towards a budget, and have any setup or additional components identified in the written quotation. Send your brief and we can help you settle the practical details before committing to the run.
Compare open hexagon trays, prism-shaped packaging, or request a packaging quote for this style.