Understand the locking detail before choosing a size
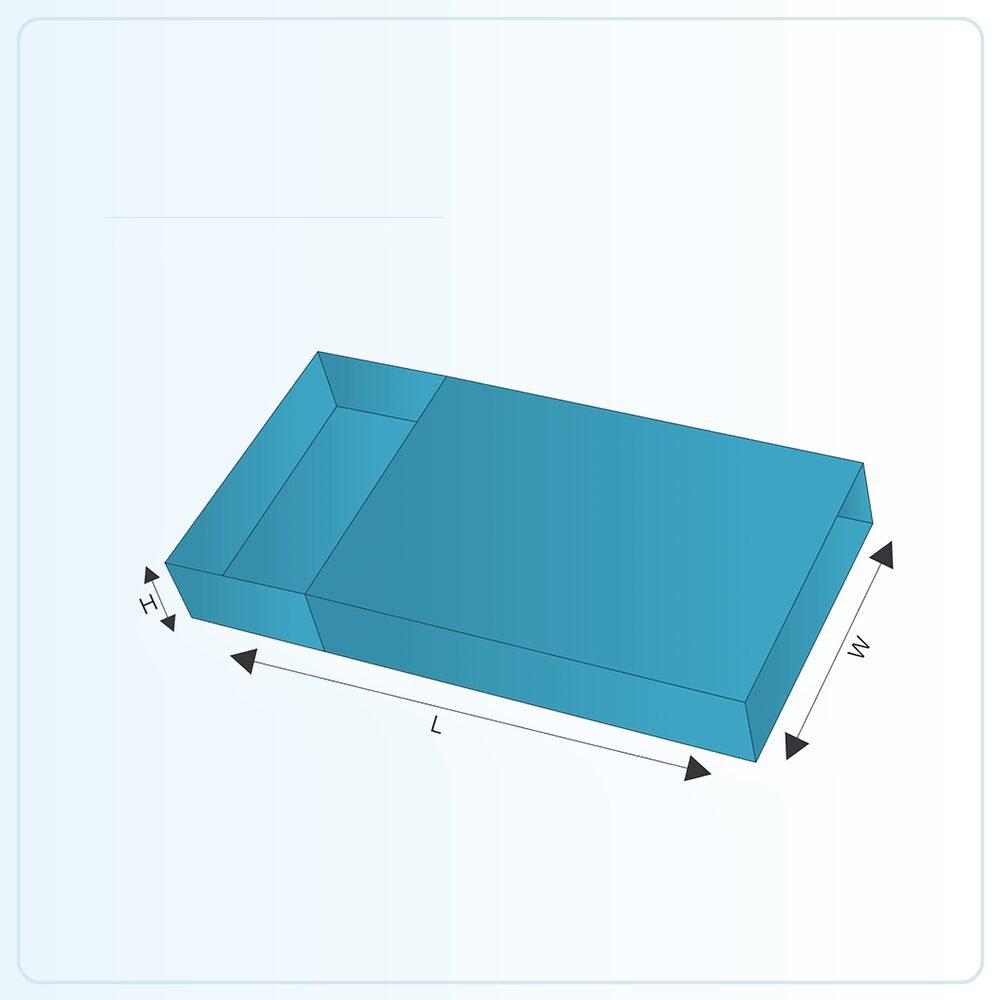
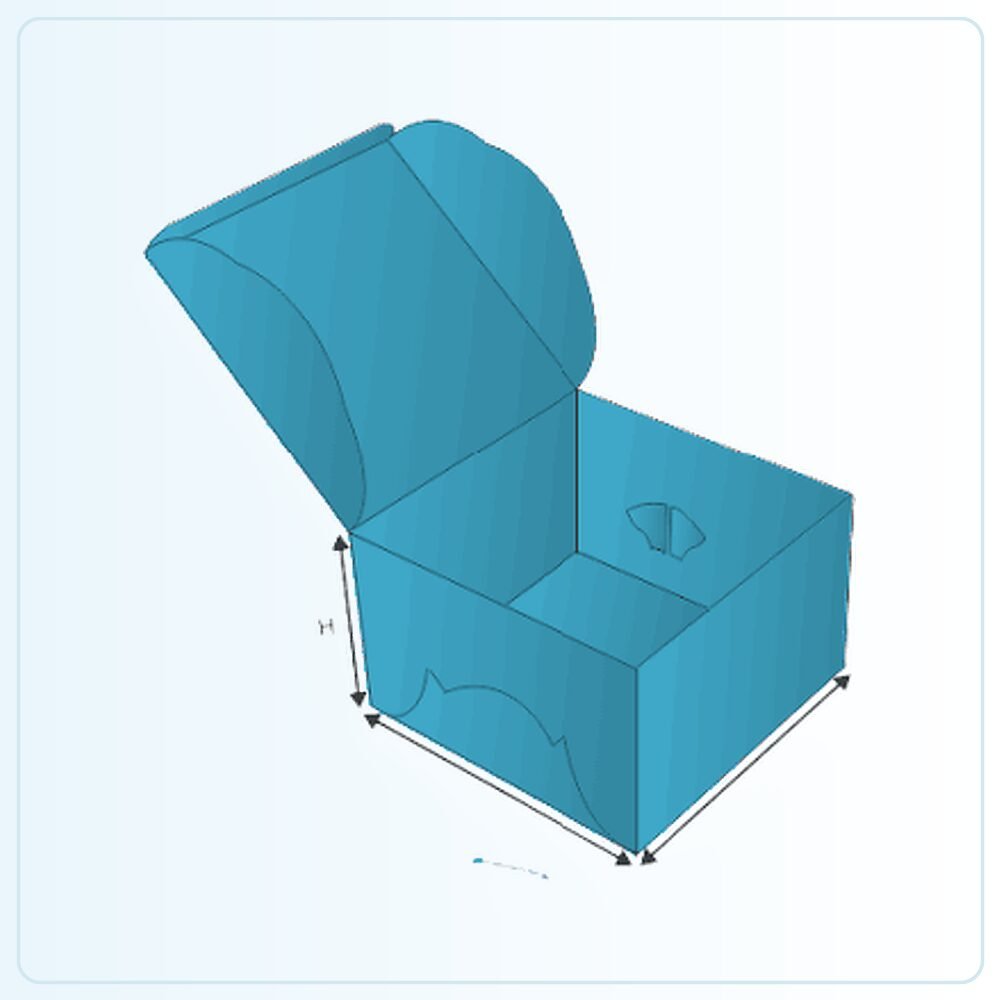
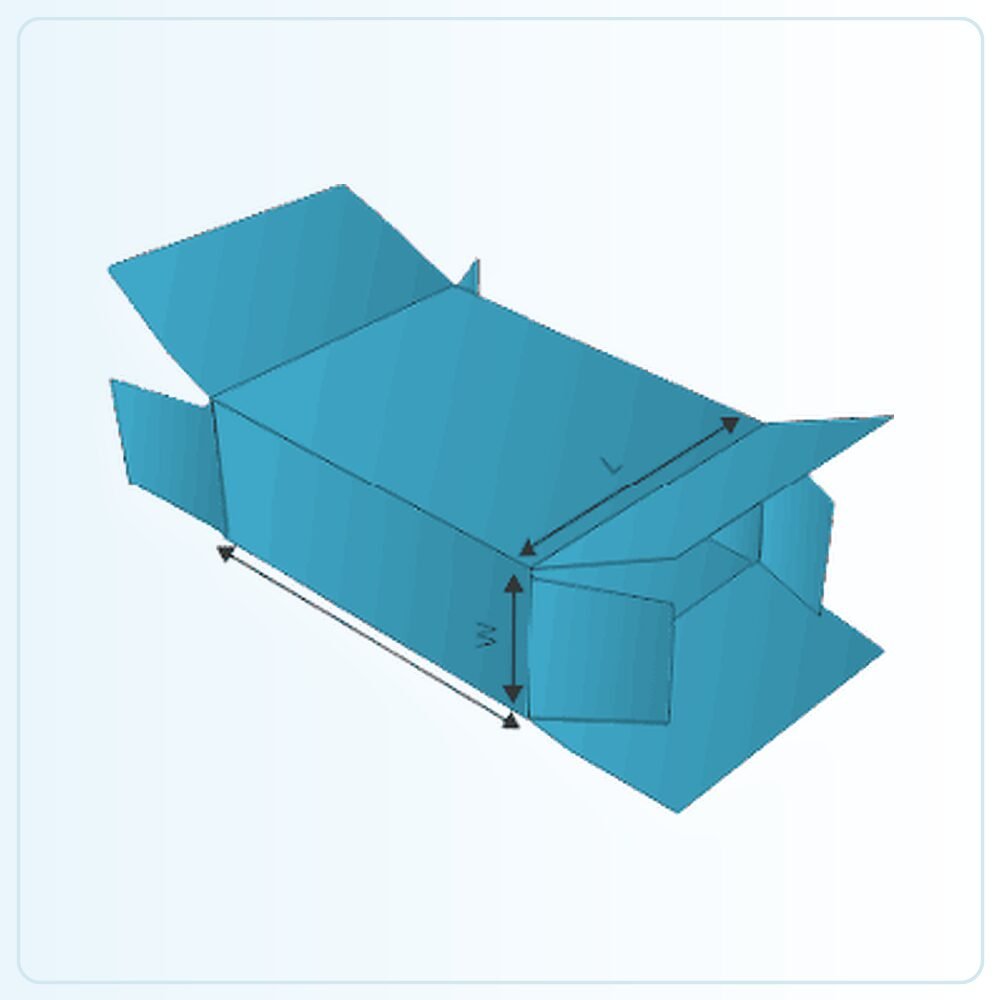
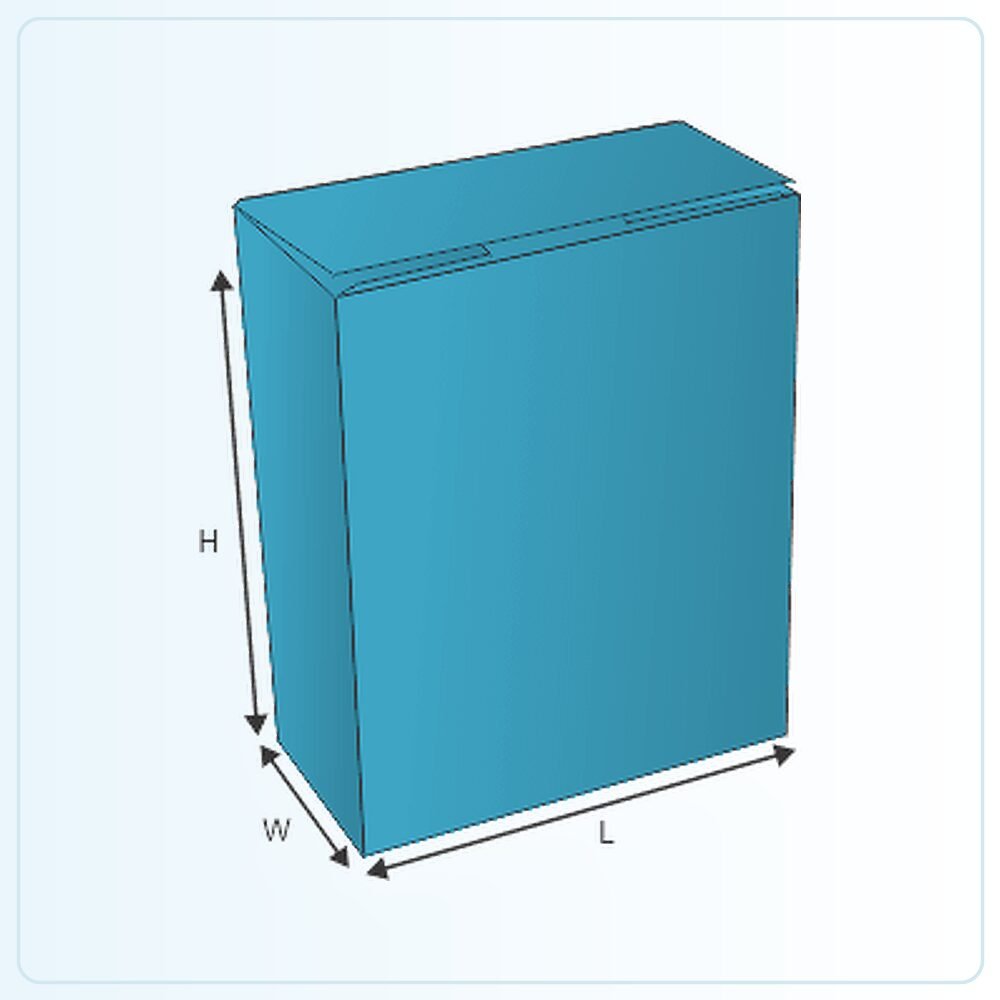
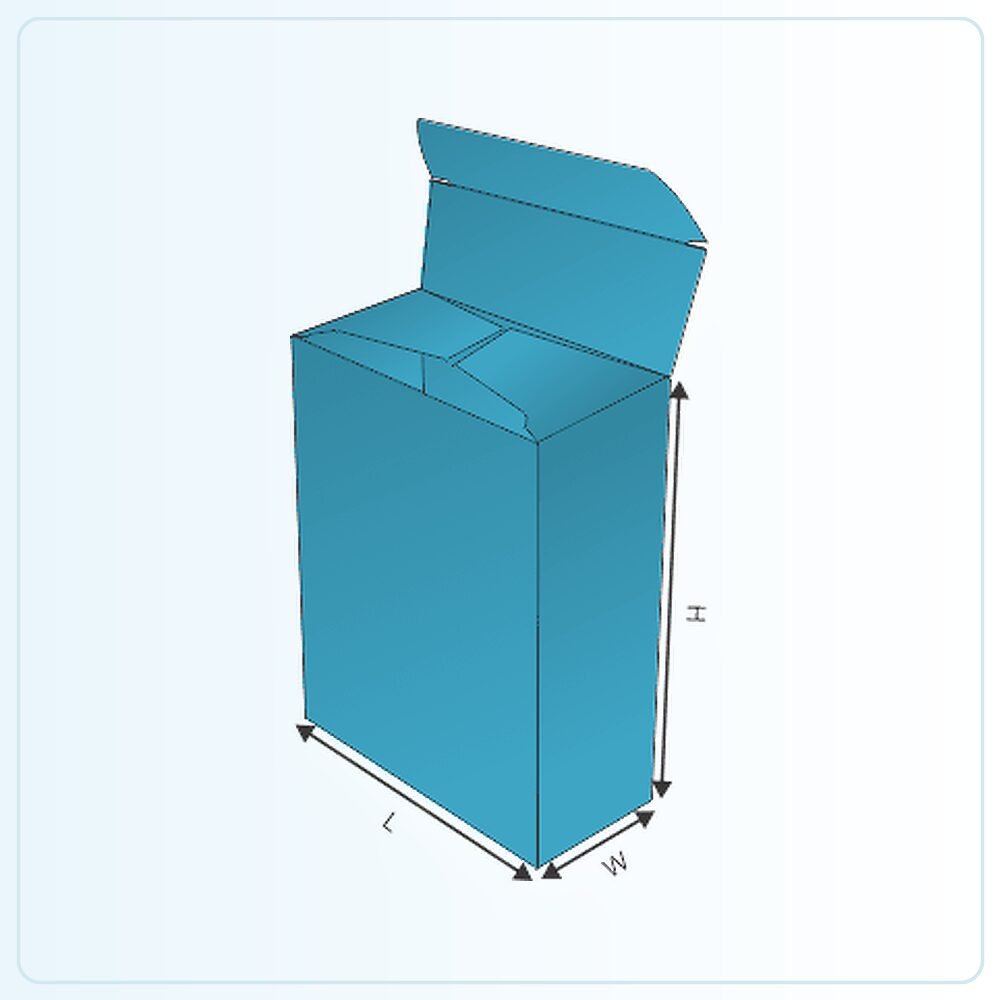
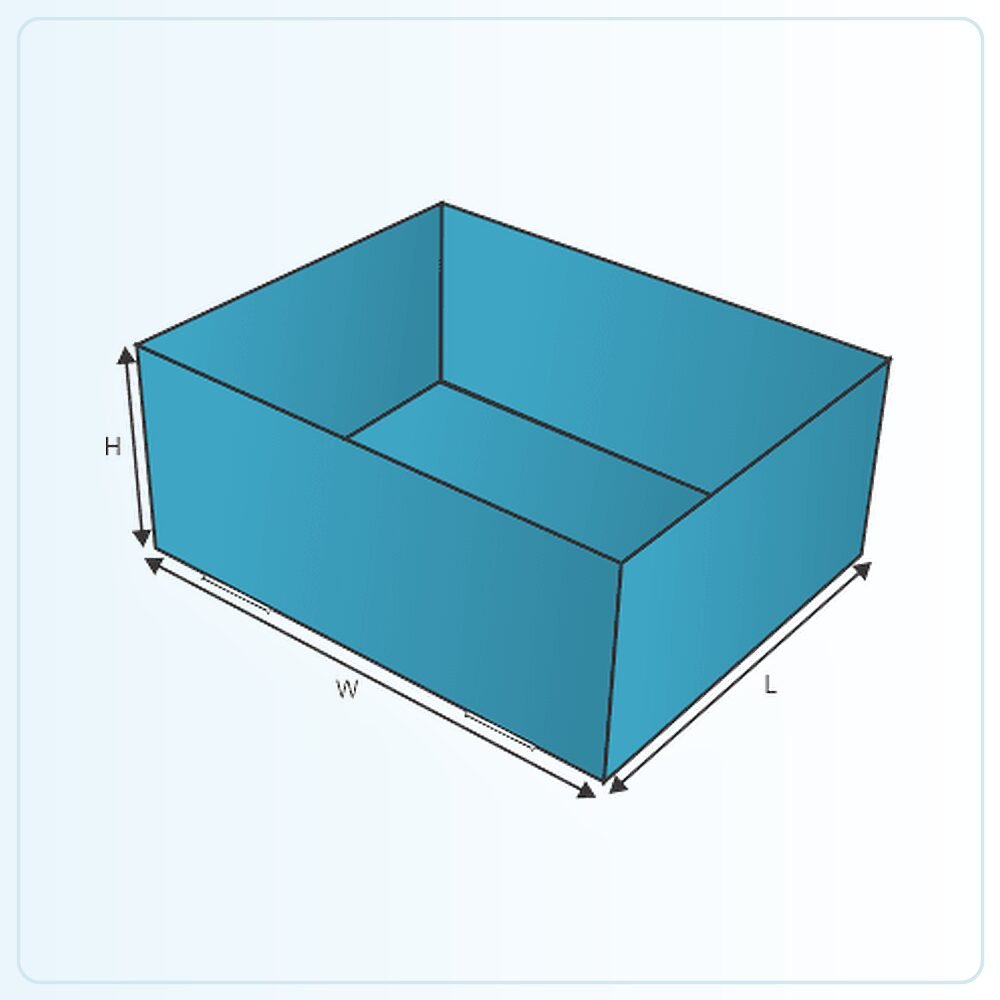
Foot lock tray boxes use shaped locking features around the corner and base arrangement to hold the tray walls in position. The exact engagement should be checked on the approved drawing and sample. A style illustration explains the idea, but it does not establish that every version uses identical tabs or folds.
Start with the product arrangement. The tray might hold a row of retail goods, a coordinated gift selection or items being prepared for another pack. Tell us whether the contents need to be visible, separated or removed one at a time. Those practical needs determine the footprint and wall height more reliably than a preferred external size alone.
Check every corner, including the underside
Assembly should leave the walls upright and the intended locks properly engaged. Follow the sample's folding sequence and inspect the underside as well as the inside. If a tab is partly engaged or folded in the wrong direction, the tray may look finished until it is lifted or loaded.
Try the process on an ordinary packing surface, using the people and space available in your business. Notice whether a lock needs access from underneath and whether that is convenient once other work is on the bench. A useful tray design should be repeatable in your routine, not just easy for the person who created the first sample.
Match the base to how the contents sit
Share the total packed weight and the shape of the contact points. A single heavy item with a narrow base behaves differently from several light products spread across the tray. The base, locks and side walls need to be considered together, particularly if the tray will be carried while fully loaded.
Do not assume that a locking corner makes the tray suitable for any load. Test the completed sample with all intended components in place. If it needs a support pad or an outer container, record that arrangement. Removing a component after testing can change the result even though the visible tray looks much the same.
Set wall height around presentation and handling
An open tray should show enough of the contents to serve its purpose, while retaining them during the handling you have described. Check the height against the lowest and tallest products in a mixed set. A rim that suits one item can hide another or leave it difficult to grip.
For a display, look at the tray when partly empty. Items may move into spaces left by earlier purchases, changing the presentation and stability. For a gift set, check whether the arrangement stays recognisable as the tray is lifted and put down. Dividers or fitted supports can be discussed where the product layout needs more control.
Print the surfaces that remain in view
The folded walls and locking areas create a different printed surface from a simple rectangular label. Agree which panels are outward-facing and which become hidden during assembly. Use a folded mock-up to check where a continuous pattern or border meets at the corners.
Place the product or range name where it stays readable when the tray is filled. If the tray is used in a stockroom as well as on display, consider a useful identifier on the side. Keep essential wording away from tabs or areas covered by the contents, and check that decorative finishes do not interfere with the intended folding and locking arrangement.
Plan any cover or outer pack at the same time
If you want a sleeve, lid or protective outer box, include it in the original brief. The tray's completed wall thickness and external features affect how another component fits around it. Matching only the nominal product dimensions can leave a sleeve tight or a lid loose.
For food use, state the contact and storage conditions rather than assuming a board tray is universally suitable. For delivered goods, assess the full parcel with the real contents. The foot lock tray can organise and present the product, while other components may need to provide coverage, cushioning or protection during the journey to the customer.
Turn the template into your own specification
The illustration is a starting point for a made-to-order pack. It is not a production drawing that should simply be enlarged until your product appears to fit. Share the finished product measurements, packed weight and any inner components so the structure can be assessed at the size you actually need. Mark whether your measurements describe the product, the space inside the box or the outside of an existing pack.
Check the sample, not just the screen
A physical sample is available for £25 delivered. Agree what that sample will represent: the construction, material, printed appearance or a particular combination. A plain structural sample answers different questions from a finished printed example. Fill it with the actual product and include every insert, leaflet, wrapper or accessory that belongs in the final pack.
Ask the person who normally packs your orders to try it. Check the sequence of assembly, how comfortably the item goes in and how the customer removes it. Write down the changes you need before approving the next stage. If the pack will travel through a delivery network, assess the complete parcel rather than judging protection from an empty retail carton.
Get a clear price for the complete job
Orders start from 100 units. Our quoted prices include VAT and doorstep delivery. Usual production and delivery is 6–9 days; confirm the actual schedule for your agreed specification and target date. Tell us your delivery postcode, artwork status and any deadline when requesting a quote.
The useful comparison is the same structure, size, board, printing, finish and quantity. Ask for alternatives if you need to work towards a budget, and have any setup or additional components identified in the written quotation. Send your brief and we can help you settle the practical details before committing to the run.
Compare four corner trays, tray and sleeve packaging, or request a packaging quote for this style.