A small card with several practical jobs
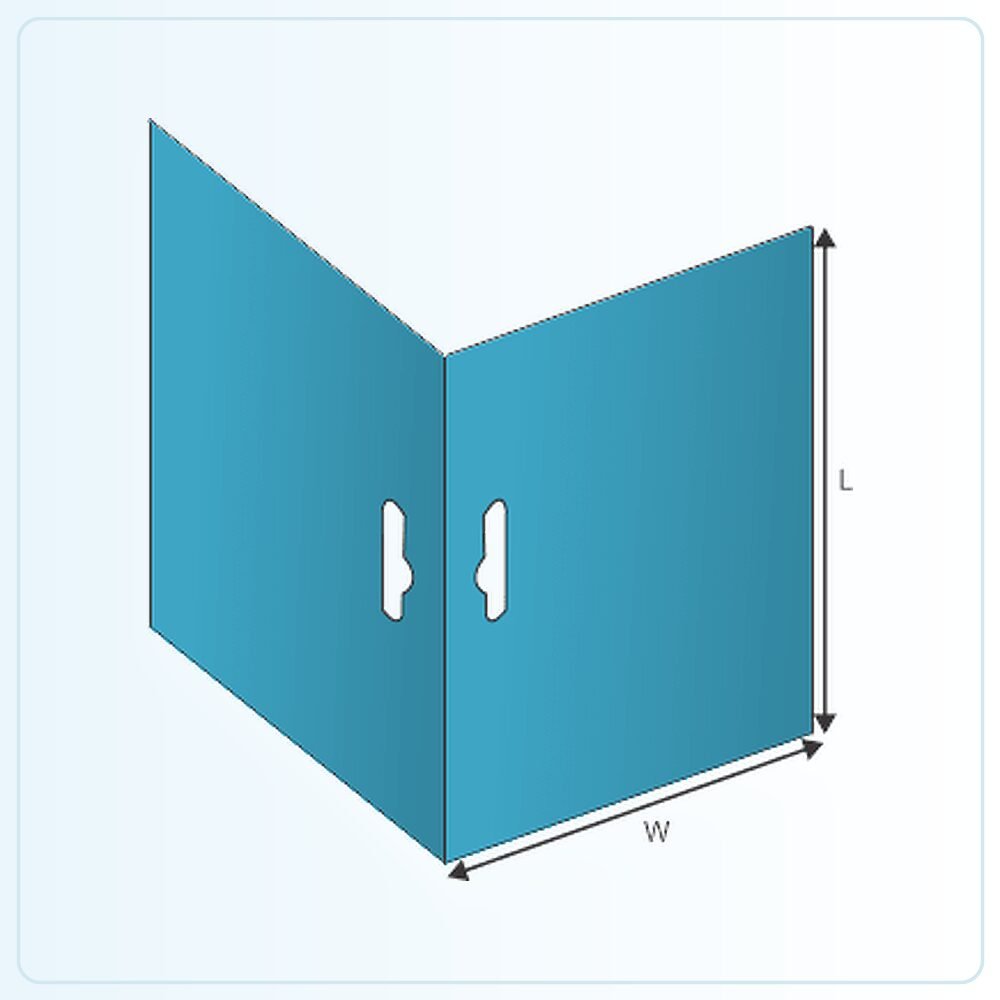
A header card folds over or attaches to the top of a bag or pack, providing a printed area for identification. If a hanging feature is included, it also becomes part of the way the product is displayed. The card, bag and contents should therefore be considered together rather than treating the header as a label sized in isolation.
Start with the finished bagged product. Tell us the bag width, the amount of material available above the contents and the intended attachment method. A clear photograph of the filled pack can show folds, seals or product features that affect how the header sits and where the print remains visible.
Set the fold and panel sizes around the bag
The front and back panels need enough room for their intended information while fitting the top of the pack neatly. Decide whether both panels are the same depth or whether the reference design requires another arrangement. Include any space needed for the attachment and hanging feature before finalising the overall card size.
Check the folded header on a filled bag. An empty bag can lie flatter and make the fit appear easier than it is in use. The card should not force the contents into an awkward position or leave important wording covered by a fold. If the bag varies between products, test representative examples before choosing one shared header size.
Agree how the card is attached
The attachment method affects the functional areas on the artwork and the packing sequence. Explain whether your process uses staples, adhesive or another arrangement, and ask for the relevant zones to be identified. Do not assume the printed card alone seals the bag or provides the barrier required by the product.
Try the operation with your normal packing tools and staff. Check that the card stays aligned and that attachment does not obscure the product name or damage the bag in an unintended place. If a third party packs the goods, include their requirements before the design is approved so the header suits the actual line.
Plan hanging around the filled pack
If the product is displayed on a peg, specify the hanging opening and the retailer's requirements. The position of the hole or slot affects how the pack hangs, especially when the contents are unevenly distributed. A central hole on the card does not guarantee that an irregular filled bag will hang straight.
Test the full pack on the intended display fitting. Check access for removing one unit, the space occupied by neighbouring products and the way the header bears the load. Do not claim a universal weight capacity from the card size alone. Board, construction, attachment and the filled product all belong in that assessment.
Make limited print space easy to read
Give the front a clear product name and brand, then decide which supporting details belong on the reverse. A small header quickly becomes crowded if every message is given equal prominence. Review the design at actual size rather than relying on a large screen view that makes small text look comfortable.
Reserve practical areas for any barcode, variable label or required product information. Keep the hanging and attachment features clear of those elements. For a range, make the variant wording recognisable even when the product inside the bag looks similar. Colour can support identification, but it should not be the only clue available to the shopper or stock picker.
Keep the card and product responsibilities distinct
The header can carry information and support presentation, but the bag and complete packing arrangement need to suit the contents. If the product has particular contact, moisture or safety requirements, state them separately. A printed topper should not be assumed to make an unsuitable bag appropriate for the job.
For repeat orders, retain the approved fold dimensions, attachment details and artwork version. If the bag supplier or product weight changes, review the header fit again. A small change to the pack beneath the card can affect hanging, alignment and available print space even when the branding itself remains unchanged.
Turn the template into your own specification
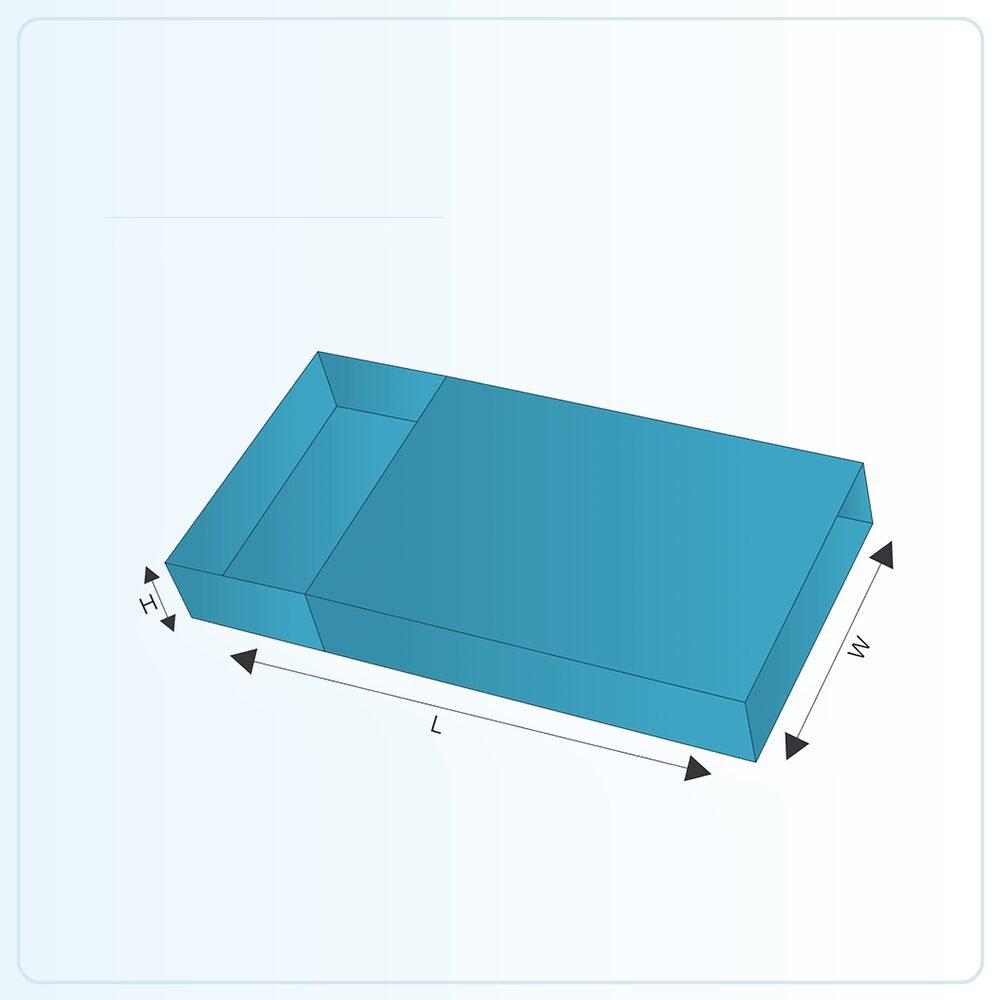
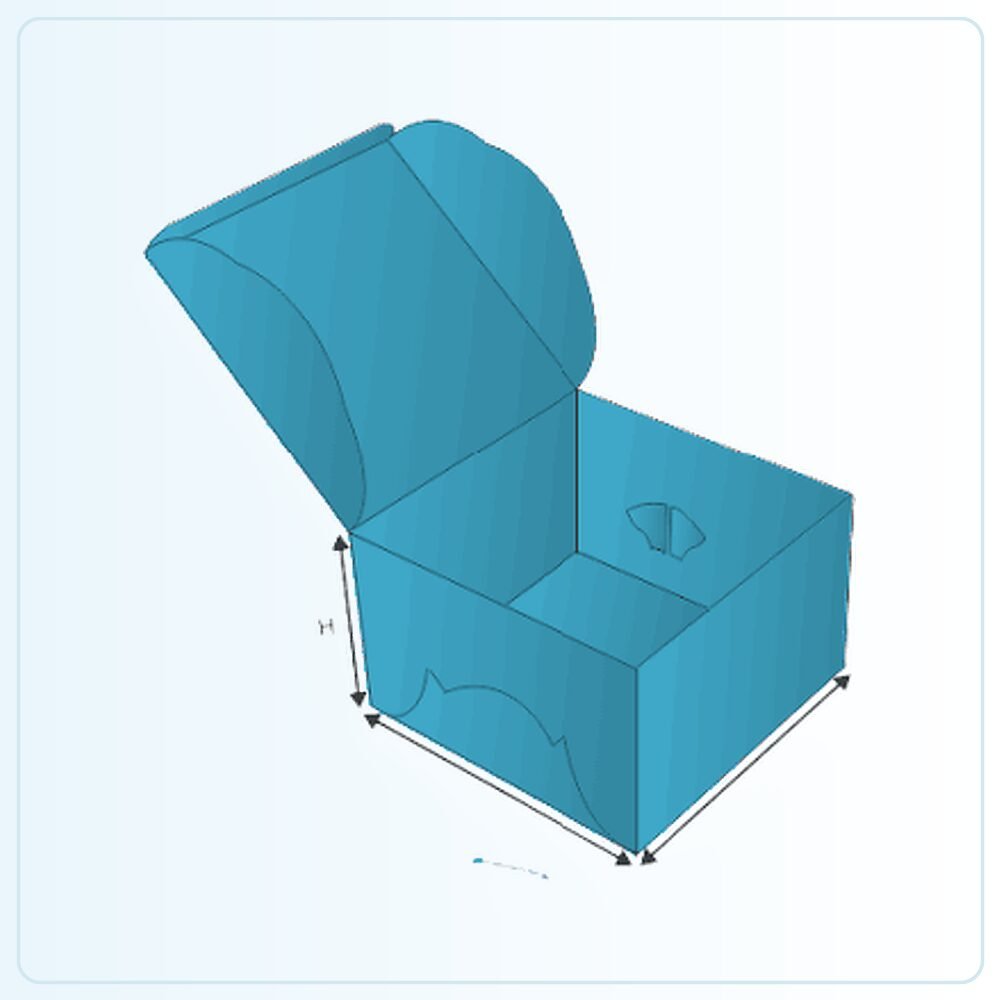
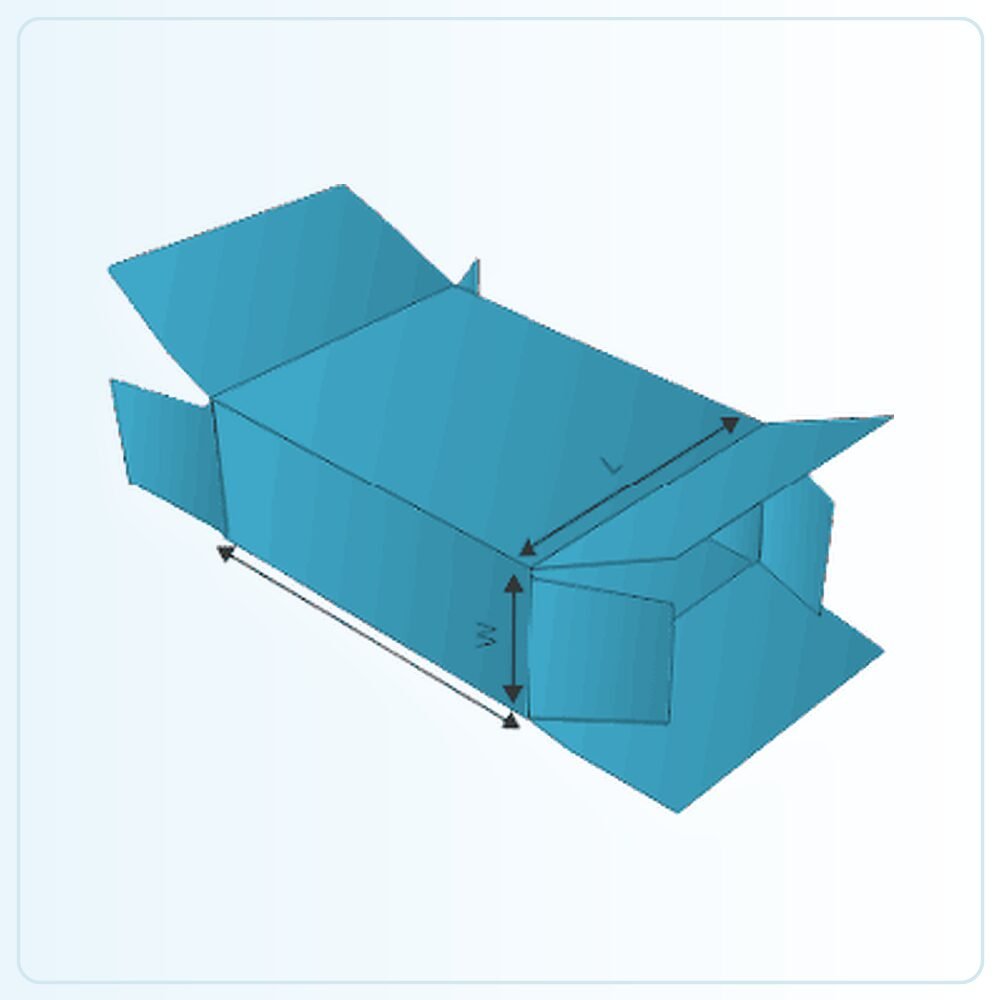
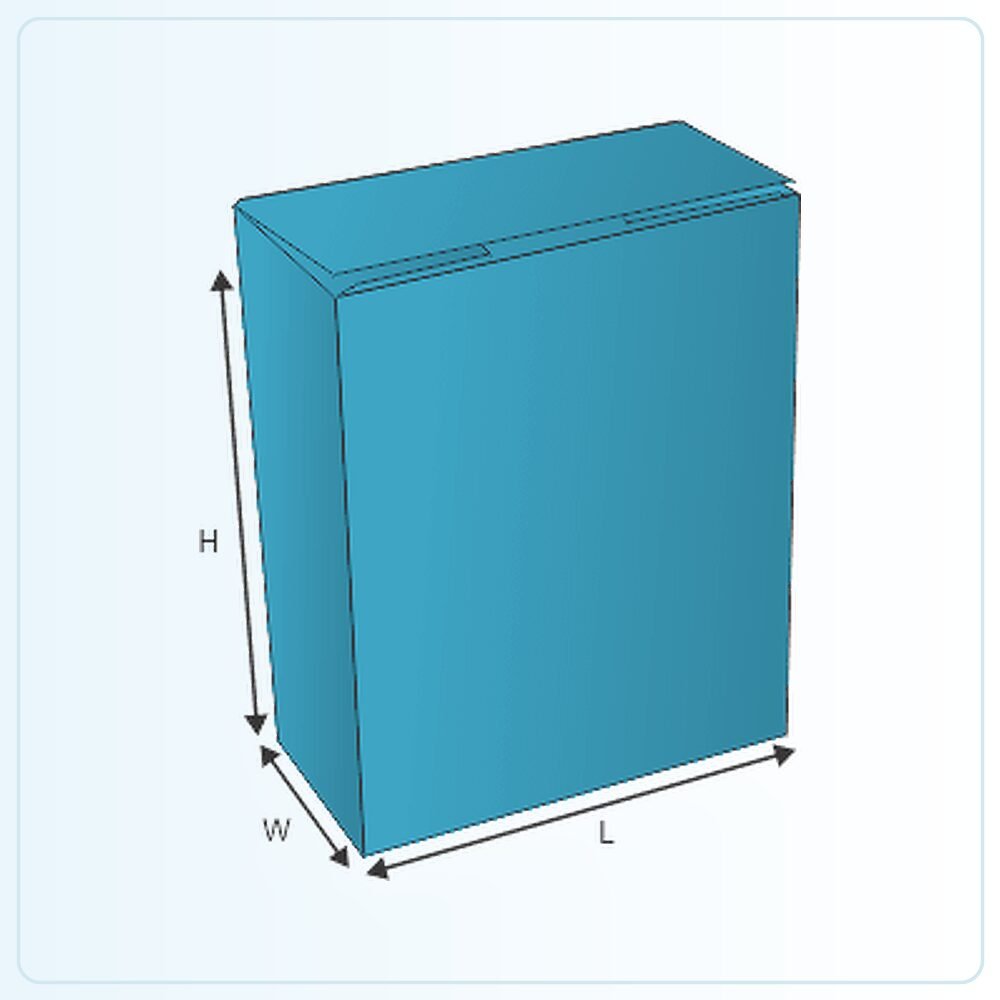
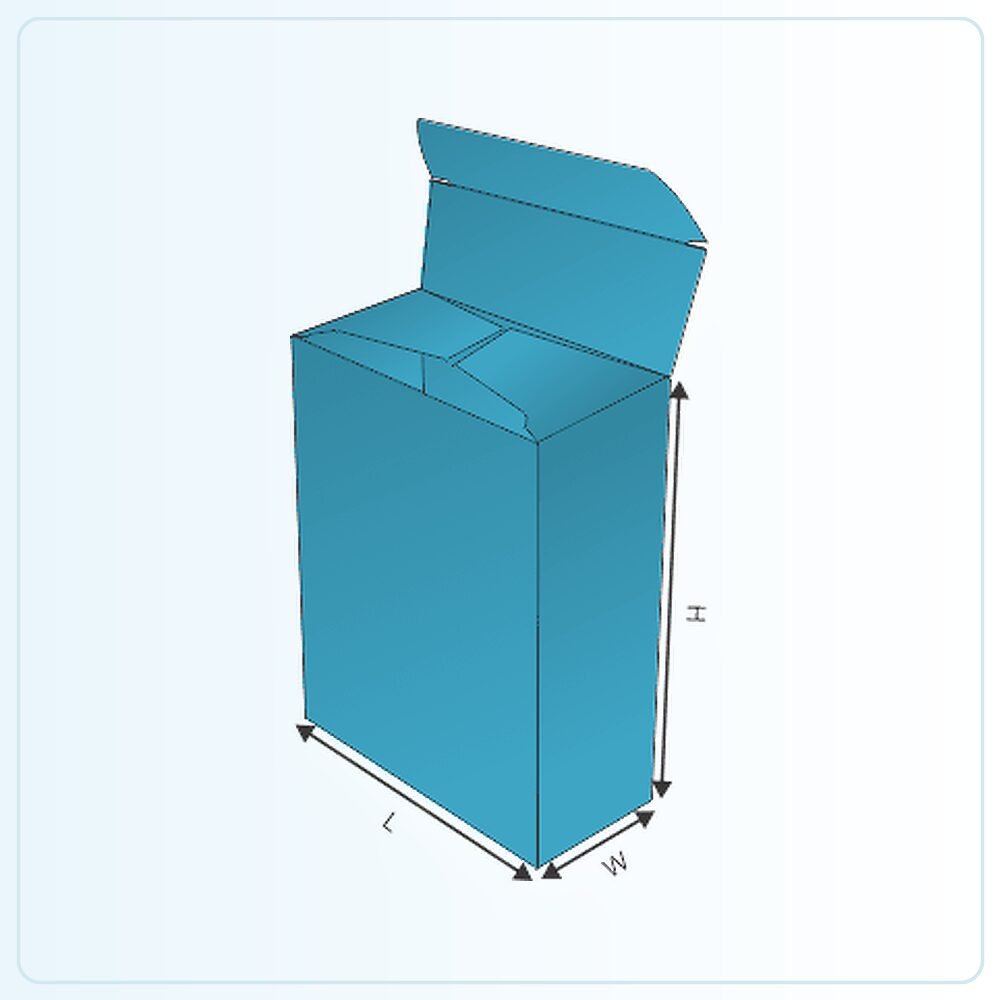
The illustration is a starting point for a made-to-order pack. It is not a production drawing that should simply be enlarged until your product appears to fit. Share the finished product measurements, packed weight and any inner components so the structure can be assessed at the size you actually need. Mark whether your measurements describe the product, the space inside the box or the outside of an existing pack.
Check the sample, not just the screen
A physical sample is available for £25 delivered. Agree what that sample will represent: the construction, material, printed appearance or a particular combination. A plain structural sample answers different questions from a finished printed example. Fill it with the actual product and include every insert, leaflet, wrapper or accessory that belongs in the final pack.
Ask the person who normally packs your orders to try it. Check the sequence of assembly, how comfortably the item goes in and how the customer removes it. Write down the changes you need before approving the next stage. If the pack will travel through a delivery network, assess the complete parcel rather than judging protection from an empty retail carton.
Get a clear price for the complete job
Orders start from 100 units. Our quoted prices include VAT and doorstep delivery. Usual production and delivery is 6–9 days; confirm the actual schedule for your agreed specification and target date. Tell us your delivery postcode, artwork status and any deadline when requesting a quote.
The useful comparison is the same structure, size, board, printing, finish and quantity. Ask for alternatives if you need to work towards a budget, and have any setup or additional components identified in the written quotation. Send your brief and we can help you settle the practical details before committing to the run.
Compare hanging cartons, pillow presentation boxes, or request a packaging quote for this style.