Be precise about which areas remain open
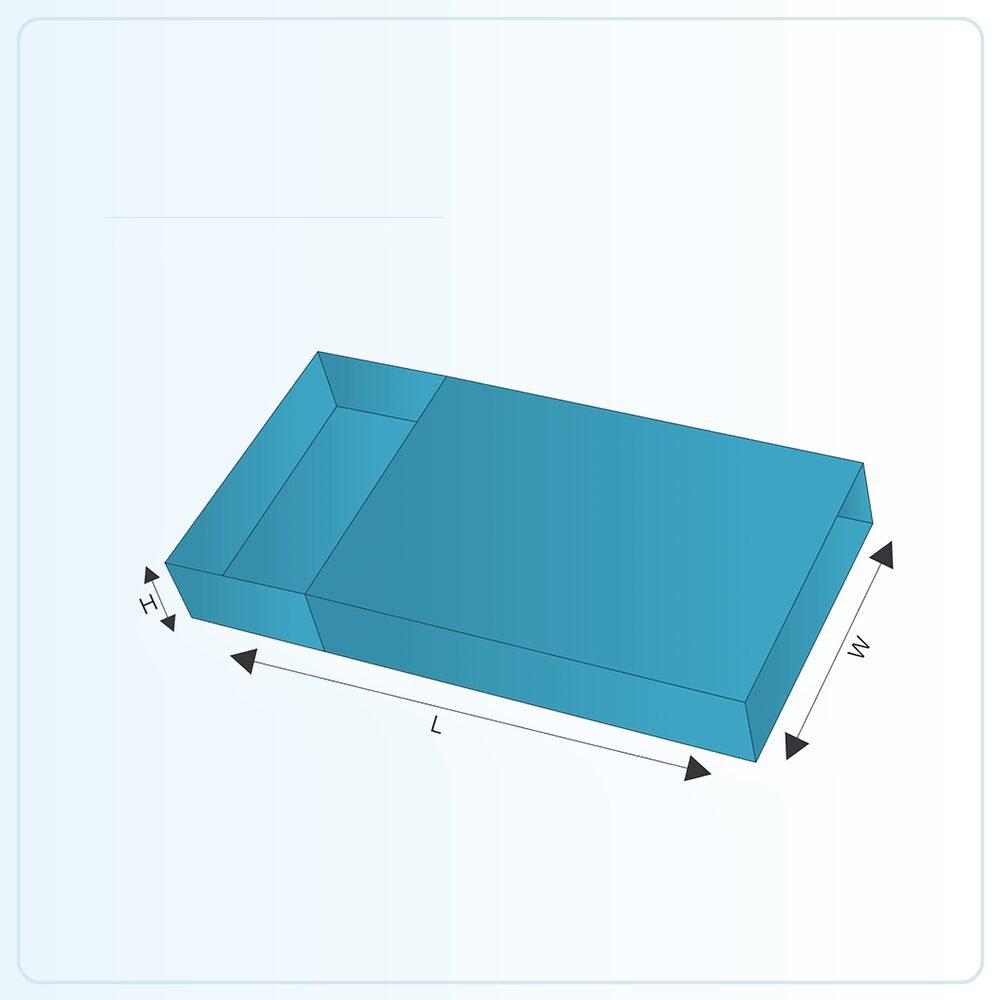
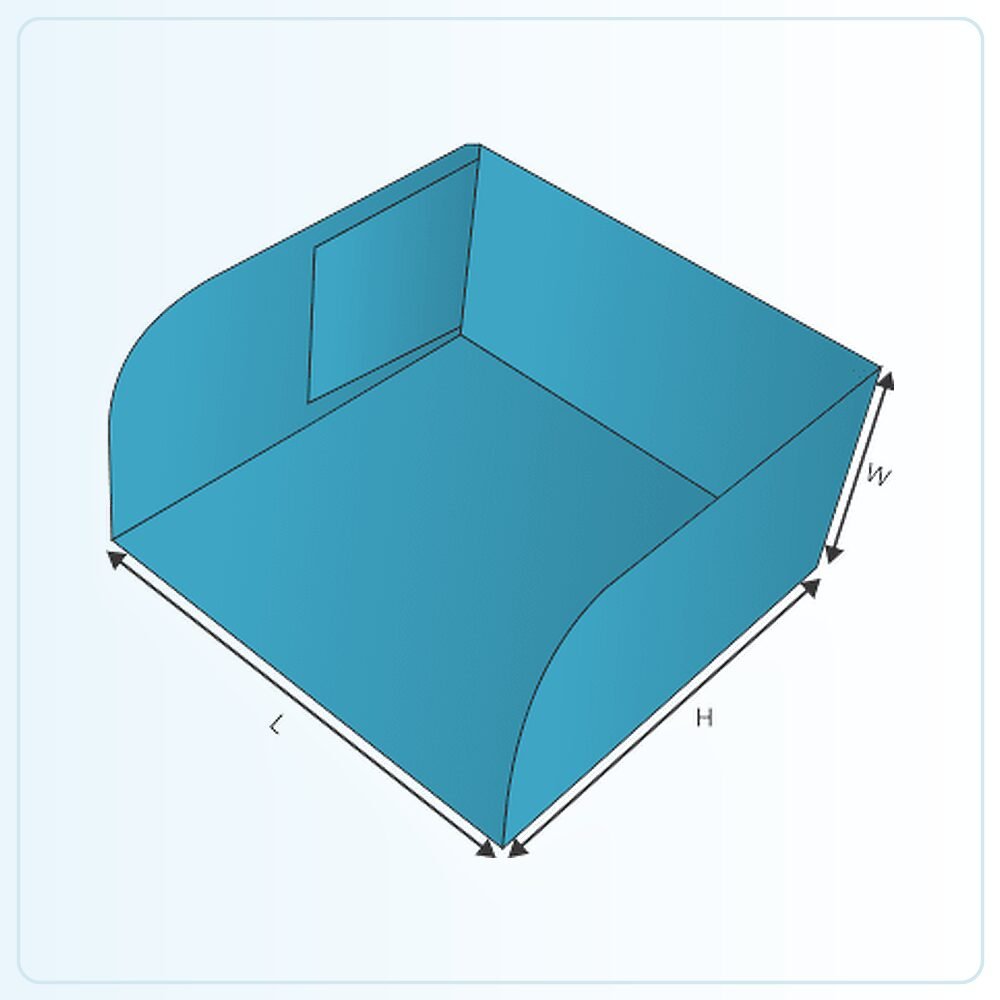
Open ended tray is a description that should be confirmed against the actual drawing. State which ends or faces you want accessible and how the product sits in relation to them. An open top, an open end and a sleeve-style opening are not interchangeable details, even when catalogue images look similar from one angle.
Use a sketch or reference photograph to show the intended access. Explain whether the tray holds a single elongated item, a set of products or goods that need to be reached during display. The structural discussion can then focus on the exposed areas and the parts that must retain the contents.
Plan product retention without assuming full enclosure
An opening can make access convenient, but it also changes where the product is supported. Consider whether the item can slide towards an exposed end when the tray is tilted or moved. A close-looking fit on a level table does not establish that the contents will remain in place during normal handling.
If a stop, insert or outer sleeve is needed, include it in the initial brief. Those components affect the usable space and the way the customer removes the item. Avoid adding a support after the tray size has been finalised without checking the whole assembly, because a small added part can interfere with the intended opening.
Size the usable area around the finished product
Measure the product with any wrapper, backing or accessory that belongs in the tray. Identify features that need clearance, such as a projecting handle, a delicate edge or a raised label. A dimensioned outline can help where the product is not a simple rectangle.
Tell us which measurements are fixed by another component. If the tray has to fit an existing sleeve, display recess or shipping container, provide that information alongside the product dimensions. The internal fit and external constraint need solving together; selecting one without the other can leave a pack that works on the bench but not in its intended setting.
Check the tray in every handling position
Trial the filled sample as it will be used. Lift it, set it down and present it in the expected orientation. If staff carry the tray between work areas, include that movement in the review. If customers remove one item at a time, check the remaining arrangement after each removal.
The exposed areas should not become an unexpected route for the product to move or a place where a fragile feature catches. If the arrangement needs protection beyond the tray walls, discuss an appropriate wrapper or outer pack. The open construction can be a useful presentation choice without being asked to provide complete coverage on its own.
Make the visible surfaces work for the brand
Decide which wall or panel is most consistently seen. That surface is a good place for the product or range identifier. Avoid relying on a base graphic that will be hidden by the contents, or on a narrow edge that is difficult to read in the actual display position.
Open areas may reveal the product's own colour and texture, so the printed tray can act as a frame. Keep the design coherent with what will sit inside it. For multiple variants, clear wording can help staff and customers distinguish packs even when the products look similar. Check the assembled presentation with the real contents rather than a blank stand-in.
Confirm what completes the pack
If a sleeve, cover or outer box is part of the intended solution, have it included in the written specification and sample. The tray's folded walls and any retaining features affect the fit of the surrounding component. A separately selected sleeve should not be assumed to match simply because its nominal dimensions are close.
For food uses, explain direct contact and storage conditions. For delivery, describe the carrier journey and any fragile or easily marked surfaces. An open ended tray can organise and present the product, but the complete pack must be assessed for the actual route from your packing bench to the customer.
Turn the template into your own specification
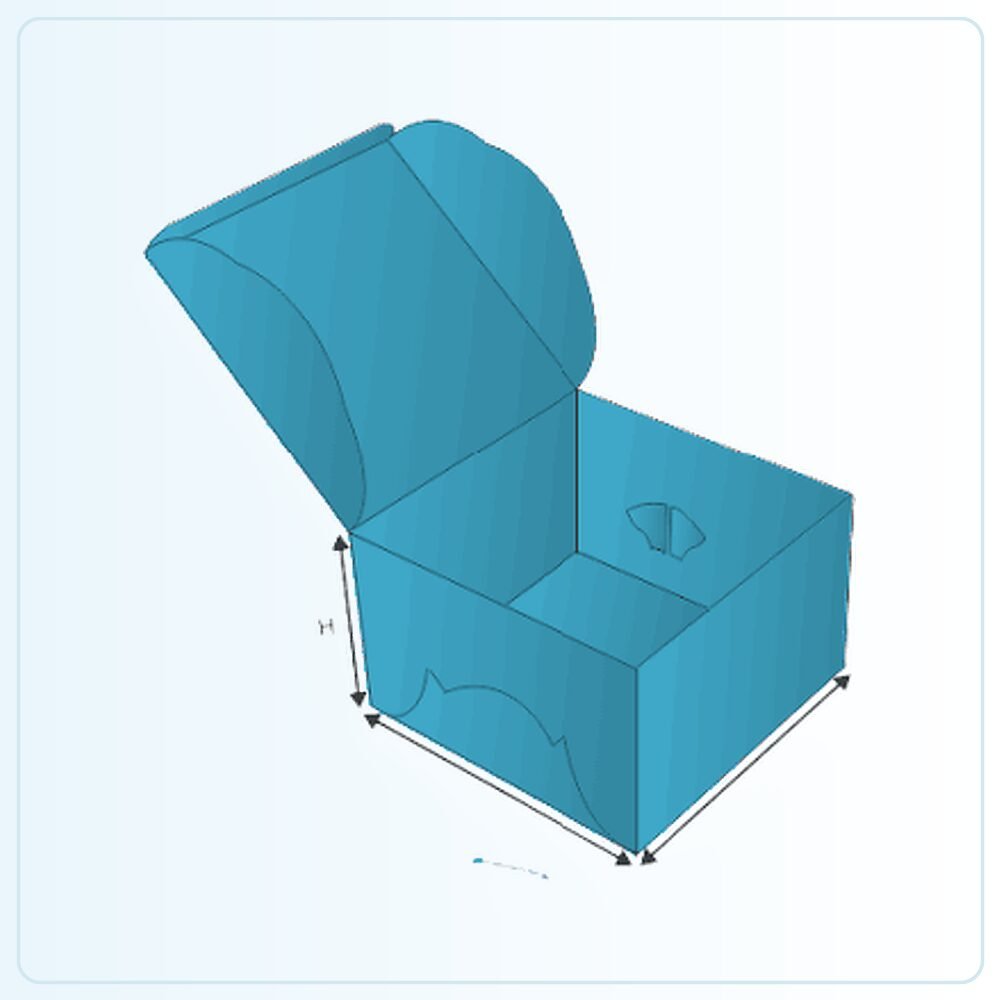
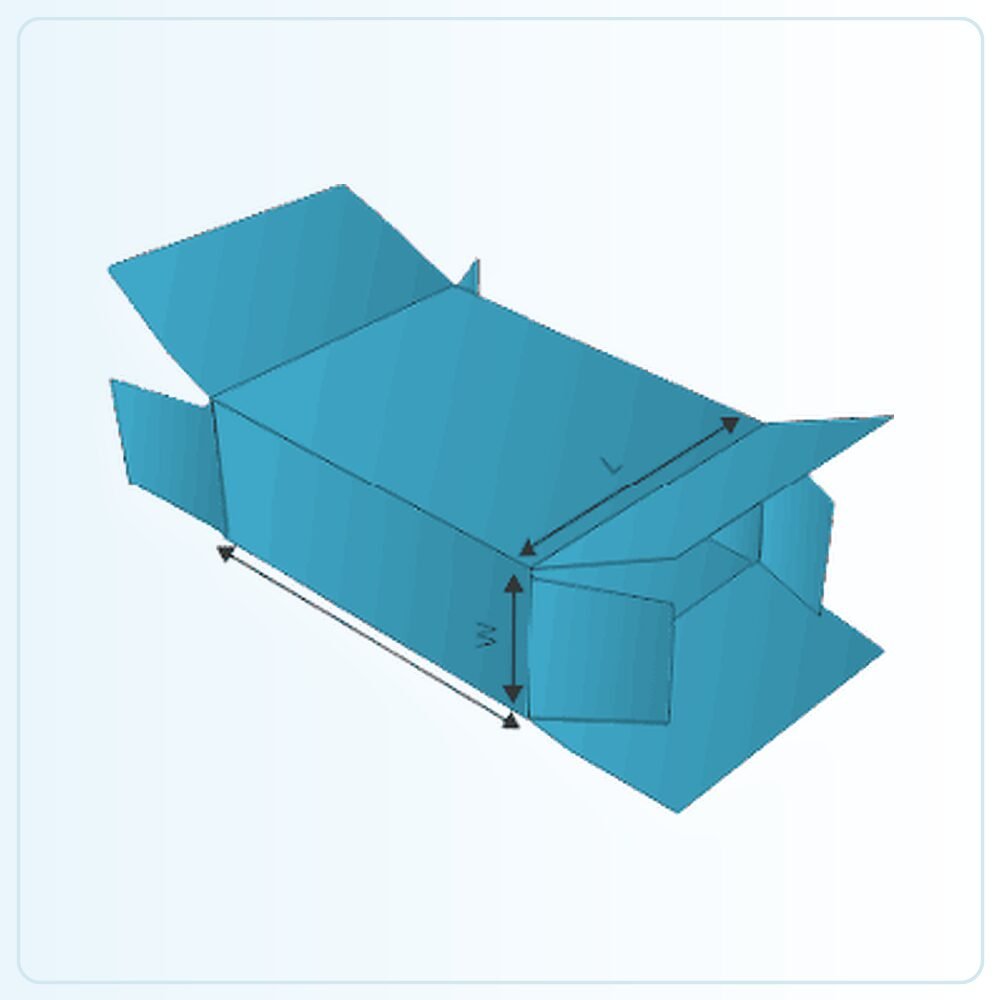
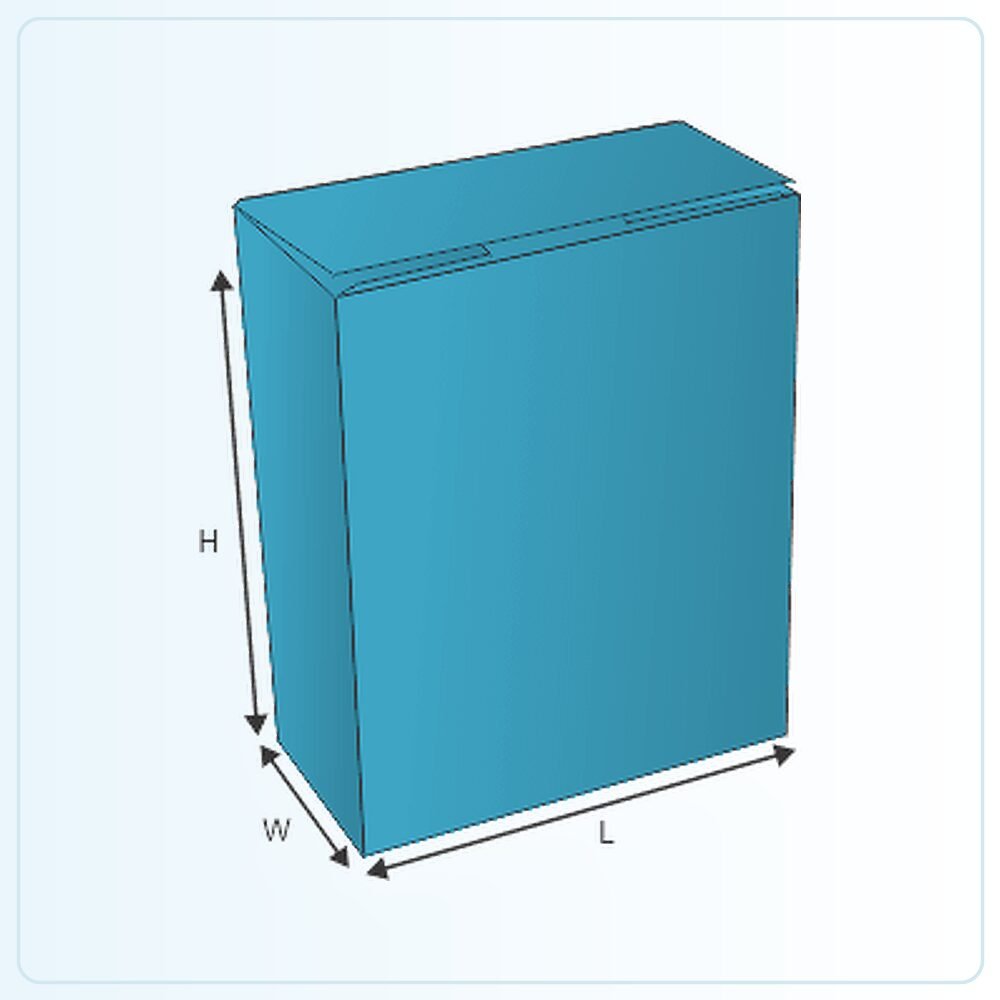
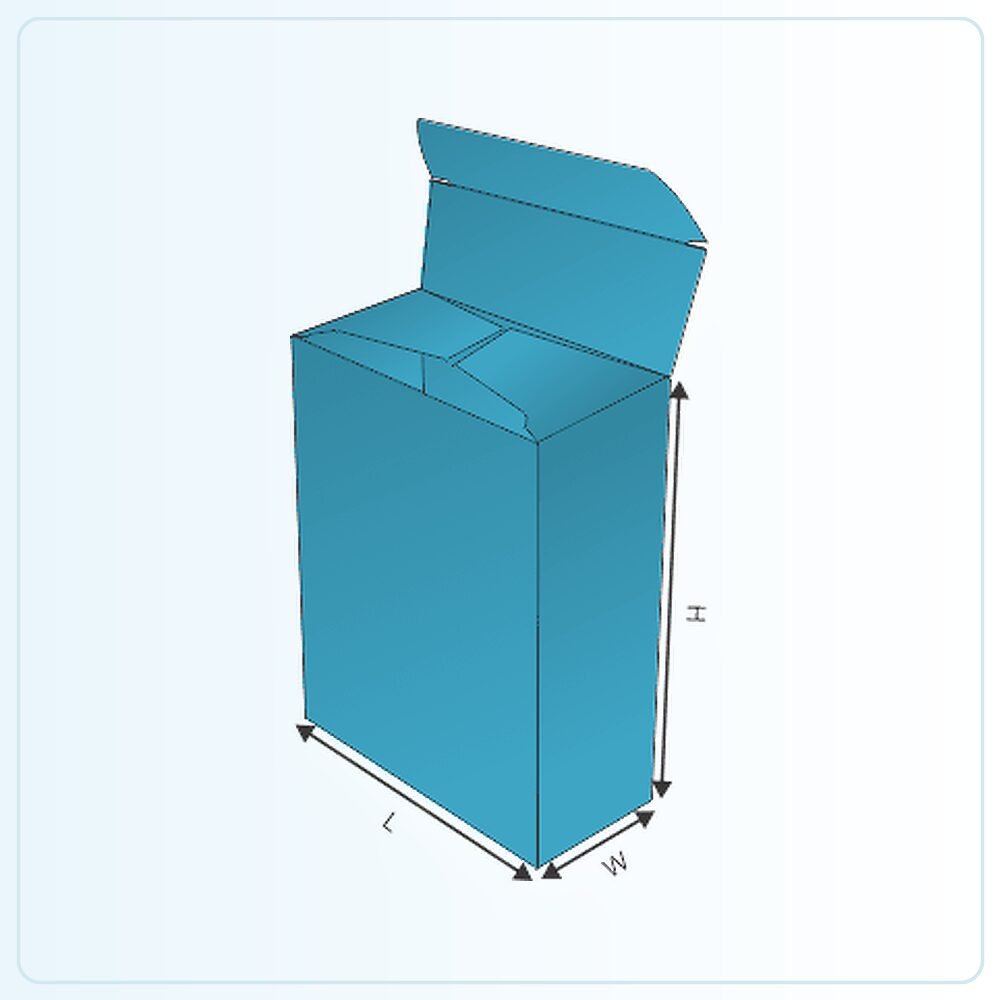
The illustration is a starting point for a made-to-order pack. It is not a production drawing that should simply be enlarged until your product appears to fit. Share the finished product measurements, packed weight and any inner components so the structure can be assessed at the size you actually need. Mark whether your measurements describe the product, the space inside the box or the outside of an existing pack.
Check the sample, not just the screen
A physical sample is available for £25 delivered. Agree what that sample will represent: the construction, material, printed appearance or a particular combination. A plain structural sample answers different questions from a finished printed example. Fill it with the actual product and include every insert, leaflet, wrapper or accessory that belongs in the final pack.
Ask the person who normally packs your orders to try it. Check the sequence of assembly, how comfortably the item goes in and how the customer removes it. Write down the changes you need before approving the next stage. If the pack will travel through a delivery network, assess the complete parcel rather than judging protection from an empty retail carton.
Get a clear price for the complete job
Orders start from 100 units. Our quoted prices include VAT and doorstep delivery. Usual production and delivery is 6–9 days; confirm the actual schedule for your agreed specification and target date. Tell us your delivery postcode, artwork status and any deadline when requesting a quote.
The useful comparison is the same structure, size, board, printing, finish and quantity. Ask for alternatives if you need to work towards a budget, and have any setup or additional components identified in the written quotation. Send your brief and we can help you settle the practical details before committing to the run.
Compare tray and sleeve packaging, four corner tray structures, or request a packaging quote for this style.