Design for hanging, not just for standing
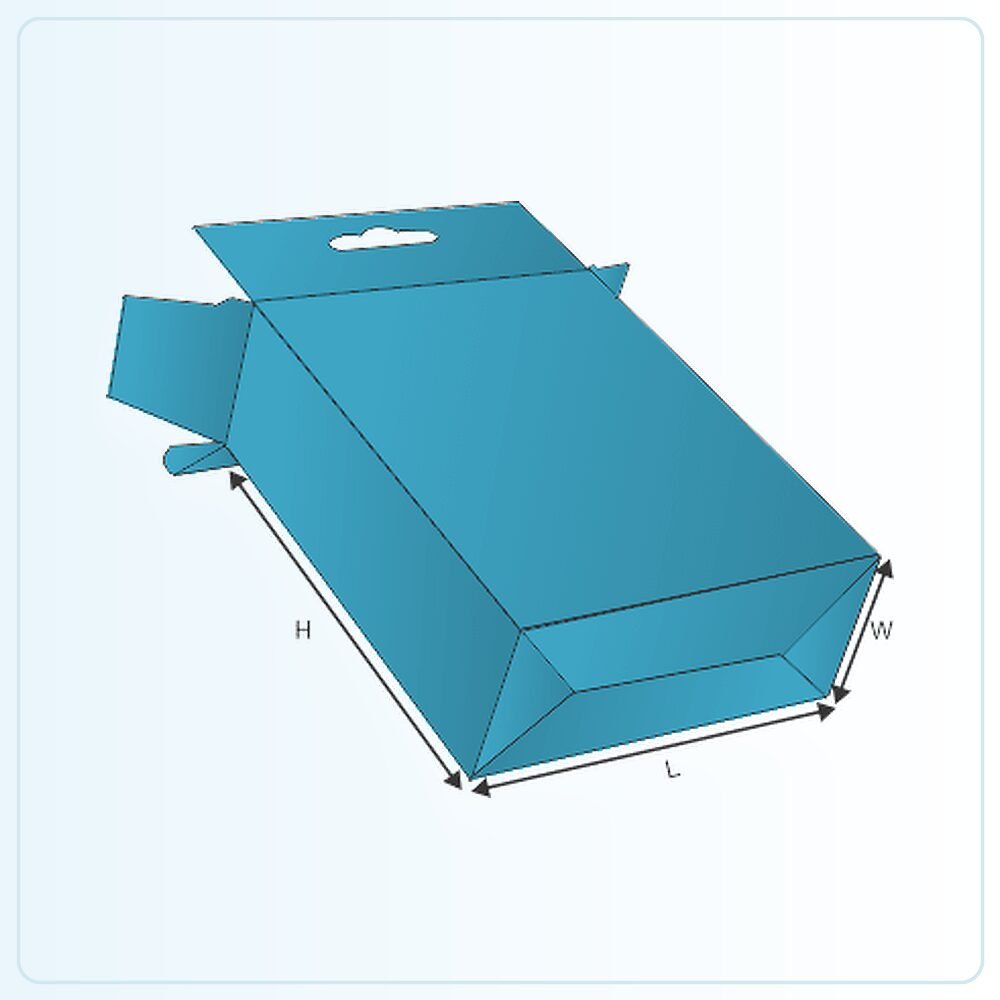
The additional hanging panel gives the carton a display function beyond its main product-holding body. The auto bottom addresses setup and lower support, while the hanger transfers the hanging load through its own construction. Both areas need assessing with the filled product, rather than assuming a carton that stands neatly will also hang well.
Provide the retailer's hanging requirements where available, including the intended hook or fitting and the space between products. The exact panel arrangement and opening should be confirmed on the drawing. A five-panel style name is not a substitute for checking how the finished pack connects to the display.
Put the product's balance into the brief
Tell us the filled weight and where the heavier part of the item sits. An unevenly weighted product can make a pack lean or twist even when the hanging opening appears centred. Include any insert that locates the product, because its position may be important to the final hanging behaviour.
Trial the sample on the intended fitting with the actual contents. Check the front-facing appearance, access for removing the pack and clearance between adjacent units. Look at the hanger, its connection to the body and the main carton together. A clean display should remain practical for the retailer and comfortable for the shopper to handle.
Form and check the auto bottom before filling
The prepared base should be opened and squared in the intended way before the product is added. Inspect the bottom to confirm it is fully formed, then trial the filling sequence with any support or leaflet included. Do not use the weight of the contents to force an unfinished base into place.
The base still needs to suit the product's load and contact points. A narrow item resting on a small area behaves differently from a broader product supported across the panel. Describe those details when asking for a quote. If a support pad is proposed, include it in both the sample trial and the final component list.
Keep the hanging area functional in the artwork
The header can carry a strong brand identifier, but the hole or slot and its surrounding area remain working parts of the structure. Avoid treating the whole panel as uninterrupted print space. Check the final position of the opening against logos, wording and any finishing detail.
Consider the view when several packs are on the same peg. The upper panel may be the first area a shopper notices, while the main carton explains the product in more detail. Give those areas distinct jobs so the display is easy to scan. Clear variant wording is useful when similar products share a common branded layout.
Plan customer access after purchase
Decide where the carton is opened and how the product comes out. The hanging panel should not make the intended opening confusing or obstruct an insert. Trial the pack away from the display hook as well as on it, because the customer experiences both stages.
If the product is returned to the box for storage, explain that requirement before selecting the closure. A retail hanging pack can be designed around a one-time opening or repeated access, but those are different expectations. Check the sample for the use you actually intend rather than inferring durability from the appearance of the header.
Agree the distribution arrangement
The hanger may extend beyond the main body and need consideration when packs are grouped for delivery. Explain whether cartons are dispatched individually, packed in outer cases or supplied to a distributor. Protecting a projecting display panel can be important to the condition in which stock reaches the retailer.
For repeat orders, retain the approved slot position, panel arrangement, board and internal layout. Changes to the product or its weight should trigger another review of hanging balance. Keeping those details with the artwork makes the next order easier to specify and helps avoid reproducing a pack that no longer suits the updated contents.
Turn the template into your own specification
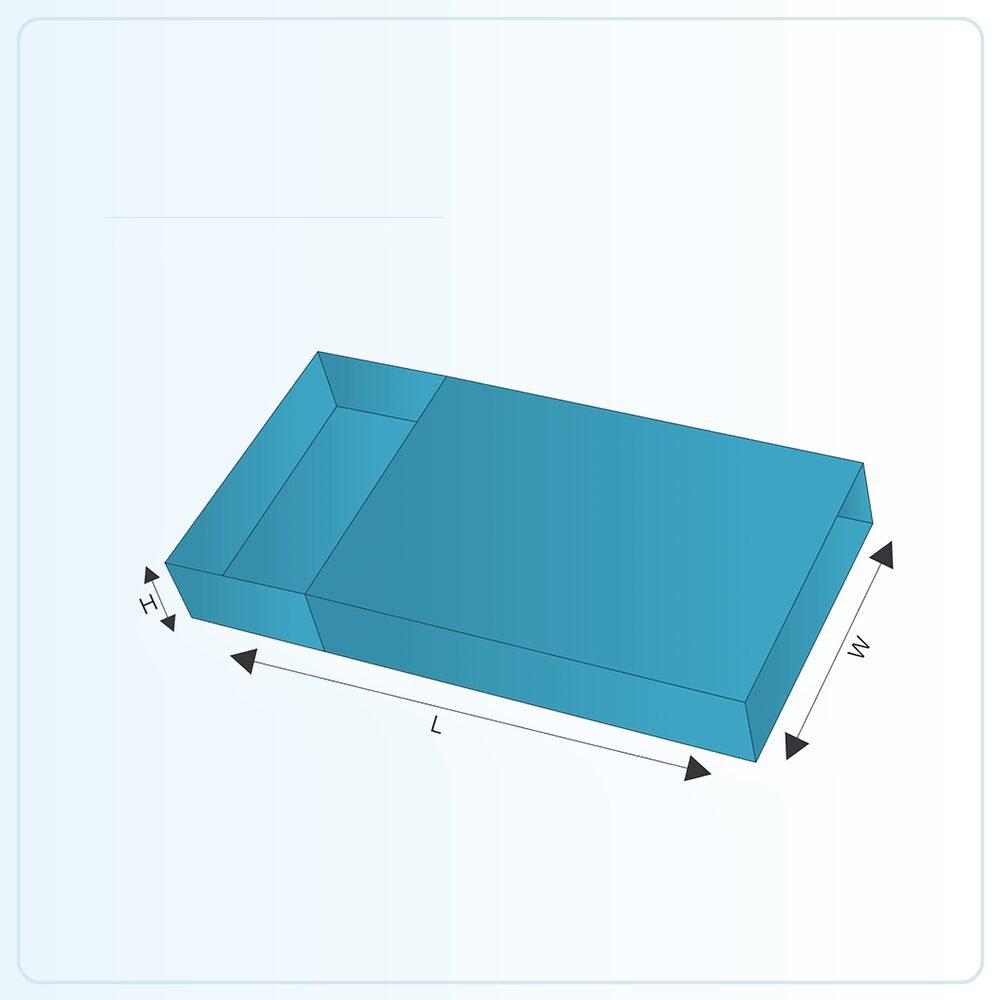
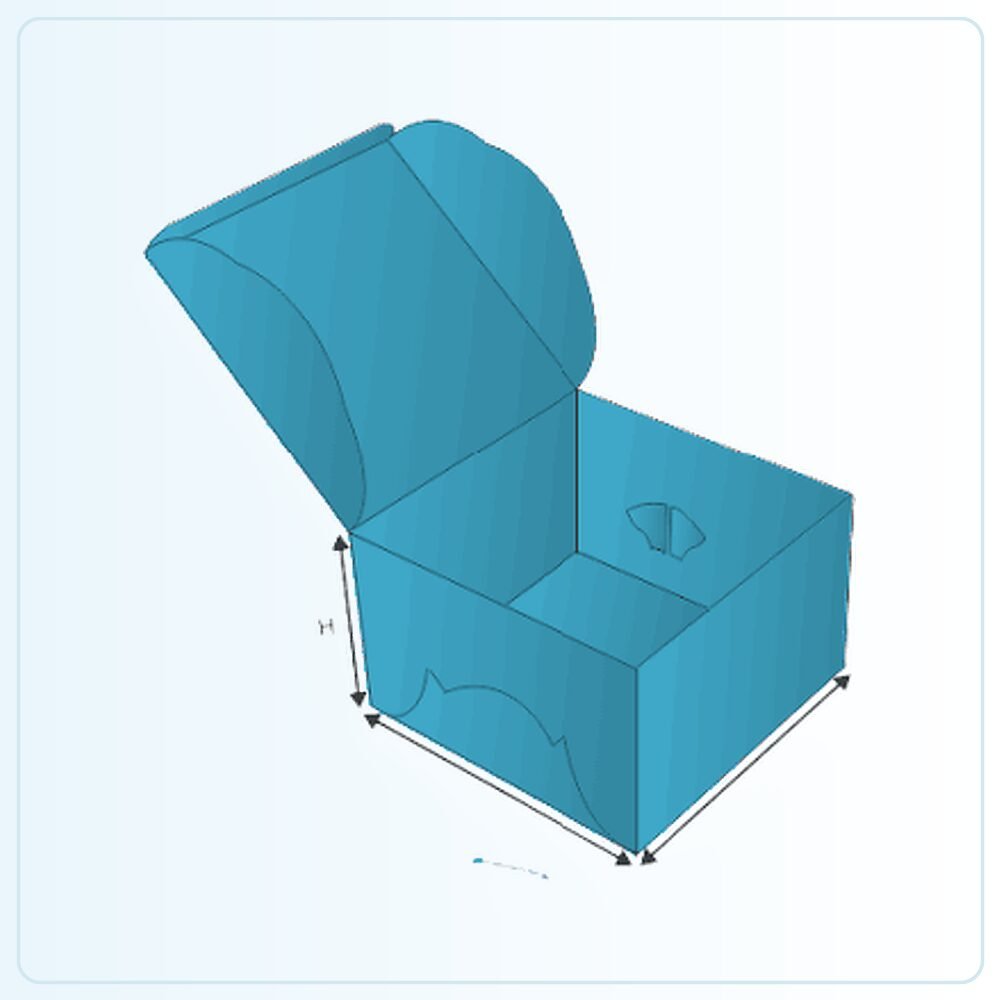
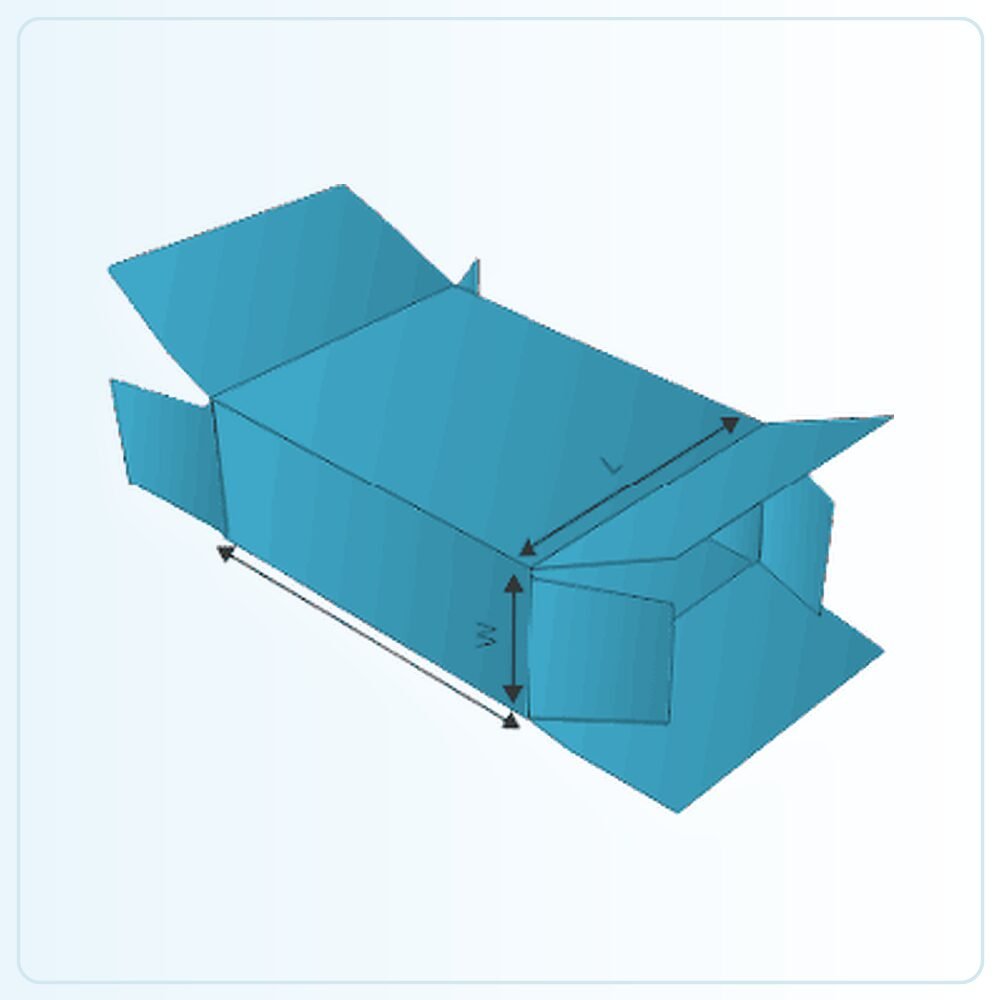
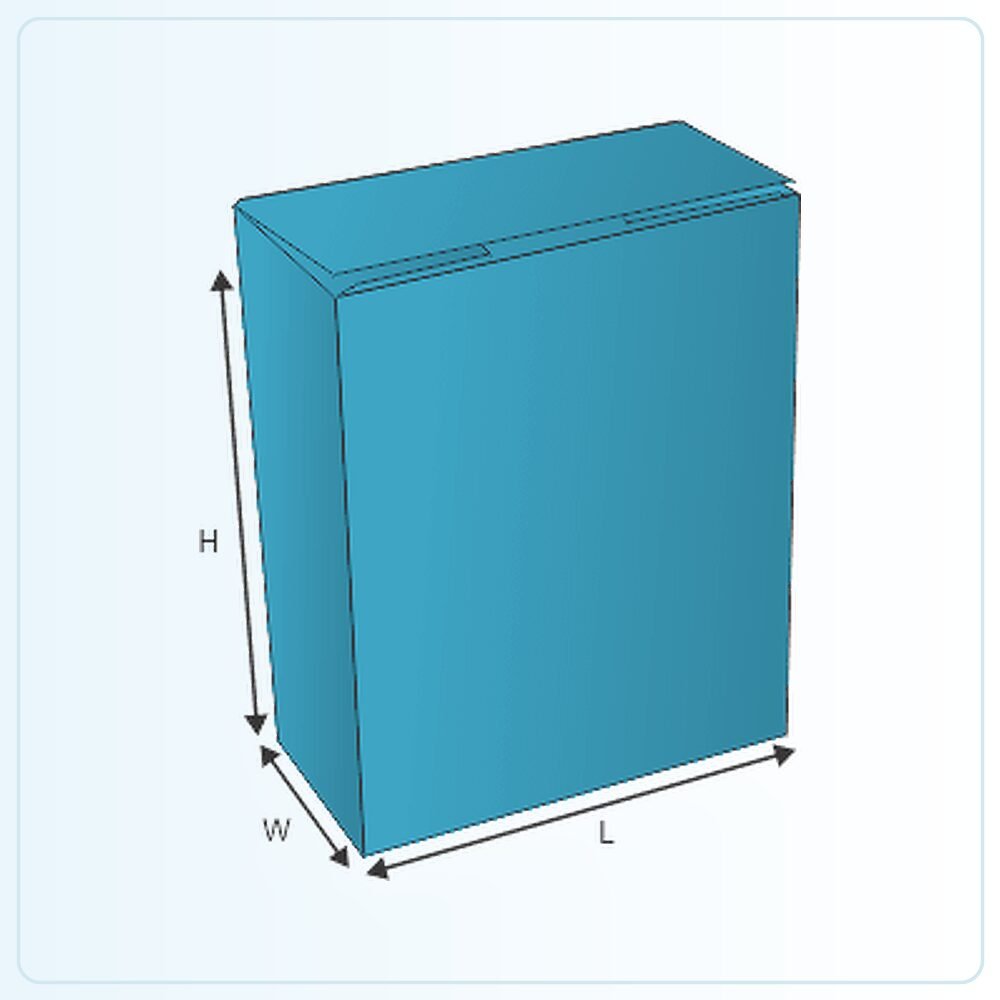
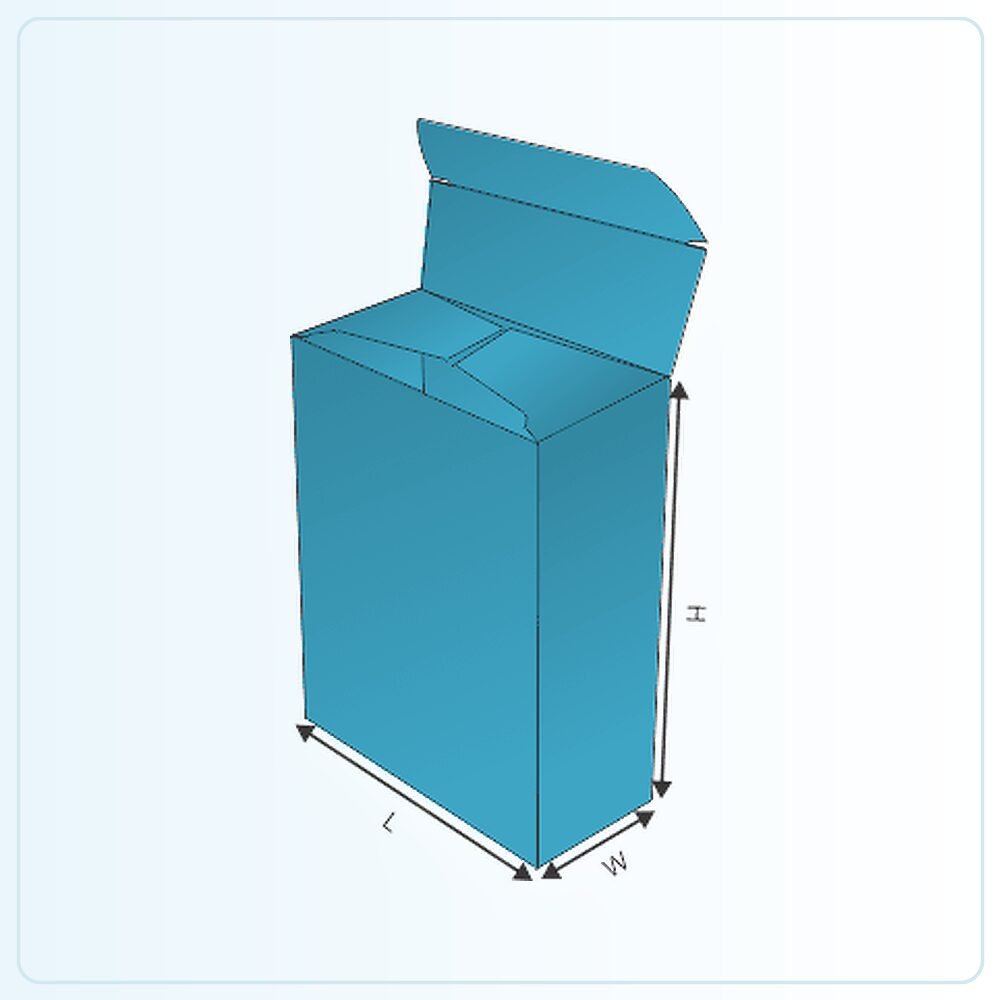
The illustration is a starting point for a made-to-order pack. It is not a production drawing that should simply be enlarged until your product appears to fit. Share the finished product measurements, packed weight and any inner components so the structure can be assessed at the size you actually need. Mark whether your measurements describe the product, the space inside the box or the outside of an existing pack.
Check the sample, not just the screen
A physical sample is available for £25 delivered. Agree what that sample will represent: the construction, material, printed appearance or a particular combination. A plain structural sample answers different questions from a finished printed example. Fill it with the actual product and include every insert, leaflet, wrapper or accessory that belongs in the final pack.
Ask the person who normally packs your orders to try it. Check the sequence of assembly, how comfortably the item goes in and how the customer removes it. Write down the changes you need before approving the next stage. If the pack will travel through a delivery network, assess the complete parcel rather than judging protection from an empty retail carton.
Get a clear price for the complete job
Orders start from 100 units. Our quoted prices include VAT and doorstep delivery. Usual production and delivery is 6–9 days; confirm the actual schedule for your agreed specification and target date. Tell us your delivery postcode, artwork status and any deadline when requesting a quote.
The useful comparison is the same structure, size, board, printing, finish and quantity. Ask for alternatives if you need to work towards a budget, and have any setup or additional components identified in the written quotation. Send your brief and we can help you settle the practical details before committing to the run.
Compare printed header cards, auto bottom retail cartons, or request a packaging quote for this style.