A familiar shape that still needs a clear brief
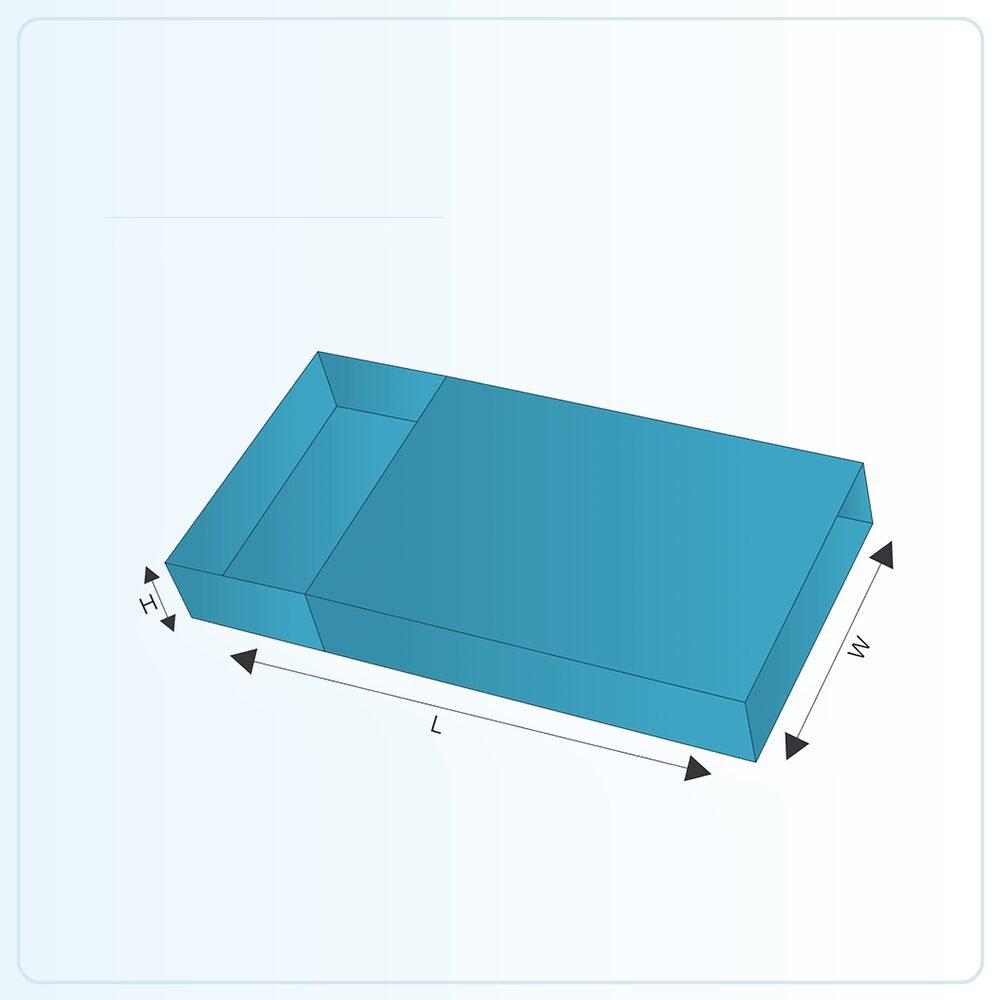
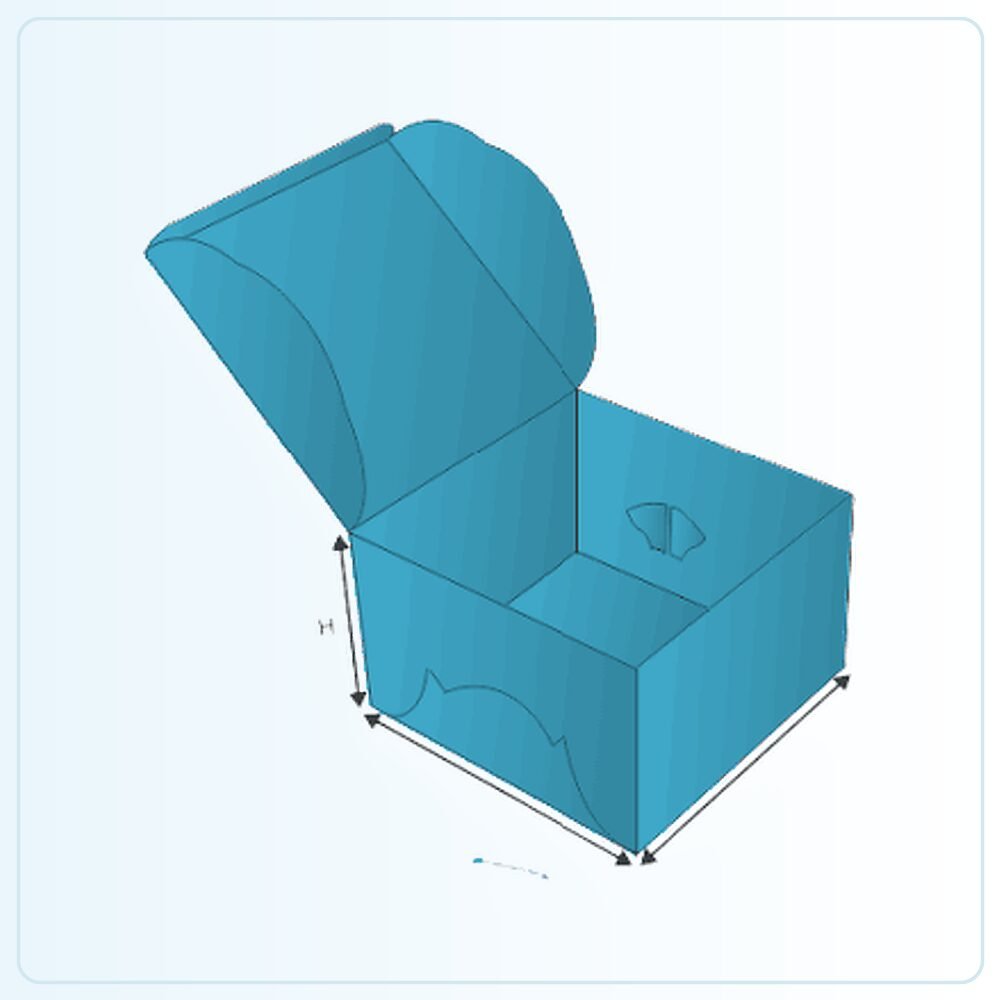
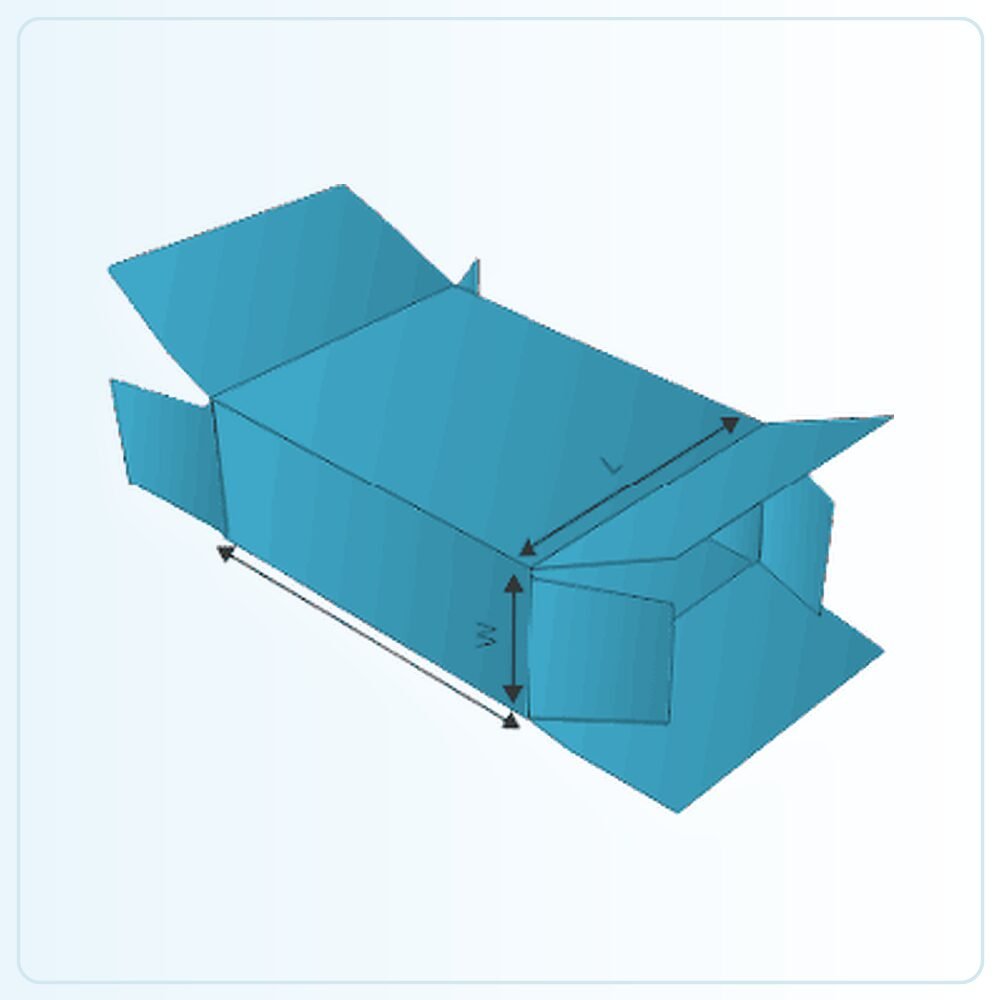
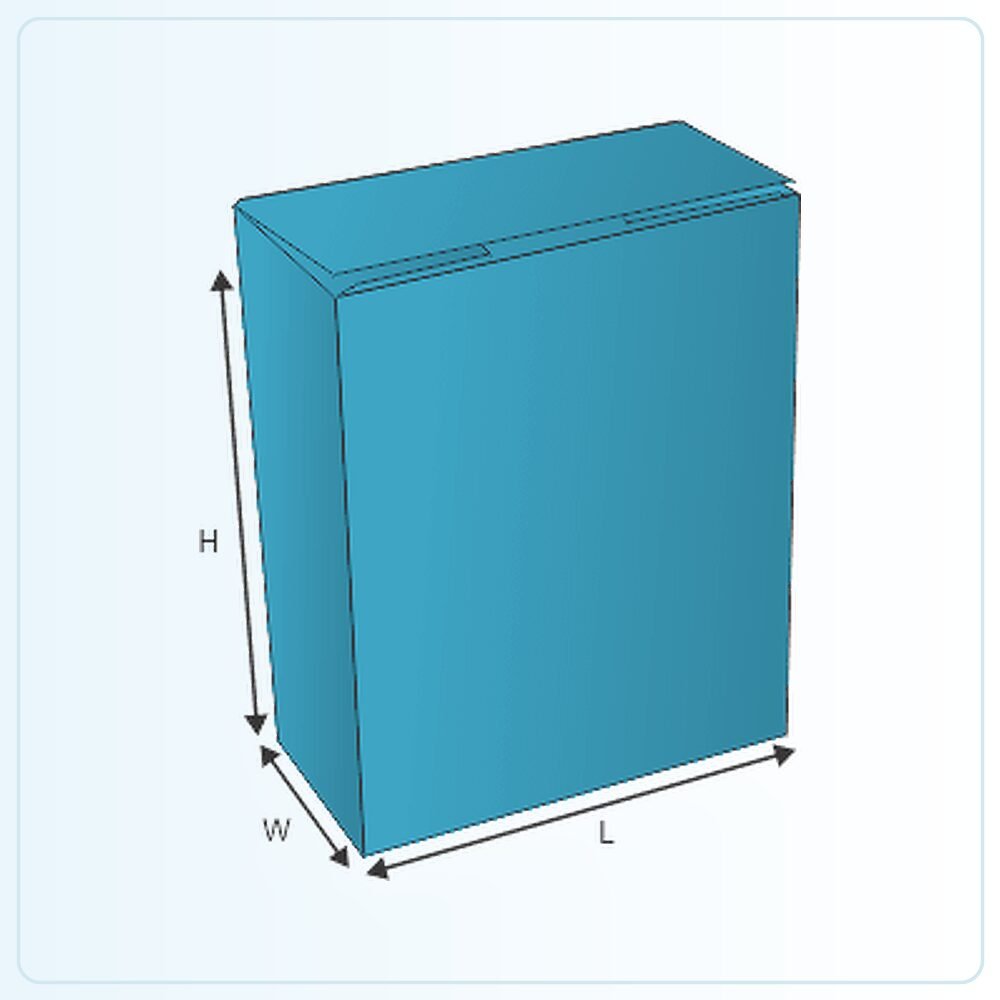
Four corner packaging uses a tray-style body whose surrounding walls meet at defined corners. The term is broad enough that you should check the drawing rather than assume the corner assembly, supply condition or any lid arrangement. Start by explaining whether you need an open presentation tray or a complete covered pack.
The distinction matters when comparing quotations. A tray, a tray with a separate cover and a box incorporating additional panels can look related in a catalogue while representing different amounts of material and assembly. State every component you expect to receive so the price describes the complete pack your team will use.
Build the footprint around the finished contents
Lay out the products in the order you want them presented. Include protective wrapping, backing cards and any spacing needed for a hand to lift an item out. A product set often occupies a different footprint from the sum of its individual measurements, particularly when curved or irregular shapes are involved.
Check whether the layout needs to stay fixed. A gift arrangement may need a support that holds each item in place, while a working tray may need more open access. If a divider or insert is part of the solution, measure and sample the whole arrangement together. A tray sized before the internal support is planned can leave too little usable room.
Decide what the corners must withstand
Corner details help the box keep its intended form, but they do not provide a universal strength rating. Describe the filled weight and how the pack is lifted, stored or moved. A tray carried once from a counter faces different handling from one repeatedly used during order preparation.
Try a sample with the full load and watch for distortion at the corners and along the base. If the tray sits inside another component, check that it continues to fit after filling. A carton that looks square while empty may behave differently when the product presses against one side or when the load is unevenly distributed.
Choose wall height and coverage deliberately
The walls should relate to the way the product is seen and handled. Taller sides can cover more of the contents, while shallow sides can make access easier. Neither is automatically better. Consider whether the user needs to see the whole product, remove it individually or carry several items together.
If a lid or sleeve is required, agree its relationship to the erected body. The fitted component must account for folded wall thickness and any corner features. Check opening and closing with the actual contents in place, including labels or wrapping that may extend slightly beyond the product itself.
Make the print work across the assembled box
Identify the panels that will face the customer and those used mainly for stock handling. A clean front identifier can be valuable even when the contents are visible, particularly if several similar packs share a shelf. Keep the design hierarchy simple enough to understand without turning the box through every angle.
For a pattern that continues around the corners, review the folded result rather than judging alignment on the flat sheet alone. Functional tabs and overlaps can change what is visible. If you need internal printing, confirm which surfaces are exposed during normal use so the extra detail serves the presentation rather than disappearing beneath the contents.
Compare the whole specification before ordering
Four corner boxes and four corner trays may be overlapping descriptions of related constructions. Use the approved drawing, material and supplied components to identify the pack you want. Avoid assuming that one catalogue name automatically includes a lid, reinforcement or a particular assembly method.
For food or moisture-sensitive products, state the relevant contact and storage conditions. For dispatched orders, describe the outer packaging and handling route. Once the structural and material needs are clear, the branding can be developed around a pack that suits your product instead of trying to solve a practical packing issue with print alone.
Turn the template into your own specification
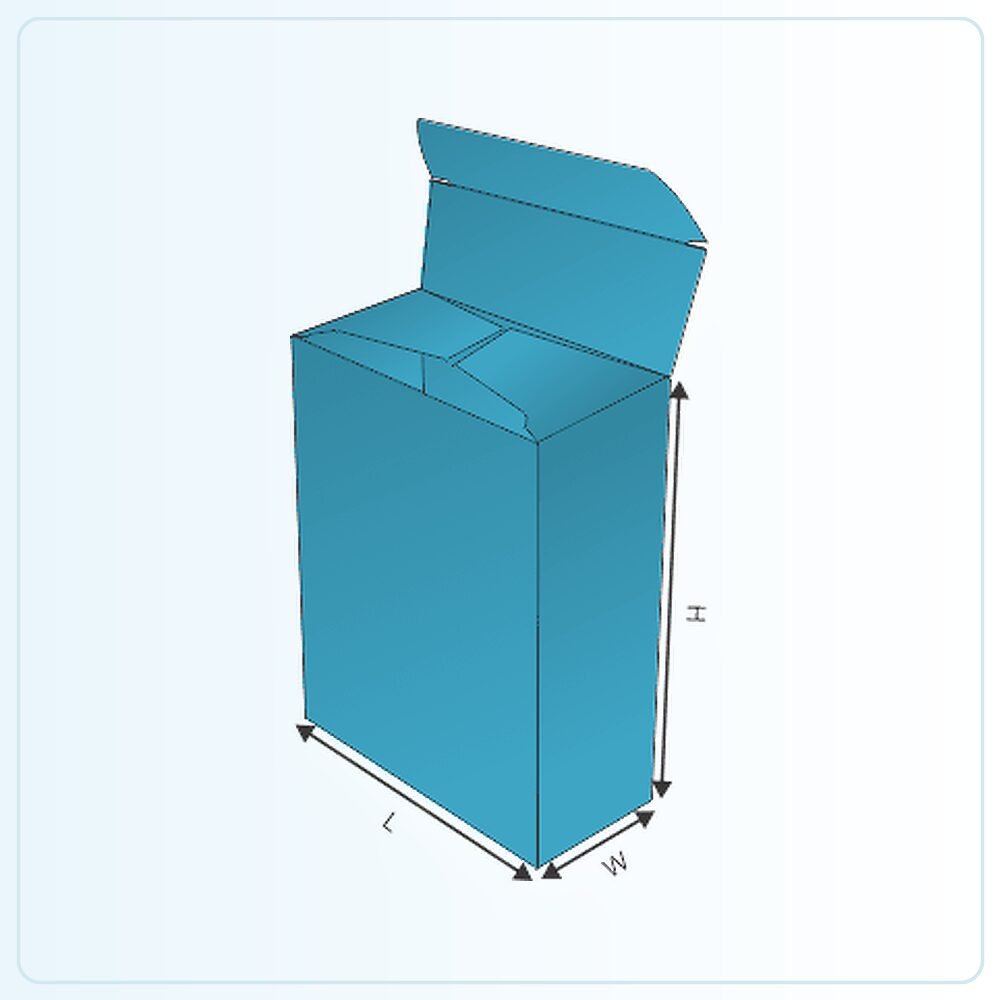
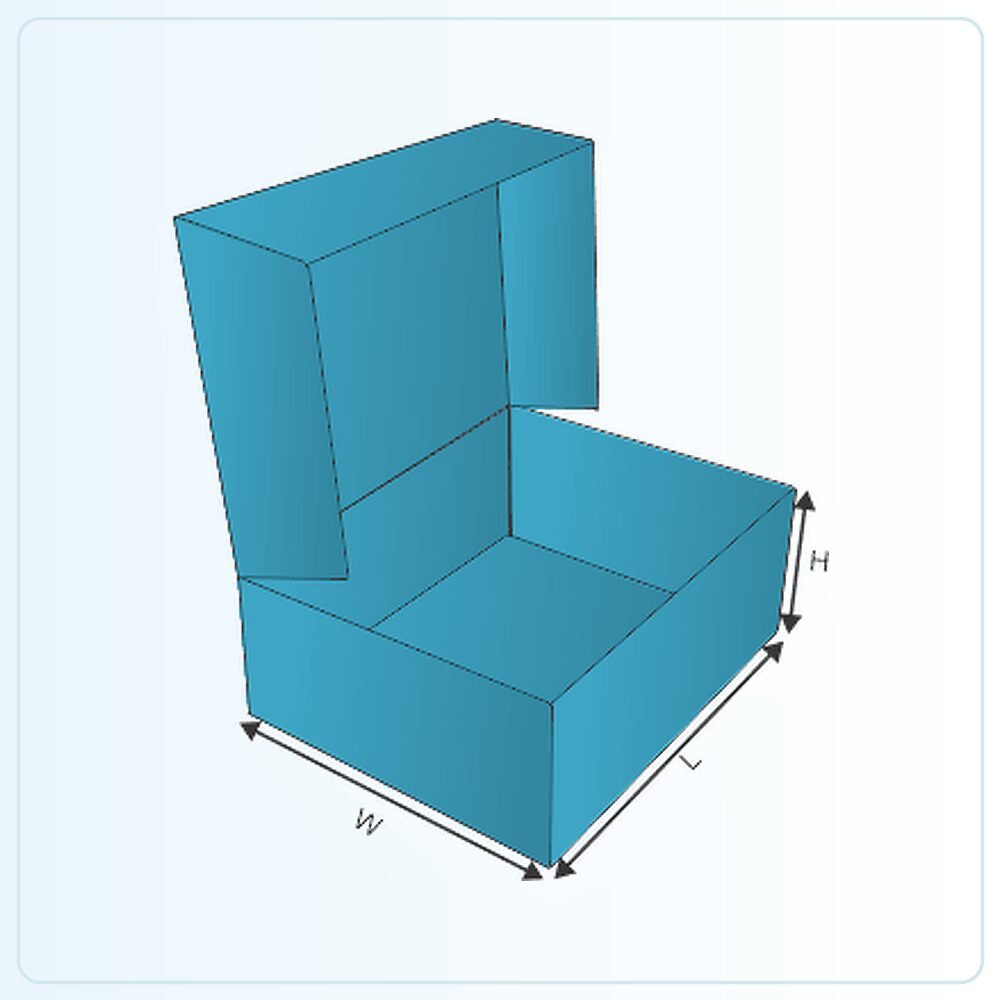
The illustration is a starting point for a made-to-order pack. It is not a production drawing that should simply be enlarged until your product appears to fit. Share the finished product measurements, packed weight and any inner components so the structure can be assessed at the size you actually need. Mark whether your measurements describe the product, the space inside the box or the outside of an existing pack.
Check the sample, not just the screen
A physical sample is available for £25 delivered. Agree what that sample will represent: the construction, material, printed appearance or a particular combination. A plain structural sample answers different questions from a finished printed example. Fill it with the actual product and include every insert, leaflet, wrapper or accessory that belongs in the final pack.
Ask the person who normally packs your orders to try it. Check the sequence of assembly, how comfortably the item goes in and how the customer removes it. Write down the changes you need before approving the next stage. If the pack will travel through a delivery network, assess the complete parcel rather than judging protection from an empty retail carton.
Get a clear price for the complete job
Orders start from 100 units. Our quoted prices include VAT and doorstep delivery. Usual production and delivery is 6–9 days; confirm the actual schedule for your agreed specification and target date. Tell us your delivery postcode, artwork status and any deadline when requesting a quote.
The useful comparison is the same structure, size, board, printing, finish and quantity. Ask for alternatives if you need to work towards a budget, and have any setup or additional components identified in the written quotation. Send your brief and we can help you settle the practical details before committing to the run.
Compare four corner tray boxes, separate lid and base boxes, or request a packaging quote for this style.