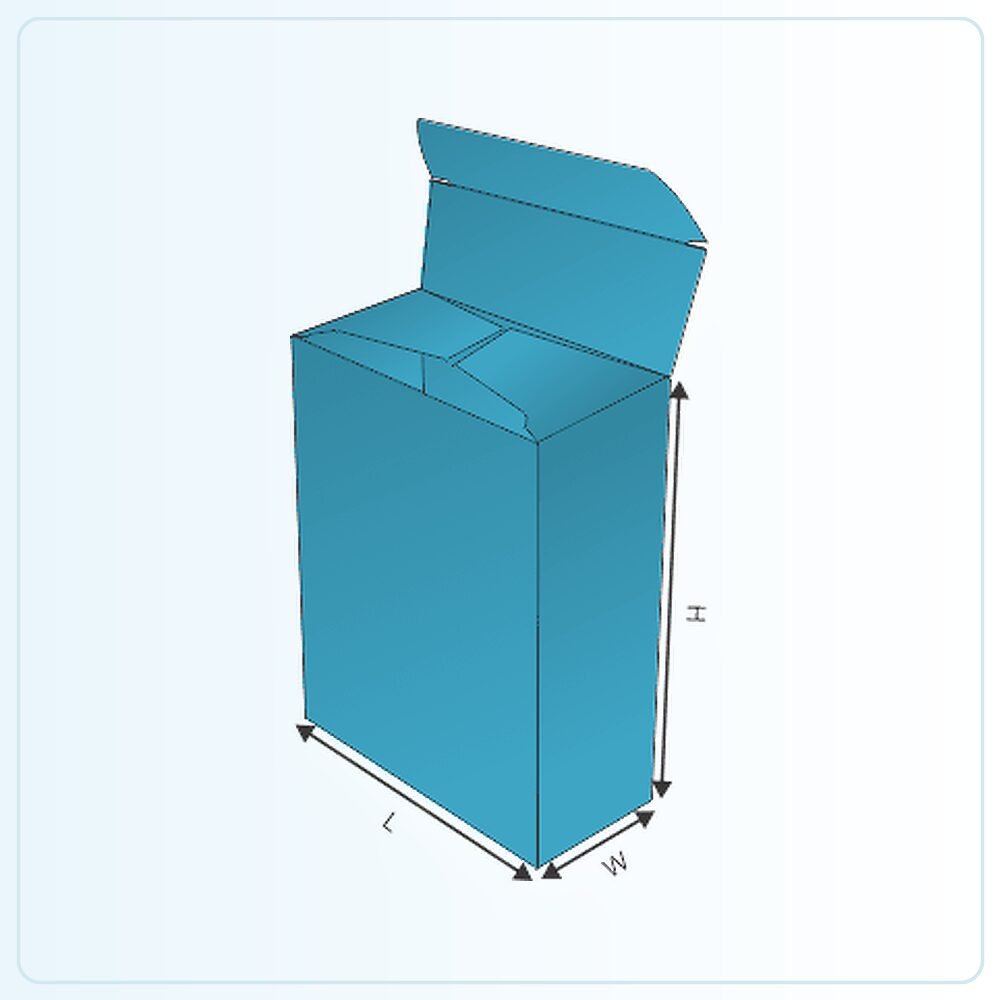
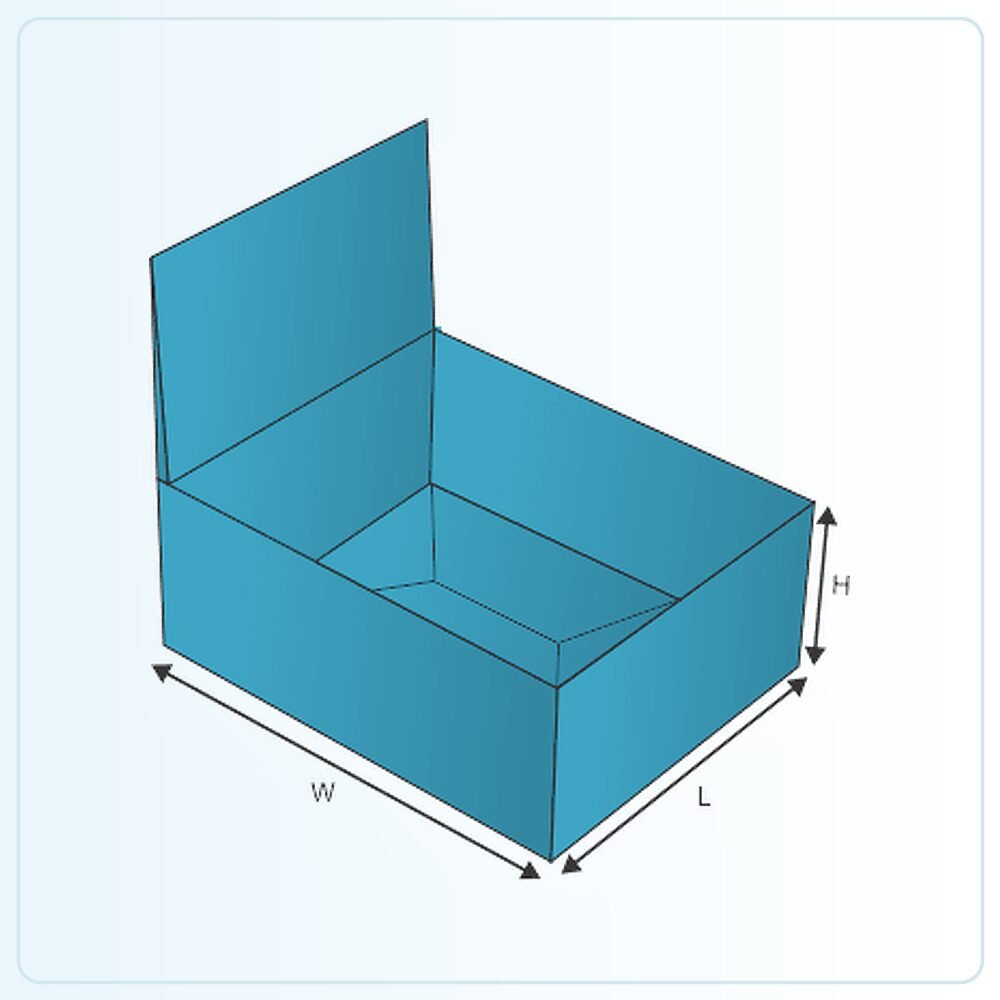
Give the box two clear working states
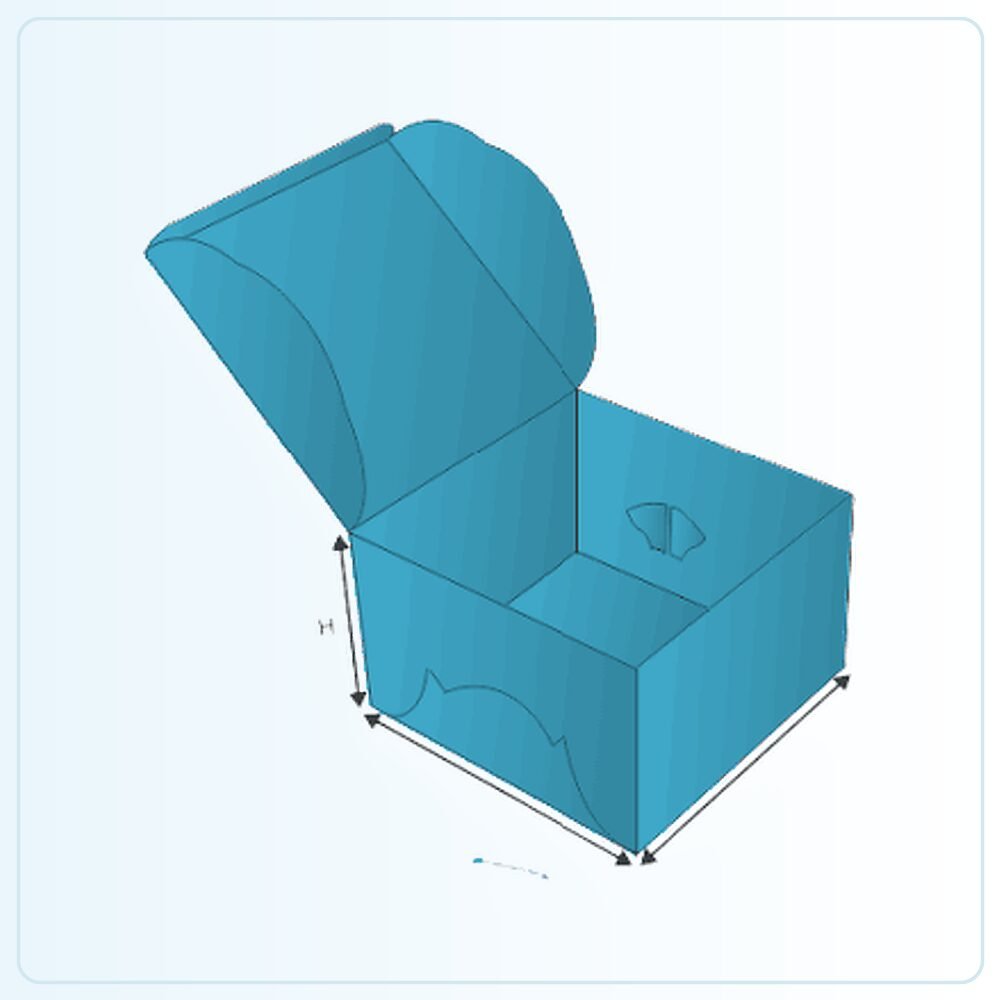
A box with a display lid needs to make sense both closed and presented for sale. The lid may form a header or another display feature according to the approved construction. Confirm how it is positioned and retained rather than assuming any ordinary lid can simply be folded back and left standing.
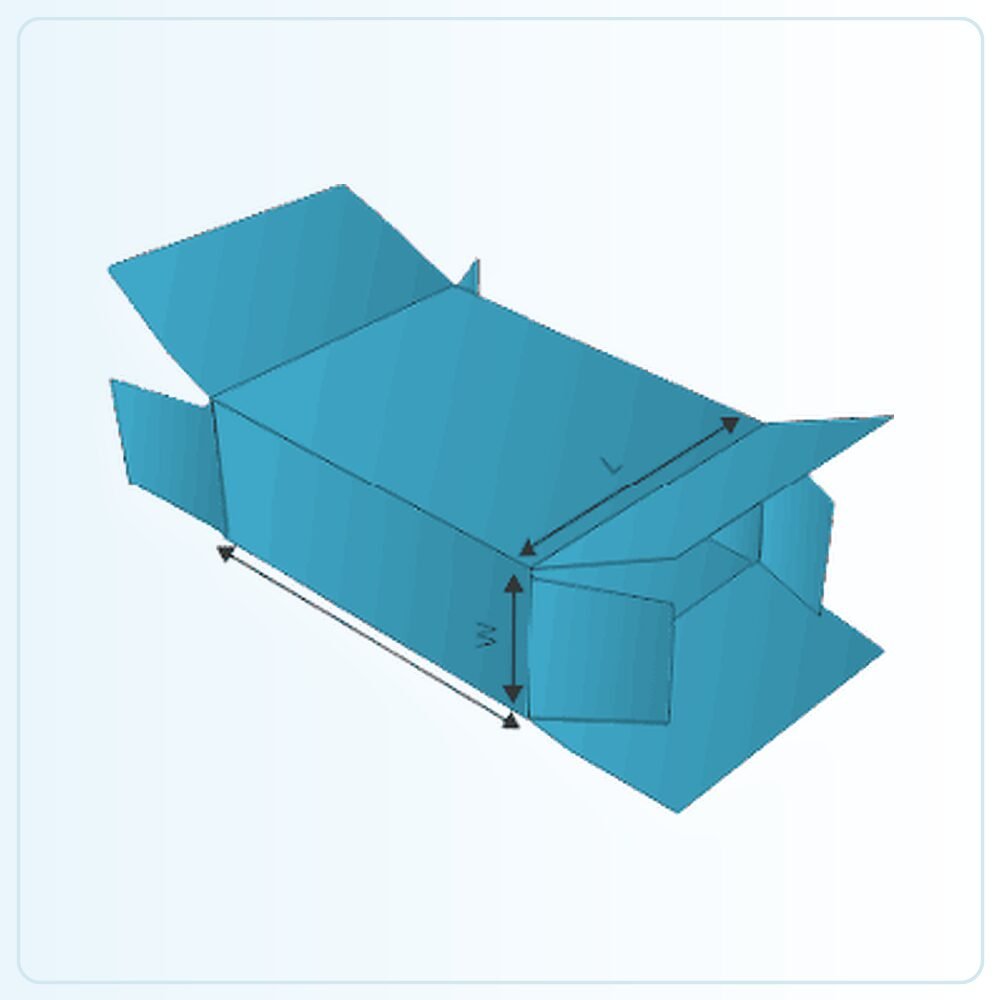
The auto bottom provides a prepared base for forming the carton. It should still be squared and checked before filling. Together, the features can support a retail-ready brief where stock arrives in an organised pack and is then displayed. Describe the intended journey so the closed and open arrangements are designed as parts of the same job.
Build the display around the products and shelf
Start with the number of units and how they should face the shopper. Include the actual product footprint, any wrapper and the space needed for removal. Several narrow items may need locating support, while a broad product may be easier to arrange without individual compartments.
Provide the available counter or shelf dimensions, including height above the pack. A header that looks impressive in isolation can be too tall for its destination or hide information behind another shelf. Check the display at the retailer's viewing angle and decide which product details should remain visible when the pack is full.
Test the lid in its display position
Set up the sample using the intended folding or locking sequence. Check that the header stands as designed and does not push the products forward or make the pack awkward to place. If instructions are needed, keep them simple enough for someone receiving the box for the first time.
Then remove stock gradually. The weight and balance of the display can change as products are sold, particularly if the header is tall or the contents are unevenly distributed. Review the partly empty pack and the last few units, not only the full display used for a photograph. Any support should remain useful throughout that selling cycle.
Make the closed pack practical for handling
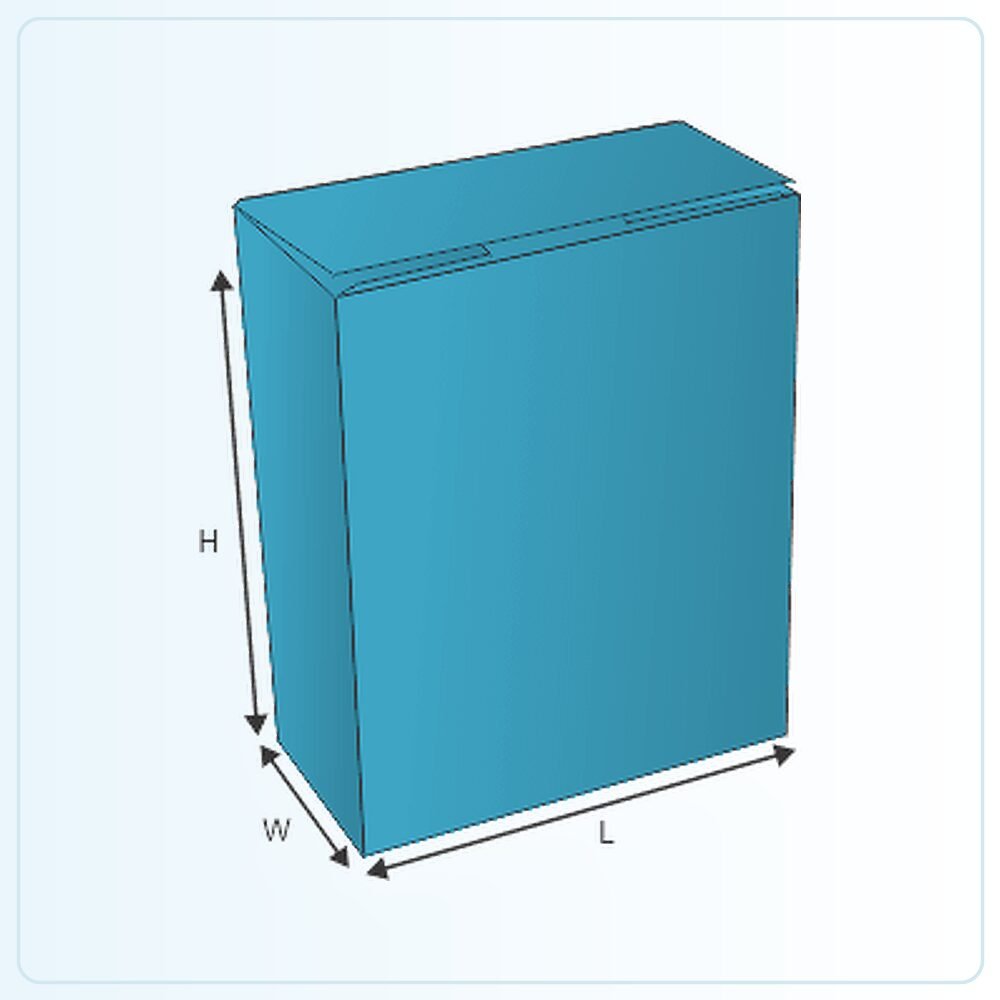
Before it becomes a display, the box may be stored, transported or stacked within an outer container. Agree how the lid closes and what secures it during those stages. A feature intended to stand as a header must also avoid damage while the pack is in its closed state.
If the display travels filled, describe the product weight and internal support. The auto bottom does not automatically establish transit suitability, and a display lid is not a complete shipping specification. Decide whether the pack needs a separate outer carton, cushioning or another restraint, then test the same arrangement that will be used for retailer deliveries.
Give the header one strong selling message
The header can identify the brand or explain the range without repeating every detail already on the individual packs. Keep the main message readable at the expected viewing distance. A cluttered header can compete with the products rather than help a shopper understand them.
Check both sides of the artwork where the lid changes position. A surface that faces outward while closed may face a different direction in display mode. Use a folded mock-up to confirm orientation and avoid an upside-down logo or a key message hidden behind a crease. Keep product variants clearly identified on any panel used during stock handling.
Plan replenishment and repeat use honestly
Decide whether the retailer replaces the complete display when empty or refills it with loose stock. Those are different briefs. If repeated replenishment is intended, discuss the expected handling and assess how the sample behaves through that routine rather than assuming indefinite reuse.
For multiple product lines, state whether the same structure will hold each range and how the artwork changes. Check the smallest and largest units before standardising the pack. A consistent display format can simplify presentation, but only when the contents remain accessible, supported and easy to replenish in the actual retail setting.
Turn the template into your own specification
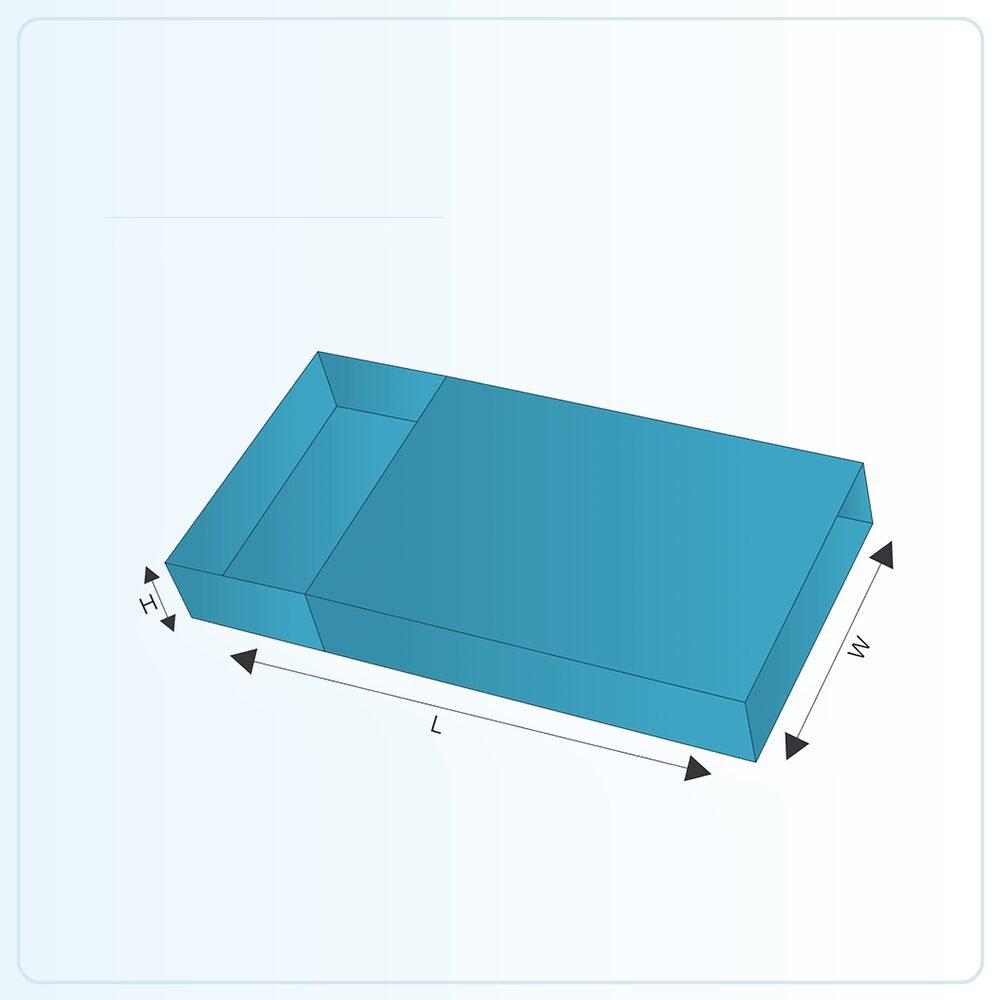
The illustration is a starting point for a made-to-order pack. It is not a production drawing that should simply be enlarged until your product appears to fit. Share the finished product measurements, packed weight and any inner components so the structure can be assessed at the size you actually need. Mark whether your measurements describe the product, the space inside the box or the outside of an existing pack.
Check the sample, not just the screen
A physical sample is available for £25 delivered. Agree what that sample will represent: the construction, material, printed appearance or a particular combination. A plain structural sample answers different questions from a finished printed example. Fill it with the actual product and include every insert, leaflet, wrapper or accessory that belongs in the final pack.
Ask the person who normally packs your orders to try it. Check the sequence of assembly, how comfortably the item goes in and how the customer removes it. Write down the changes you need before approving the next stage. If the pack will travel through a delivery network, assess the complete parcel rather than judging protection from an empty retail carton.
Get a clear price for the complete job
Orders start from 100 units. Our quoted prices include VAT and doorstep delivery. Usual production and delivery is 6–9 days; confirm the actual schedule for your agreed specification and target date. Tell us your delivery postcode, artwork status and any deadline when requesting a quote.
The useful comparison is the same structure, size, board, printing, finish and quantity. Ask for alternatives if you need to work towards a budget, and have any setup or additional components identified in the written quotation. Send your brief and we can help you settle the practical details before committing to the run.
Compare partitioned display boxes, open auto bottom trays, or request a packaging quote for this style.