Specify the tray and lid as one complete pack
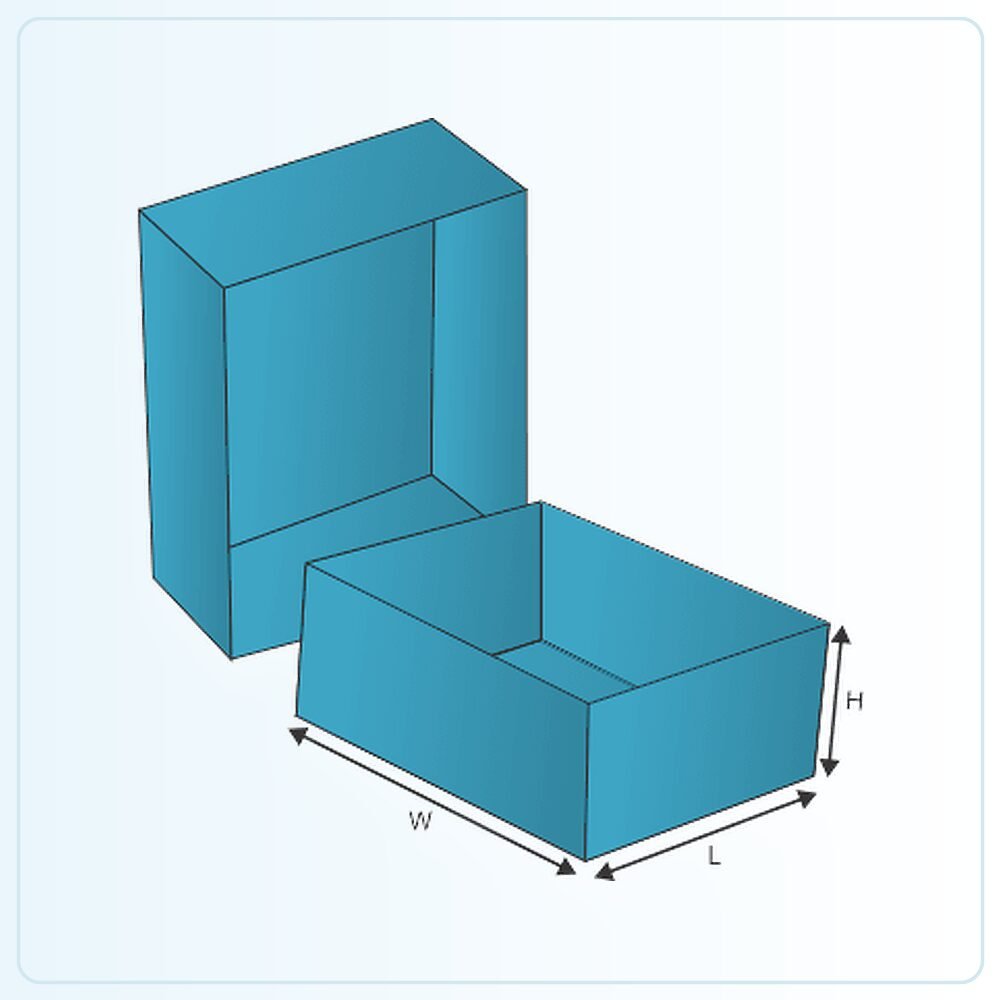
Double wall tray lid boxes combine a tray-style base with a cover sized to fit it. The folded wall arrangement contributes to the finished profile, while the lid provides coverage and a separate opening action. Confirm exactly which components and wall details are included rather than assuming every two-piece construction is the same.
Start with the product presentation. Does the customer lift the lid to reveal a single item, a fitted collection or a loose assortment? The answer helps determine the base depth, internal support and amount of lid overlap. A good opening should make the product easy to understand and straightforward to remove.
Set the internal space before the outside proportions
Folded walls occupy space, so the usable tray dimensions should be agreed around the complete contents. Include inserts, wrappers, booklets and any decorative parts that extend beyond the main product. If several items form a set, lay them out as you want them presented before measuring the required area.
The outside appearance can then be considered without sacrificing the fit. A shallow-looking pack may be attractive, but it still needs enough height for the contents and the lid arrangement. Avoid pushing delicate features down to make a preferred silhouette work. A sample can show where a small structural adjustment improves both fit and appearance.
Choose how far the lid overlaps the base
The depth of the cover changes the visual balance and the way the pack opens. A shallower lid leaves more of the base visible, while a deeper overlap gives a different closed profile. Neither should be chosen from appearance alone; the customer needs enough purchase to separate the two components comfortably.
Check the fit with the actual product inside. The tray may behave differently when filled, especially if the contents press against a wall. A lid should not require force to remove, nor should it be assumed secure simply because it appears snug on an empty sample. Any seal or extra restraint needed for handling should be specified separately.
Design the reveal and the removal together
An insert can keep a product arrangement orderly when the lid comes off, but it should not trap the contents. Consider where the customer's fingers go and whether the item can be lifted without scraping a finish or disturbing adjacent pieces. The first view and the first removal are both parts of the packaging experience.
For a mixed gift set, check the smallest and heaviest pieces as well as the centrepiece. Items may need different supports within the same tray. If the box will be carried upright or placed in a shopping bag, test the arrangement in that orientation rather than only looking at it flat on a table.
Coordinate artwork across two separate components
The lid and base can carry a shared design, but their meeting line needs planning. A continuous border or image may not align as expected if it crosses the join without allowance for the fitted position. Review the closed pack and the opened tray as separate views.
Place important identifiers where they remain useful during stock handling. If lids and bases are stored separately before packing, make it easy to pair the correct versions. For several sizes or artwork variants, use clear production references so a visually similar lid is not matched with the wrong tray. This practical detail can matter as much as the front-facing design.
Distinguish presentation from transit protection
A two-piece box may feel substantial without being a complete shipping solution. Describe whether it is handed over in person, placed in a carrier bag or sent through a delivery network. The closure, internal supports and outer packaging should reflect that route.
The term double wall in this style refers to the agreed folded construction; it does not automatically mean double-wall corrugated material. Ask for the board to be named in the quotation. If you need particular recycled content, certification or disposal wording, confirm it against the finished specification rather than inferring it from the appearance of the tray and lid.
Turn the template into your own specification
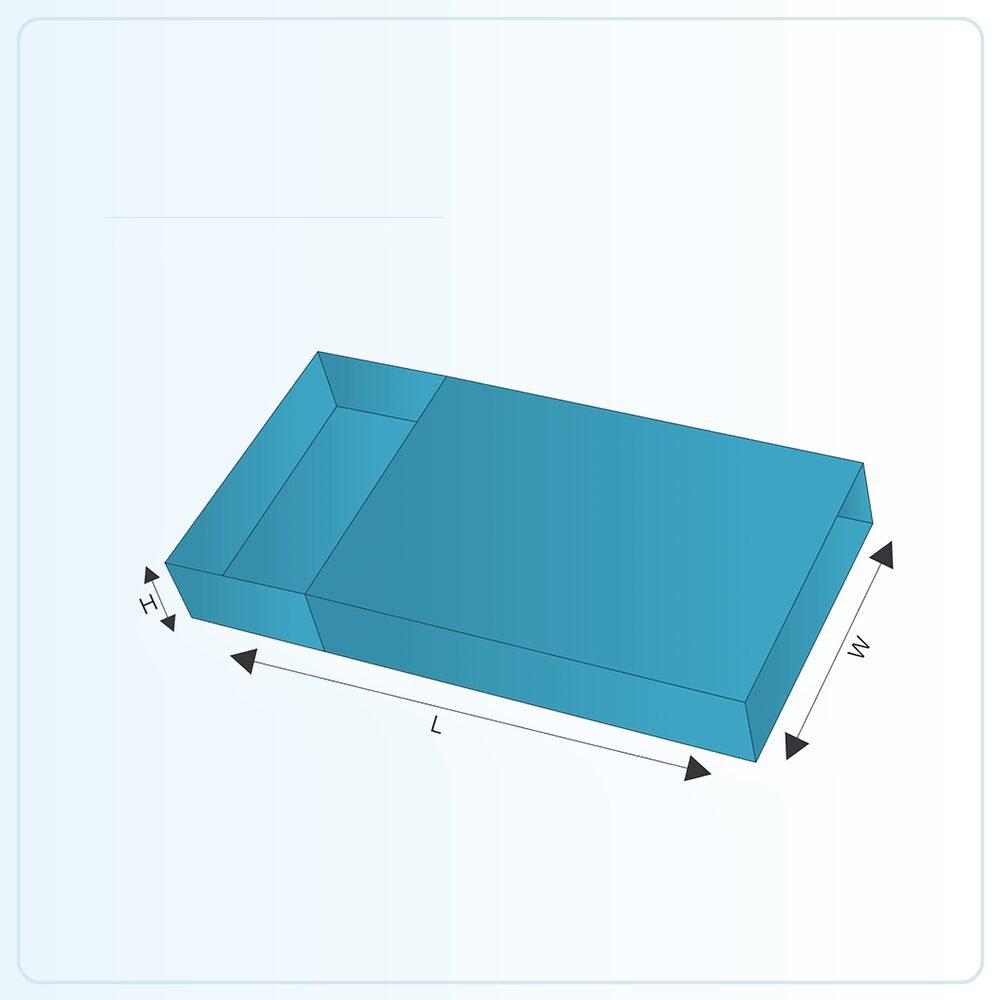
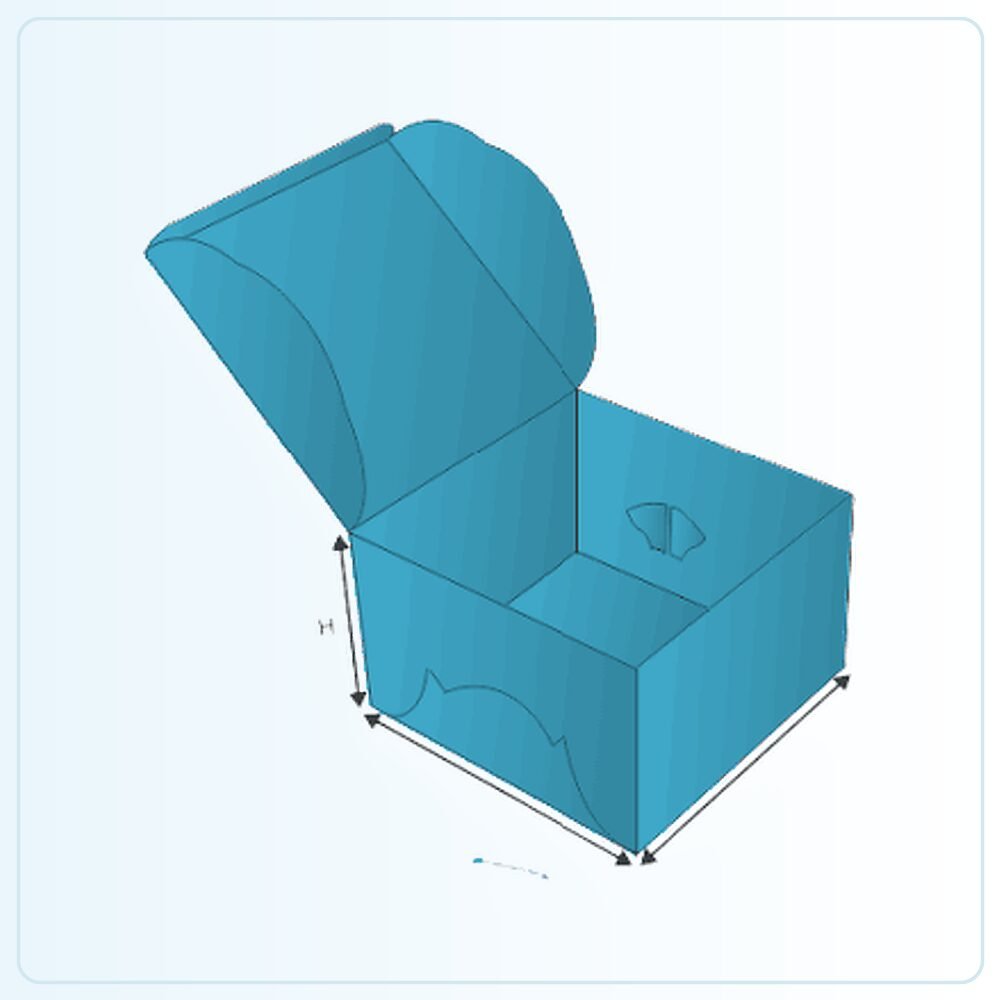
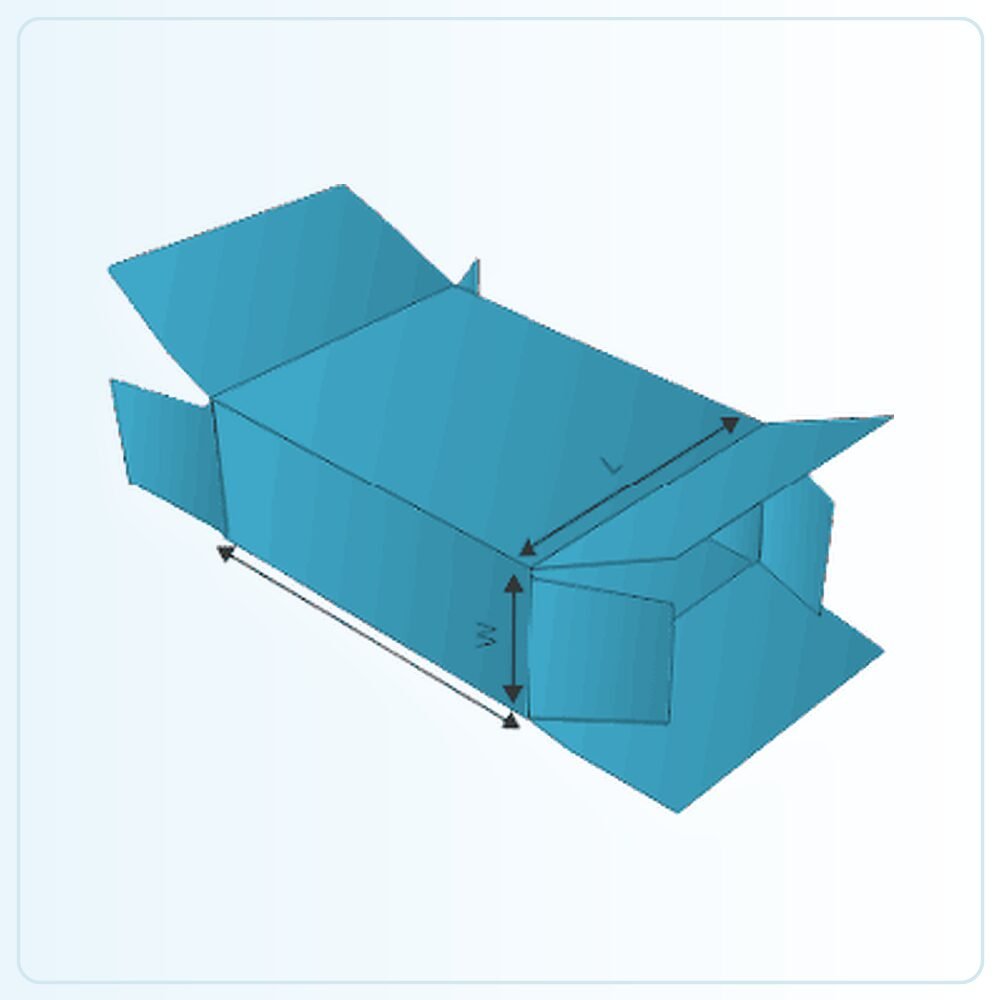
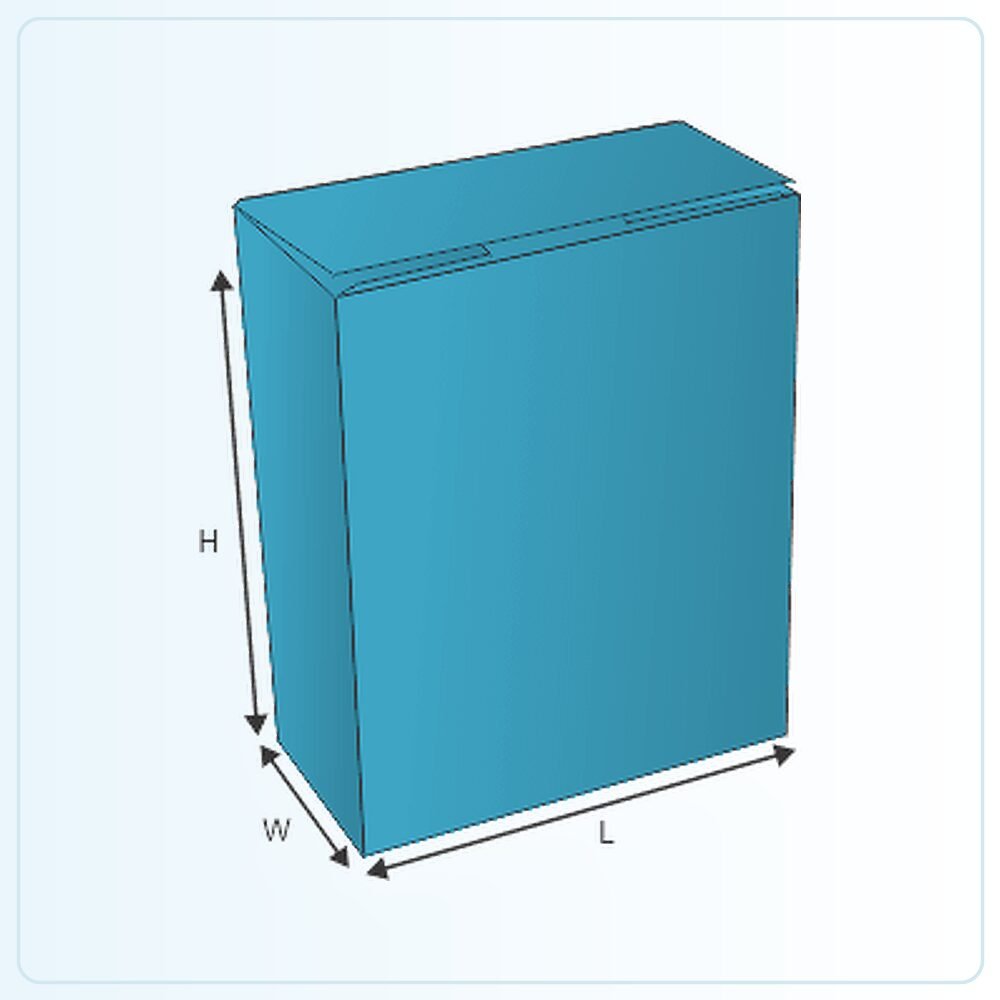
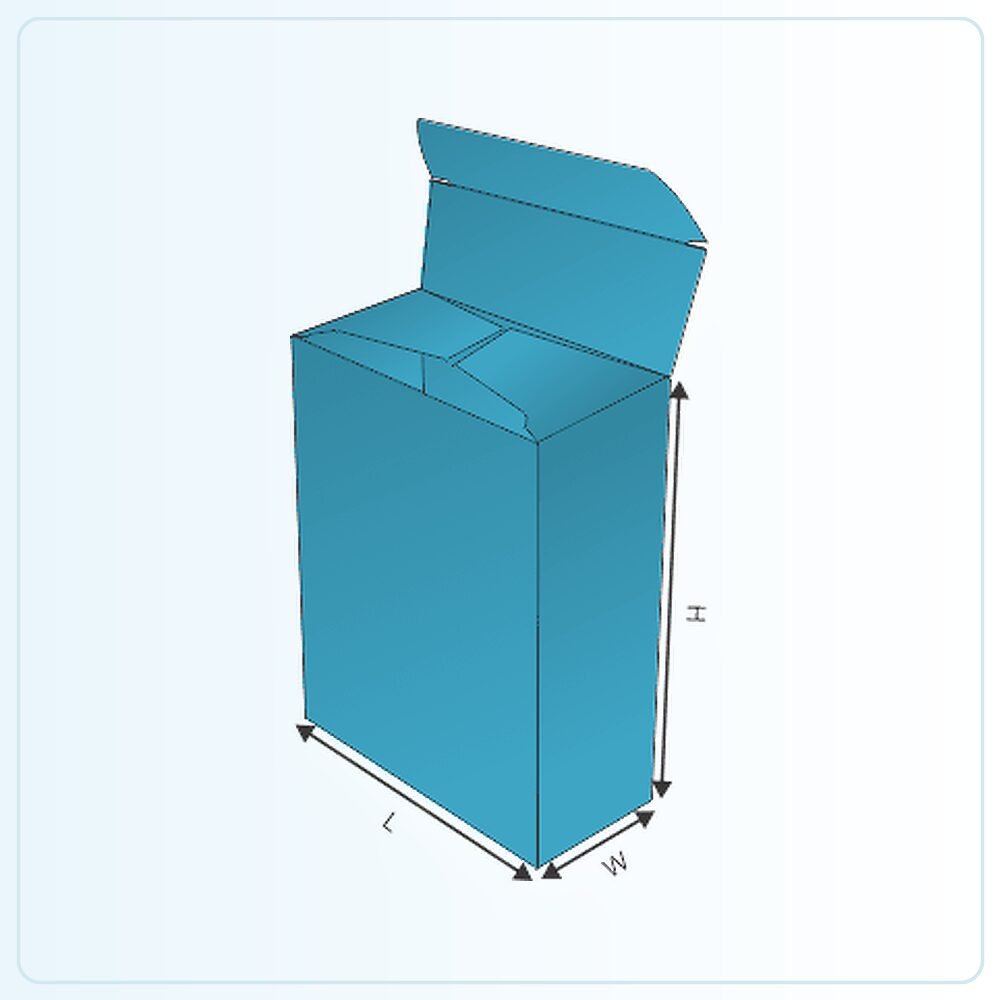
The illustration is a starting point for a made-to-order pack. It is not a production drawing that should simply be enlarged until your product appears to fit. Share the finished product measurements, packed weight and any inner components so the structure can be assessed at the size you actually need. Mark whether your measurements describe the product, the space inside the box or the outside of an existing pack.
Check the sample, not just the screen
A physical sample is available for £25 delivered. Agree what that sample will represent: the construction, material, printed appearance or a particular combination. A plain structural sample answers different questions from a finished printed example. Fill it with the actual product and include every insert, leaflet, wrapper or accessory that belongs in the final pack.
Ask the person who normally packs your orders to try it. Check the sequence of assembly, how comfortably the item goes in and how the customer removes it. Write down the changes you need before approving the next stage. If the pack will travel through a delivery network, assess the complete parcel rather than judging protection from an empty retail carton.
Get a clear price for the complete job
Orders start from 100 units. Our quoted prices include VAT and doorstep delivery. Usual production and delivery is 6–9 days; confirm the actual schedule for your agreed specification and target date. Tell us your delivery postcode, artwork status and any deadline when requesting a quote.
The useful comparison is the same structure, size, board, printing, finish and quantity. Ask for alternatives if you need to work towards a budget, and have any setup or additional components identified in the written quotation. Send your brief and we can help you settle the practical details before committing to the run.
Compare top and bottom lid boxes, open double wall trays, or request a packaging quote for this style.