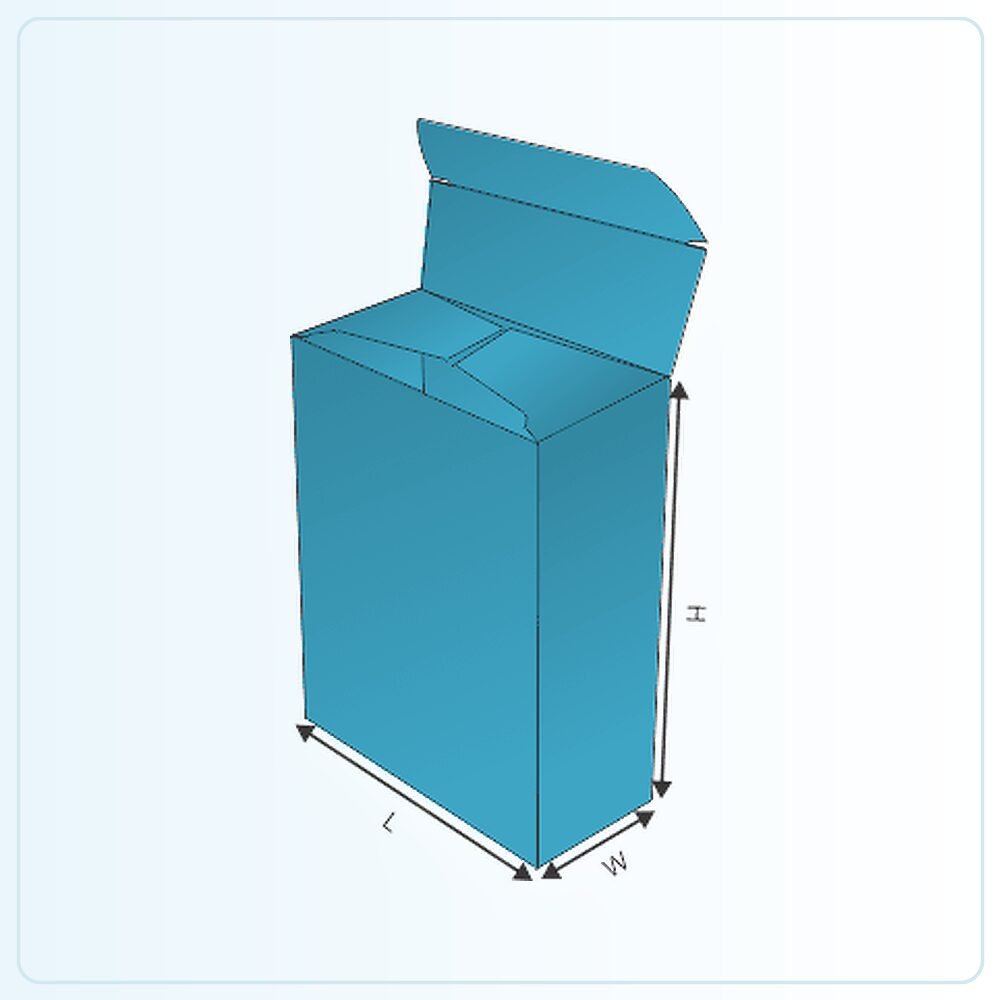
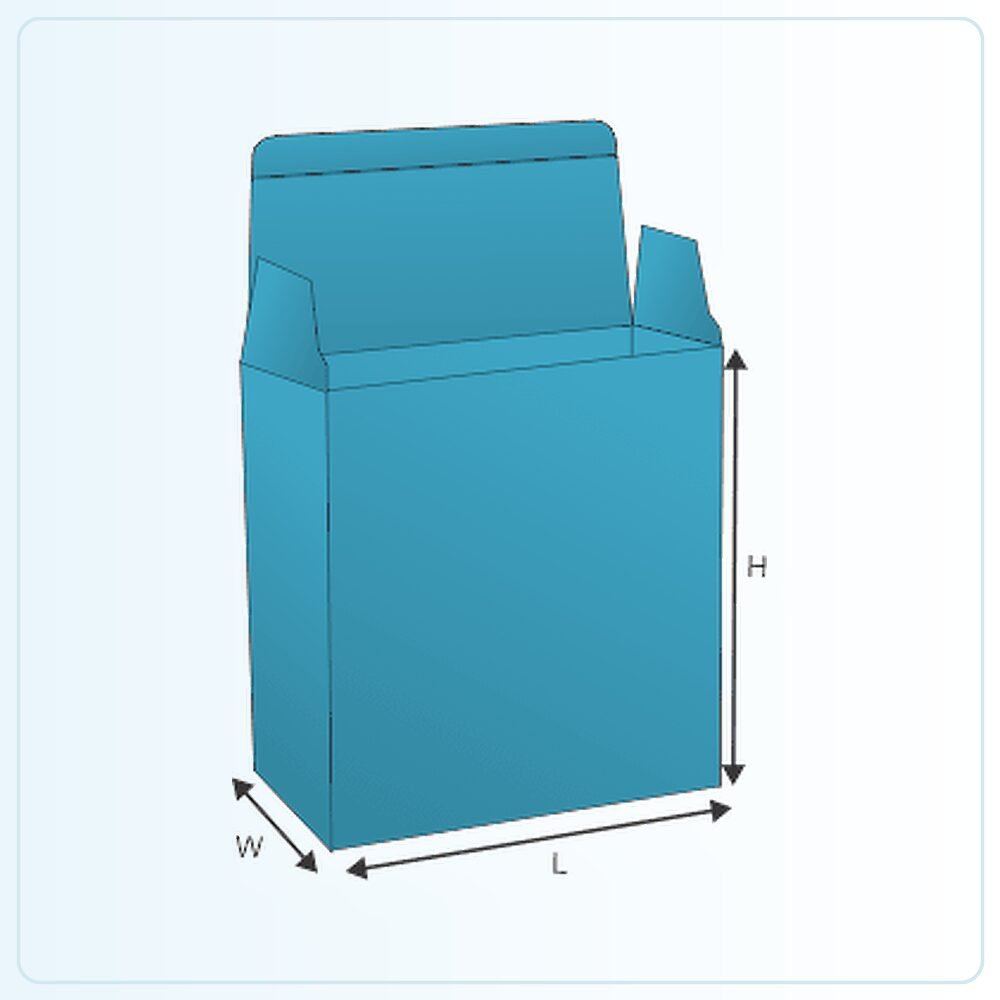
Understand what full flap describes
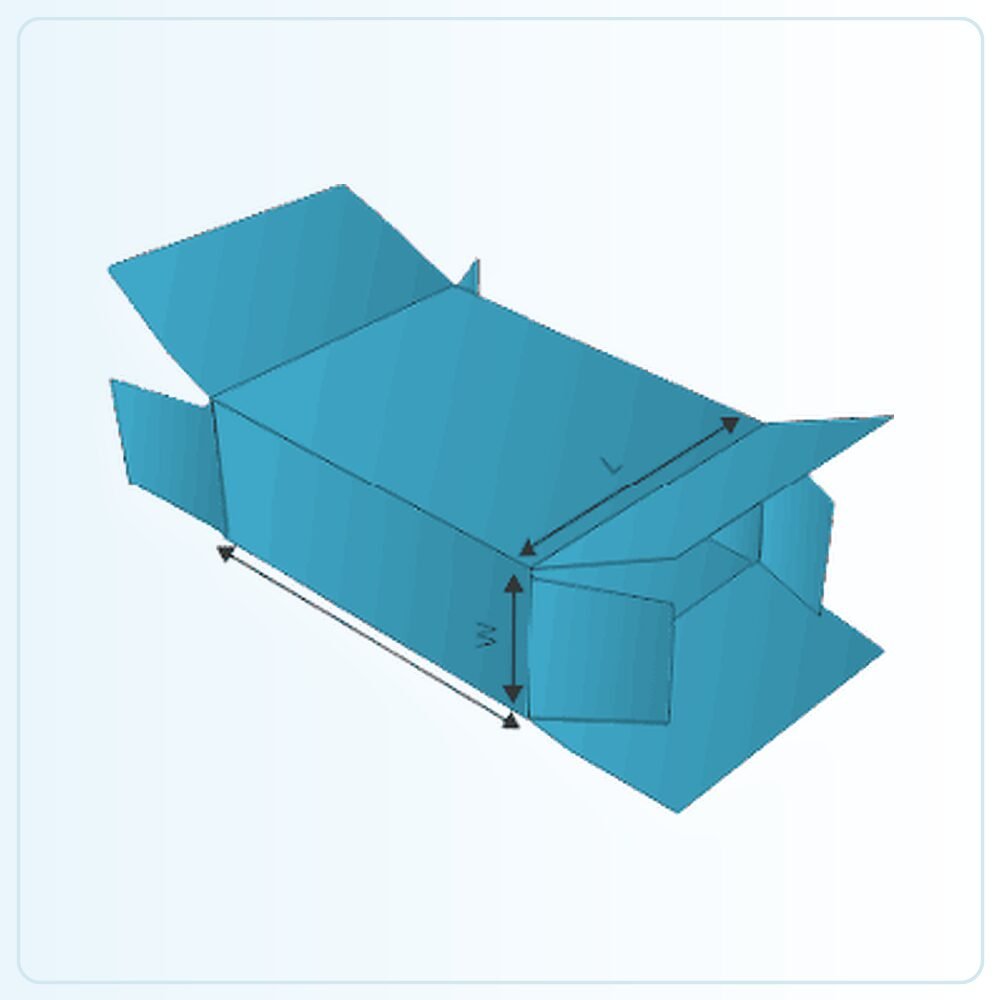
The full flap detail concerns the upper closure arrangement, while the auto bottom concerns how the lower part forms during setup. These features solve different parts of the packing job. Check the approved drawing to understand the extent of the top coverage, the order in which the flaps close and any additional sealing intended for the finished pack.
This style can be considered for products that need a covered presentation and a prepared base. It is not a universal heavy-duty specification. The product, dimensions, board and support arrangement determine suitability. Tell us whether the carton is a retail pack, an inner box or part of a larger shipping system so the correct questions are addressed early.
Leave space for the top flaps to work
The top needs its own operating space. A protruding cap, folded accessory or thick instruction booklet can prevent the flaps from sitting properly even when the product appears to fit the main body. Include those components when measuring and explain their intended position in the carton.
Try the complete closing sequence on the sample. Watch for pressure on the product, a raised corner or a flap that needs forcing into place. Increasing overall volume is not always the right answer; sometimes the internal arrangement or closing detail needs adjustment. A clear photograph of the problem can make that discussion much easier.
Form the auto bottom before adding the load
Open and square the carton in the intended way, then check that the base is fully formed. Do not use the product itself to push an unfinished base into position. The sample should demonstrate the correct setup so the people packing the order can repeat it consistently.
Discuss the filled weight and how it is distributed. A narrow container, several loose objects and a broad flat product place different demands on the bottom. Include any insert or pad used to spread or locate the load. If the pack will be lifted by its sides or carried within another bag, include that handling in the sample trial as well.
Decide how the customer should open the pack
A covered top may be sufficient for some products, while others need a defined seal or evidence of opening. Describe the requirement rather than treating all closures as equivalent. The flap design alone does not establish tamper evidence, leak resistance or protection against every form of handling.
If the customer needs to keep the carton after opening, consider what the first opening does to the top. A seal, label or adhesive choice can change that experience. Review the closed appearance and the opened appearance together so your branding remains sensible at both stages of use.
Plan artwork around the closed shape
Choose the main viewing face according to the display position. For an upright carton, the front panel may do most of the selling; for a pack viewed from above, the top arrangement becomes more important. Make sure the logo and product name remain readable when the flaps are fully closed, not only when the blank is spread out.
Keep functional closing areas in mind when choosing finishes. Ask for the relevant zones to be identified on the drawing and confirm the compatibility of any surface treatment with the intended closure. Decorative elements should reinforce the presentation without making the box harder to assemble or leaving essential wording hidden beneath an overlap.
Make the comparison useful for repeat orders
If you already buy a full flap carton, provide the current specification and explain what needs changing. Perhaps the top looks untidy, the base is awkward to form or the inner dimensions are no longer right for a revised product. Identifying the problem helps avoid paying for changes that do not improve the packing routine.
Record the agreed board, dimensions, printing and closure method alongside the approved artwork. For future batches, check whether the product or packing process has changed before reordering unchanged files. A well-documented specification makes it easier to compare quantities and alternatives while keeping the result consistent with the sample you approved.
Turn the template into your own specification
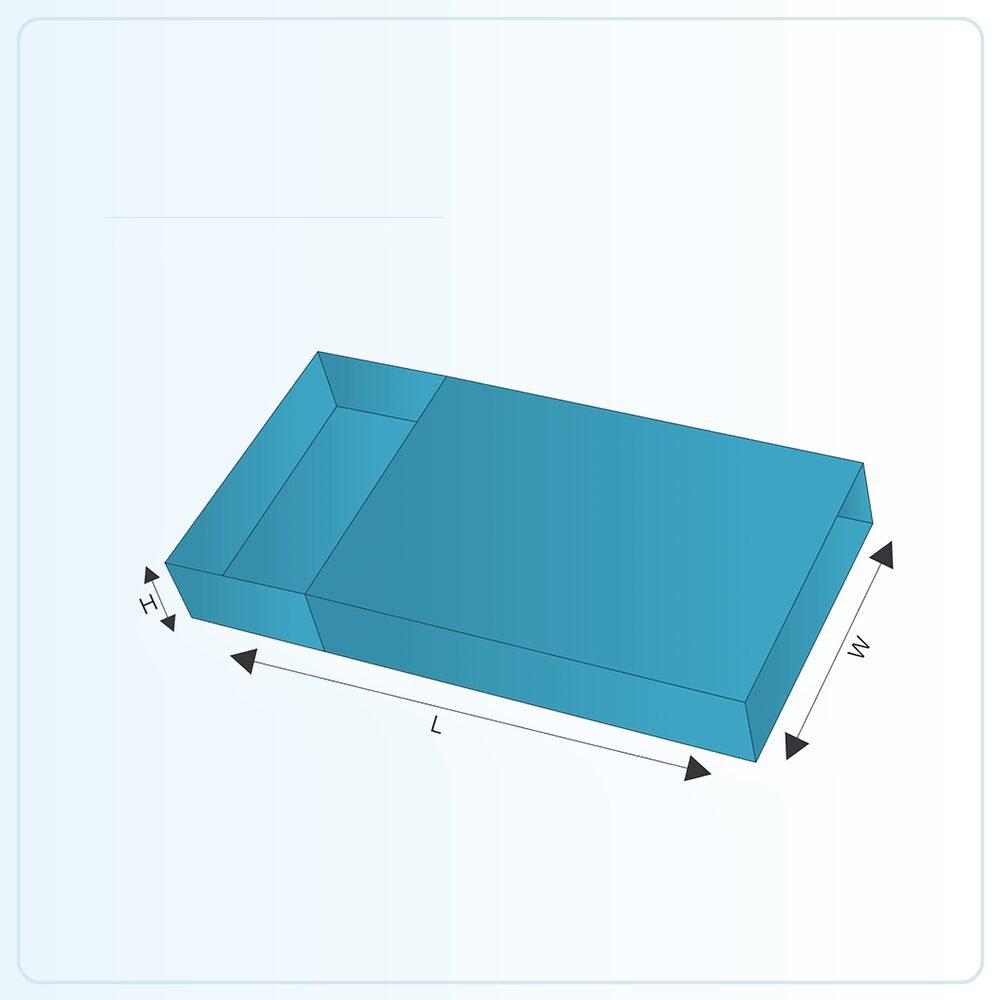
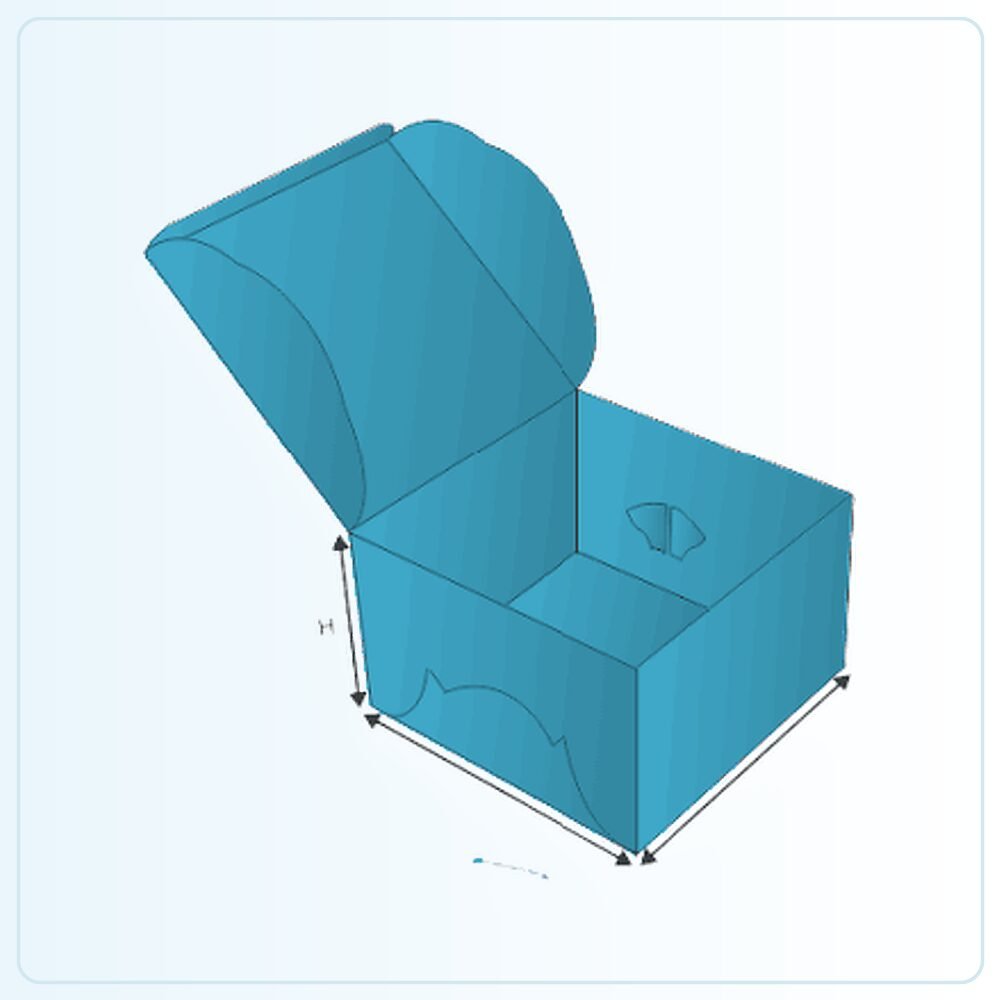
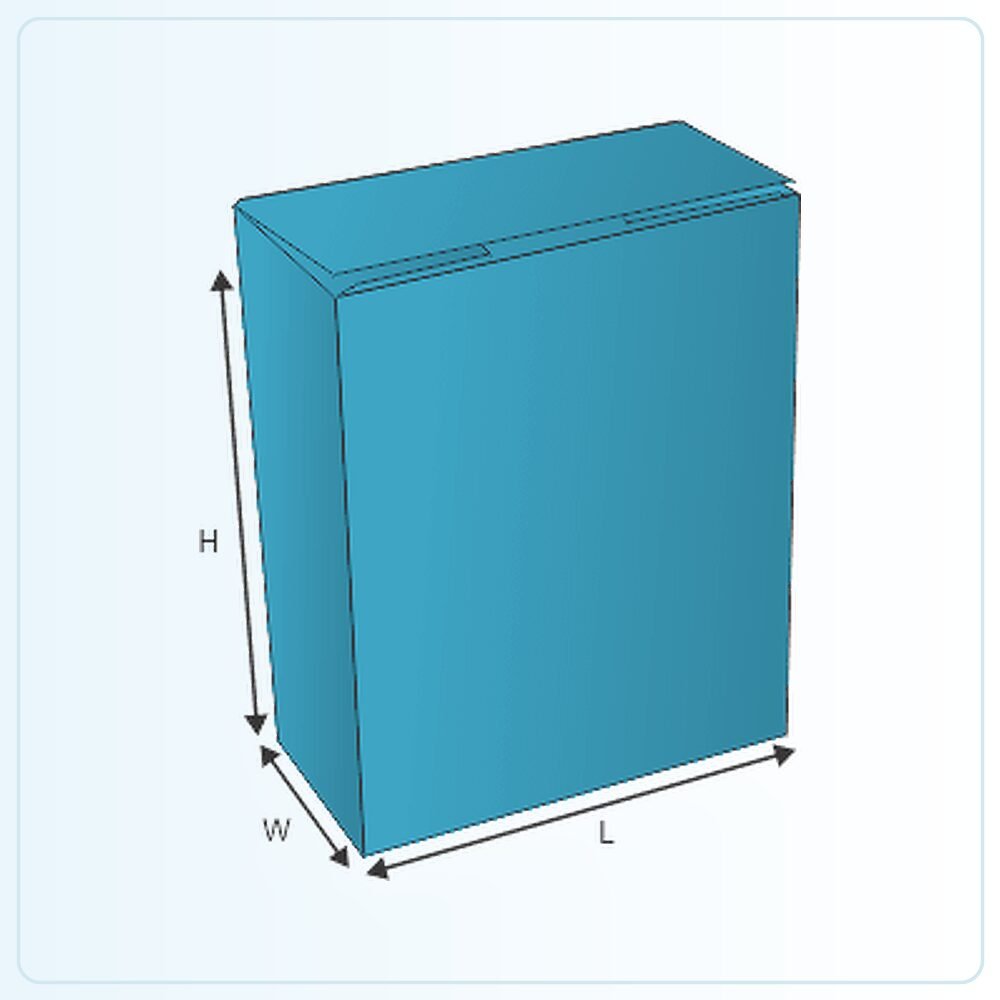
The illustration is a starting point for a made-to-order pack. It is not a production drawing that should simply be enlarged until your product appears to fit. Share the finished product measurements, packed weight and any inner components so the structure can be assessed at the size you actually need. Mark whether your measurements describe the product, the space inside the box or the outside of an existing pack.
Check the sample, not just the screen
A physical sample is available for £25 delivered. Agree what that sample will represent: the construction, material, printed appearance or a particular combination. A plain structural sample answers different questions from a finished printed example. Fill it with the actual product and include every insert, leaflet, wrapper or accessory that belongs in the final pack.
Ask the person who normally packs your orders to try it. Check the sequence of assembly, how comfortably the item goes in and how the customer removes it. Write down the changes you need before approving the next stage. If the pack will travel through a delivery network, assess the complete parcel rather than judging protection from an empty retail carton.
Get a clear price for the complete job
Orders start from 100 units. Our quoted prices include VAT and doorstep delivery. Usual production and delivery is 6–9 days; confirm the actual schedule for your agreed specification and target date. Tell us your delivery postcode, artwork status and any deadline when requesting a quote.
The useful comparison is the same structure, size, board, printing, finish and quantity. Ask for alternatives if you need to work towards a budget, and have any setup or additional components identified in the written quotation. Send your brief and we can help you settle the practical details before committing to the run.
Compare seal end auto bottom boxes, open auto bottom trays, or request a packaging quote for this style.