Somewhere between your idea and a finished box sits a flat, slightly baffling technical drawing covered in lines. That’s the dieline, and it’s the single most important document in the whole job. Understand it and the rest of the process stops feeling like a mystery.
The good news: you don’t need to draw one. You do need to know how to read one before you sign it off.
A dieline in plain English
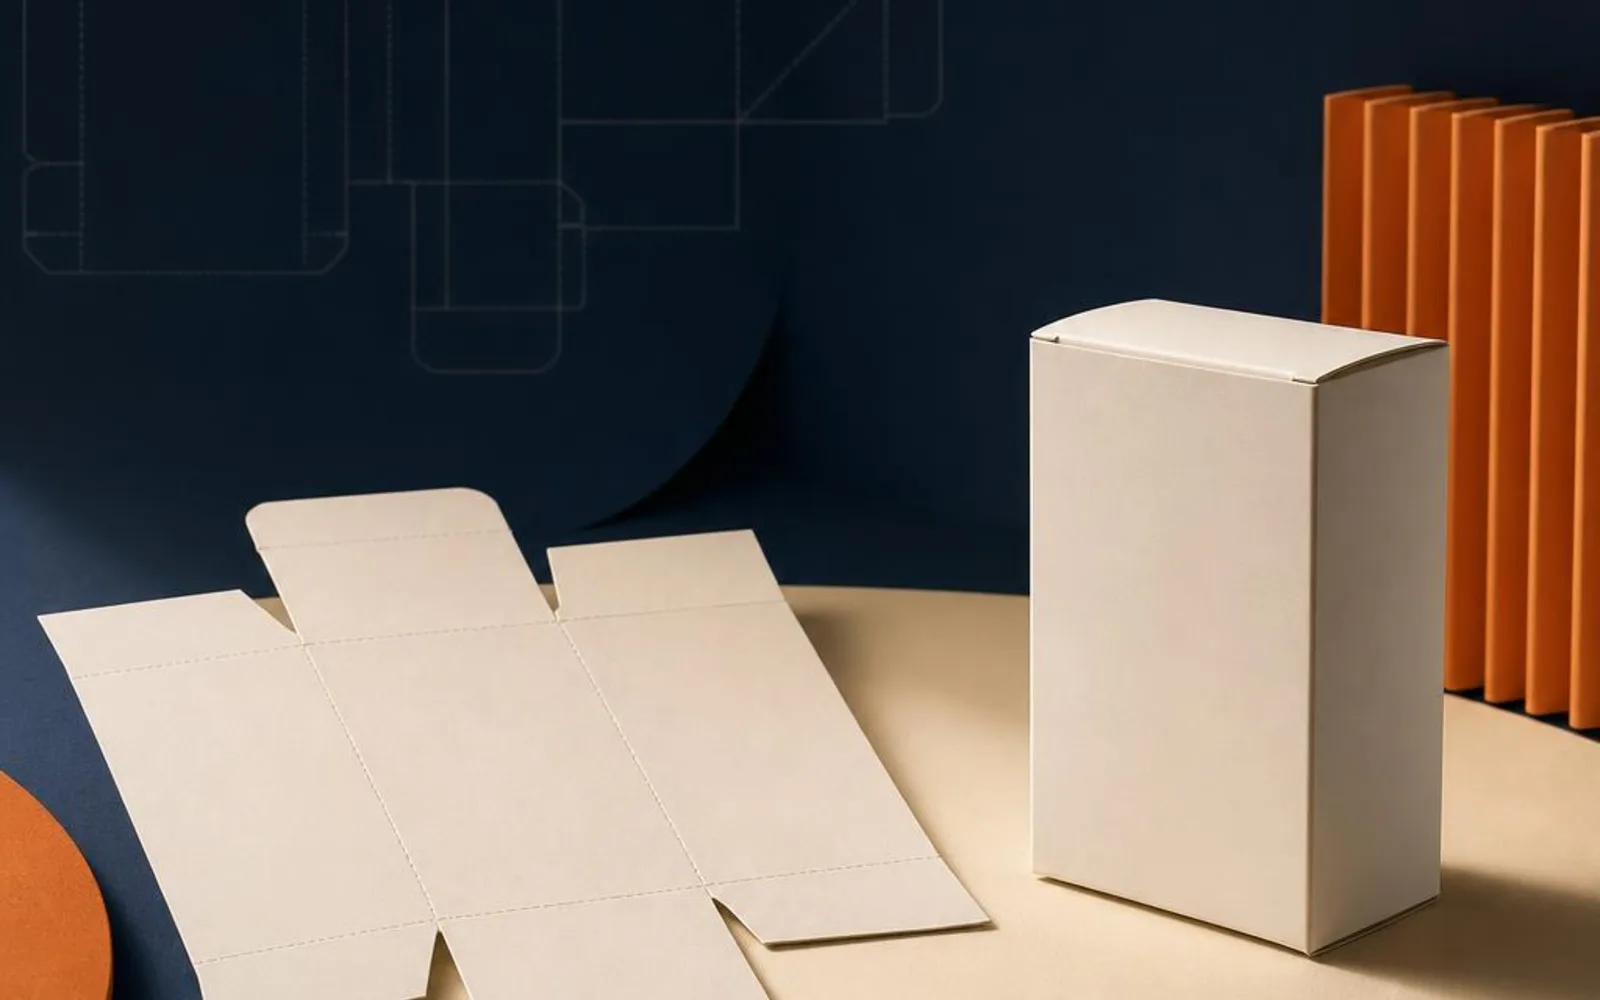
A dieline is the flat map of your box before it’s folded. Imagine taking a finished box, carefully unpicking every glued seam and flattening it out on a table. What you’d be left with — the full outline with all its wings and flaps — is essentially the dieline.
It marks three kinds of line, and telling them apart is most of the battle:
- Cut lines — where the board is trimmed, the outer edge of the shape.
- Crease lines — where it folds, so the panels bend cleanly.
- Glue flaps — the tabs that get stuck down to hold the box together.
Read those three and you can picture how a flat sheet becomes a box.
Why your artwork lives on the dieline
Here’s the part that trips people up. Your design isn’t placed on a nice rectangular canvas — it’s placed onto the dieline, because that’s the shape that actually exists.
Panels wrap around corners. The lid flips over, which means a design on the top may sit upside down on the flat map so it reads the right way once folded. A pattern that looks perfect on a plain rectangle can end up split across a crease or running off a flap if it wasn’t built onto the dieline in the first place. The map tells the artwork where the folds and edges are, so nothing important lands on a corner. Our box templates show how those panels lay out flat before anything is printed.
This is why sending over a logo and a rough idea, with no thought to the dieline, so often ends in disappointment. The artwork has to know the geometry of the box, because the box isn’t a billboard — it’s a folded object with faces pointing in every direction. A design built with the dieline in front of it accounts for all of that from the start, rather than being squeezed onto the shape as an afterthought.
Bleed and safe zones, without the numbers
Two ideas keep a print looking clean, and both are easier as concepts than as measurements.
Bleed
Cutting is never perfect to the exact hair’s breadth, so any colour or image that reaches the edge is extended slightly past the cut line. That overrun is the bleed. It means that even if the blade lands a fraction off, you never get a thin unprinted sliver at the edge — the colour runs right to it.
Safe zone
The same logic works inwards. Anything you can’t afford to lose — text, a logo, a key detail — is kept comfortably inside the edges and away from the creases, in what’s called the safe zone. Push important content to the brink and a slight shift in cutting or folding could clip it. Give it room and it stays put.
You don’t need to draw one yourself
This is the reassuring bit. Building a structurally correct dieline is a specialist job, and it’s ours, not yours.
You tell us the box style and the size — measured around your product — and we supply the dieline for it. Your designer then places artwork onto that template, or we can help with the layout. Either way, you’re never expected to work out flap geometry from scratch. Our services cover that side of things so you can focus on how the box should look.
Checking a dieline proof
Before anything is printed, you’ll get a proof to approve. The single best way to check it is refreshingly low-tech: print it out and fold a paper mock-up.
Holding a folded paper version tells you in seconds what a flat screen can hide. Look for a few things:
- Does the design read the right way up on every face once it’s folded?
- Does anything important fall on a crease or a corner?
- Do the panels line up where two edges meet?
- Is there any text drifting too close to an edge?
Five minutes with paper and scissors saves a great deal of regret later.
Template versus finished design
One last distinction worth keeping straight. A template is the blank dieline — the correct shape, all the right lines, but no artwork. A finished design is that template with your colours, logo and content placed onto it, ready to print.
You start with the template and end with the design. Confusing the two is why people occasionally approve a box that folds perfectly but prints in the wrong place.
Keep the language straight when you brief a designer, too. Asking for “the template” gets you the blank; asking for “the finished artwork” or “print-ready file” gets you the version with your design placed and checked. A moment of clarity there saves a round of confusion later, and it means everyone is talking about the same file at the same stage.
If you’re ready to start, send us your box style and product size and we’ll supply the dieline to build your design on.